Getting Started with peg-outs | 2 way peg app Documentation

In this section, we will learn how to perform a peg-out transaction using the 2 way peg app, to convert RBTC to BTC (peg-out). We will do the following:
In this section, we will learn how to perform a peg-out transaction using the 2 way peg app, to convert RBTC to BTC (peg-out). We will do the following:
- Perform a peg-out using Meta Mask wallet
- Perform a peg-out using Liquality wallet
- Perform a peg-out using Ledger+Liquality
- Perform a pegout-using Hardware+Wallets
- Steps to access to Bitcoin derived address in hardware wallet using Electrum
- Querying the status of a pegout
Prerequisites
- Ensure you have installed any of the software wallet listed above in your browser. For more information, see the Supported Browsers and Supported Wallets section.
> - Note that we will be using the 2 way peg app on 2 way peg app - Testnet for learning purposes.
- For transactions using real tokens, use the 2 way peg app - Mainnet application.
Performing a peg-out transaction using MetaMask
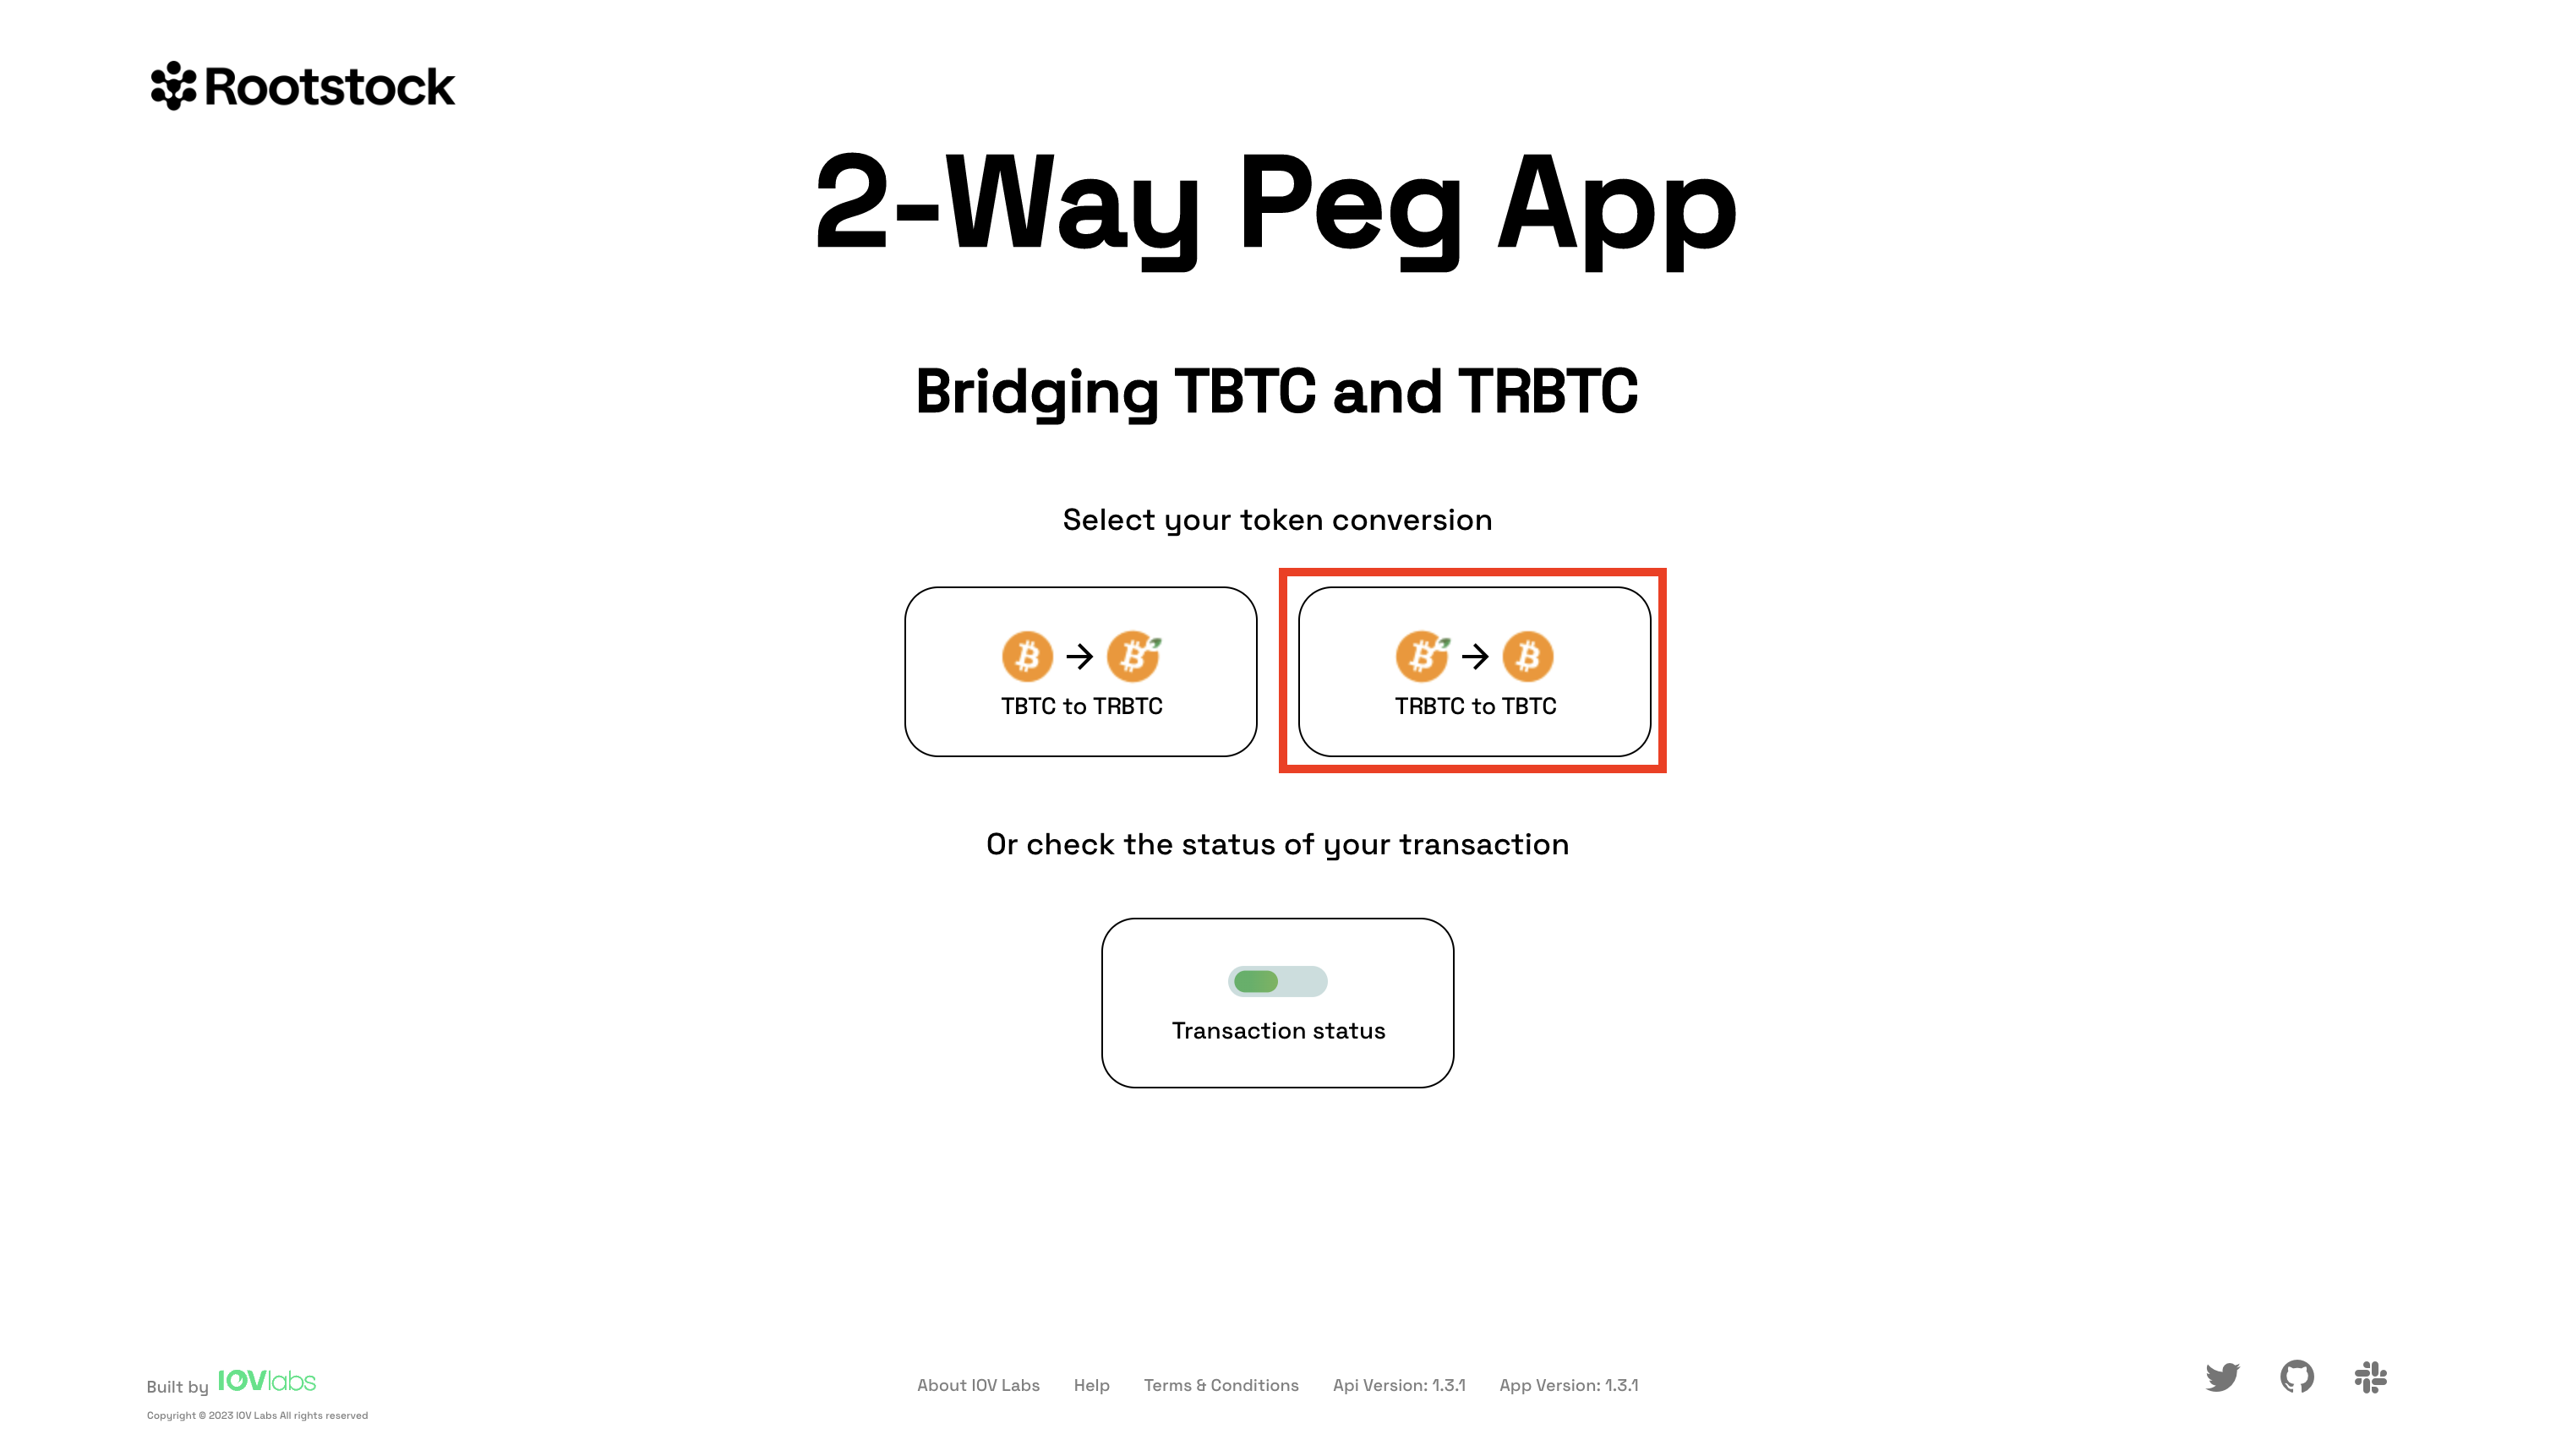
Step 1: Select conversion type
To perform a peg-out, open the 2 way peg app - Testnet in your browser.
Step 2: Choose the RBTC - BTC conversion type
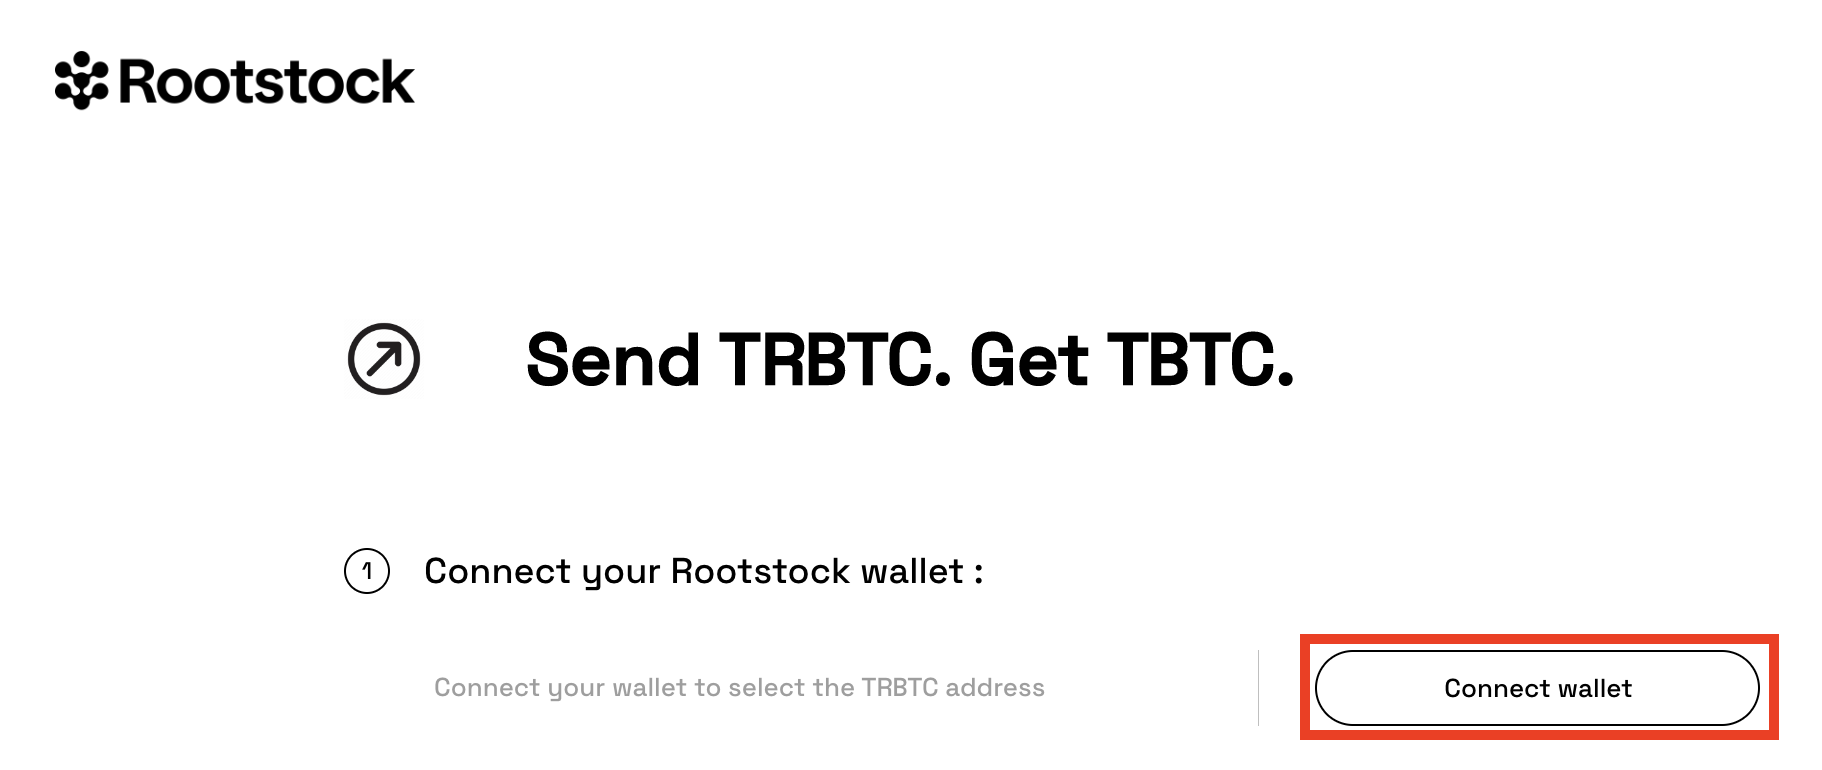
Step 3: Connect your MetaMask wallet
Step 3: Connect your MetaMask wallet
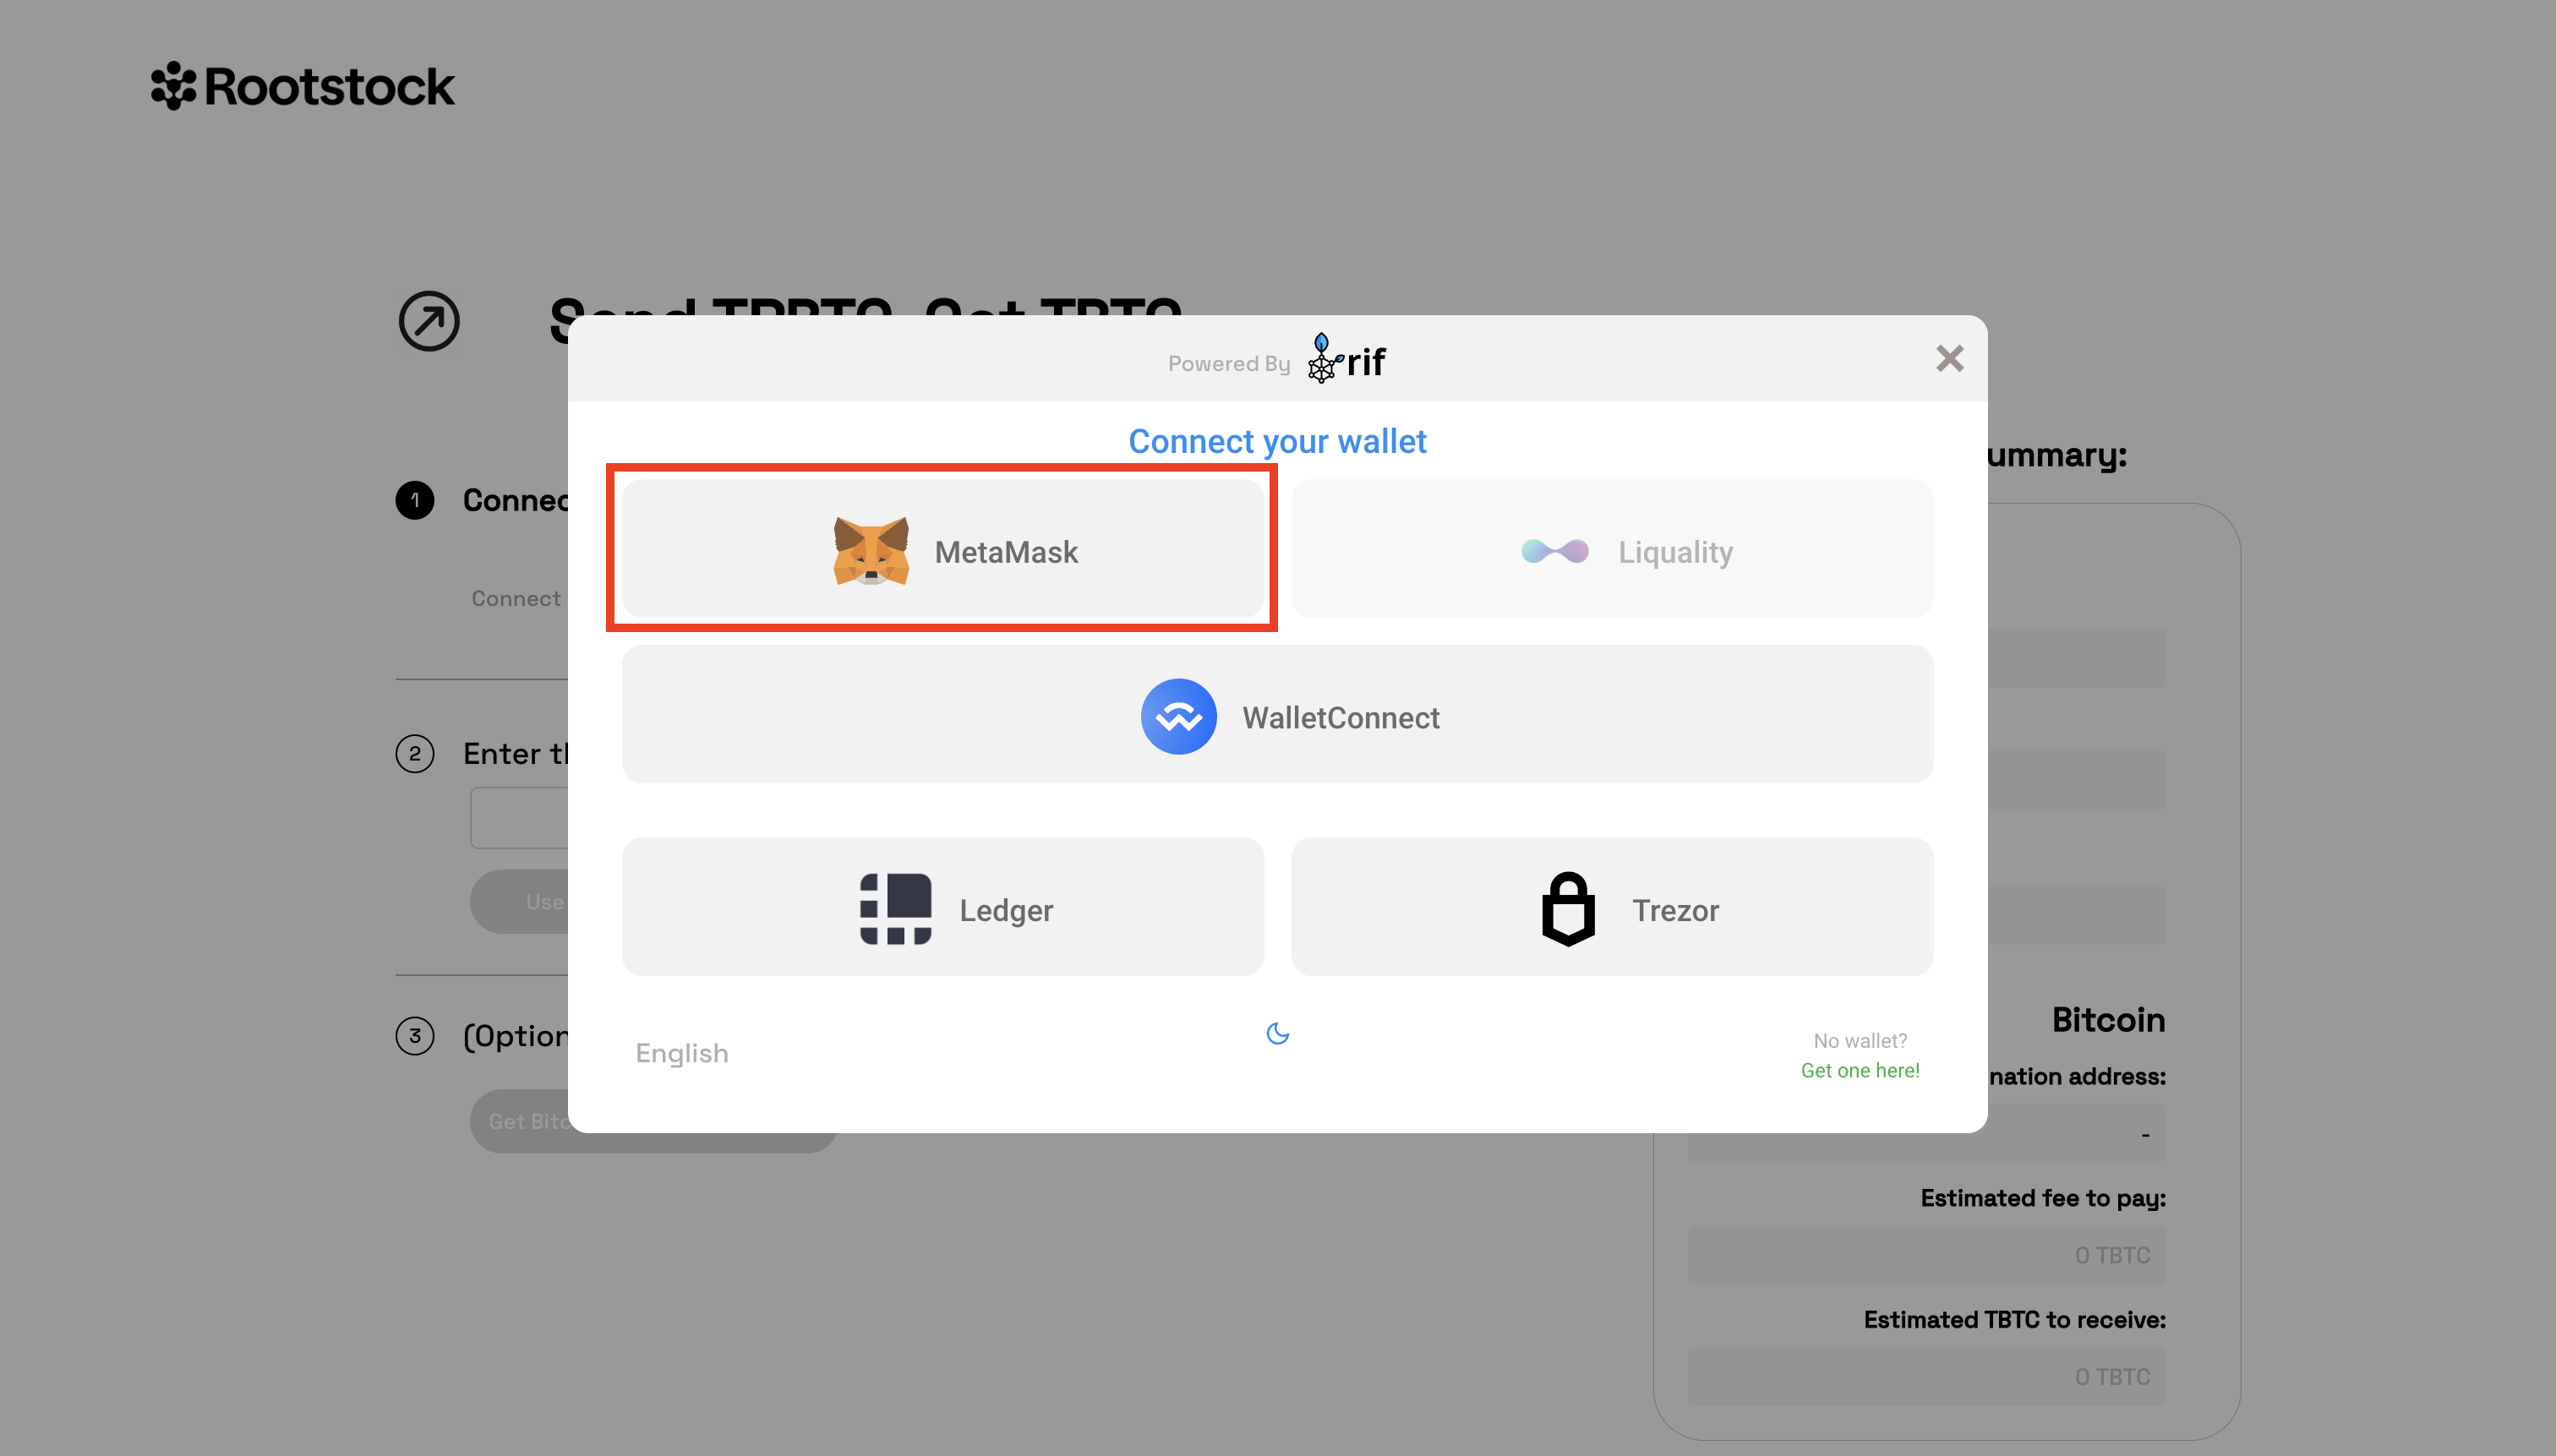
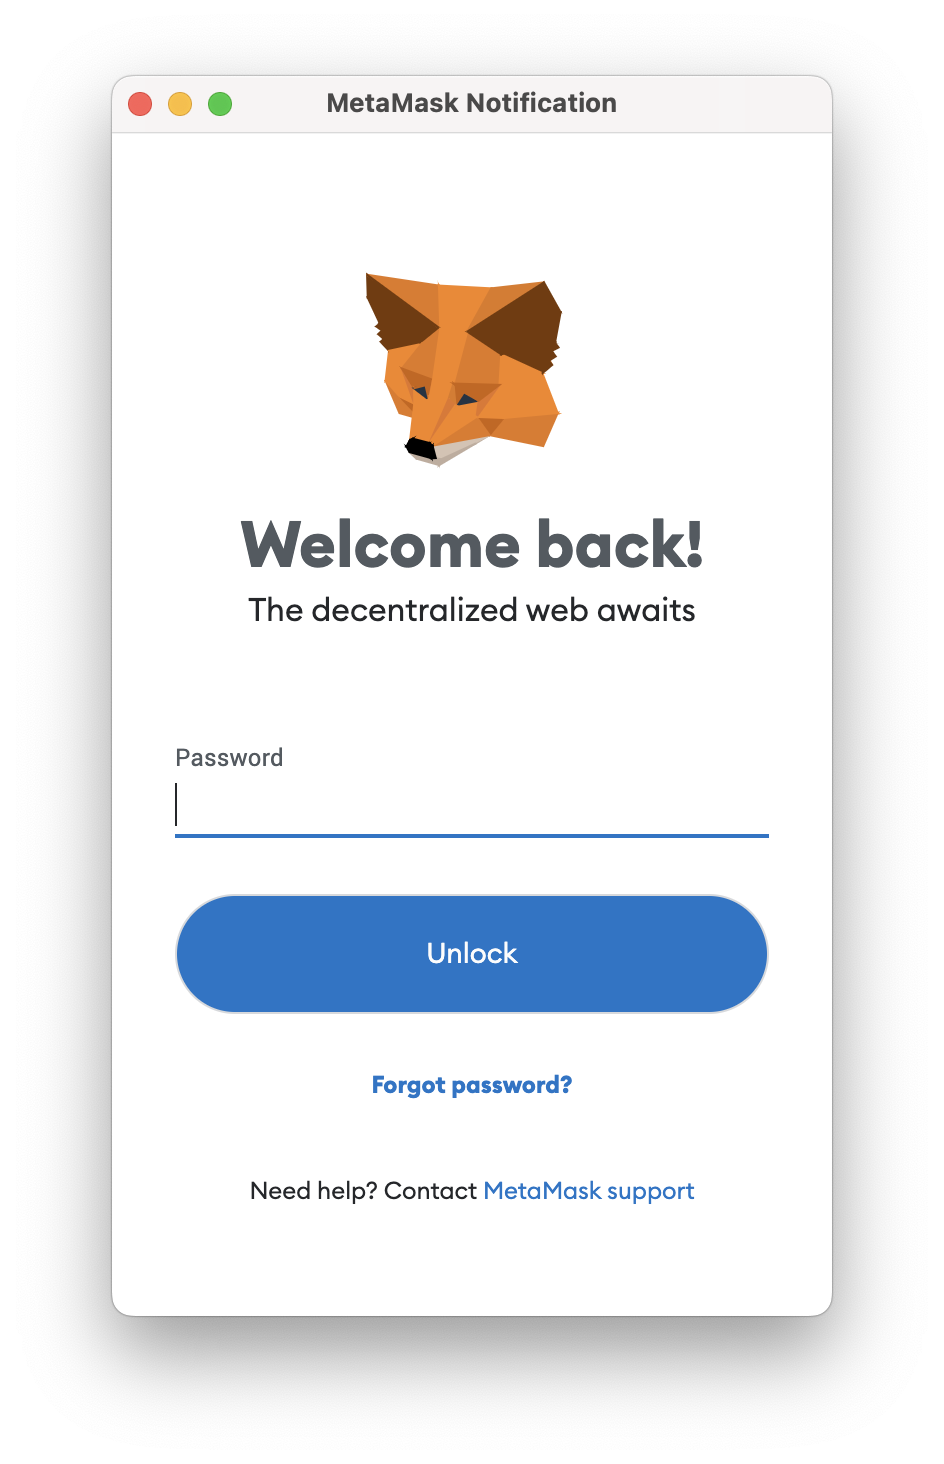
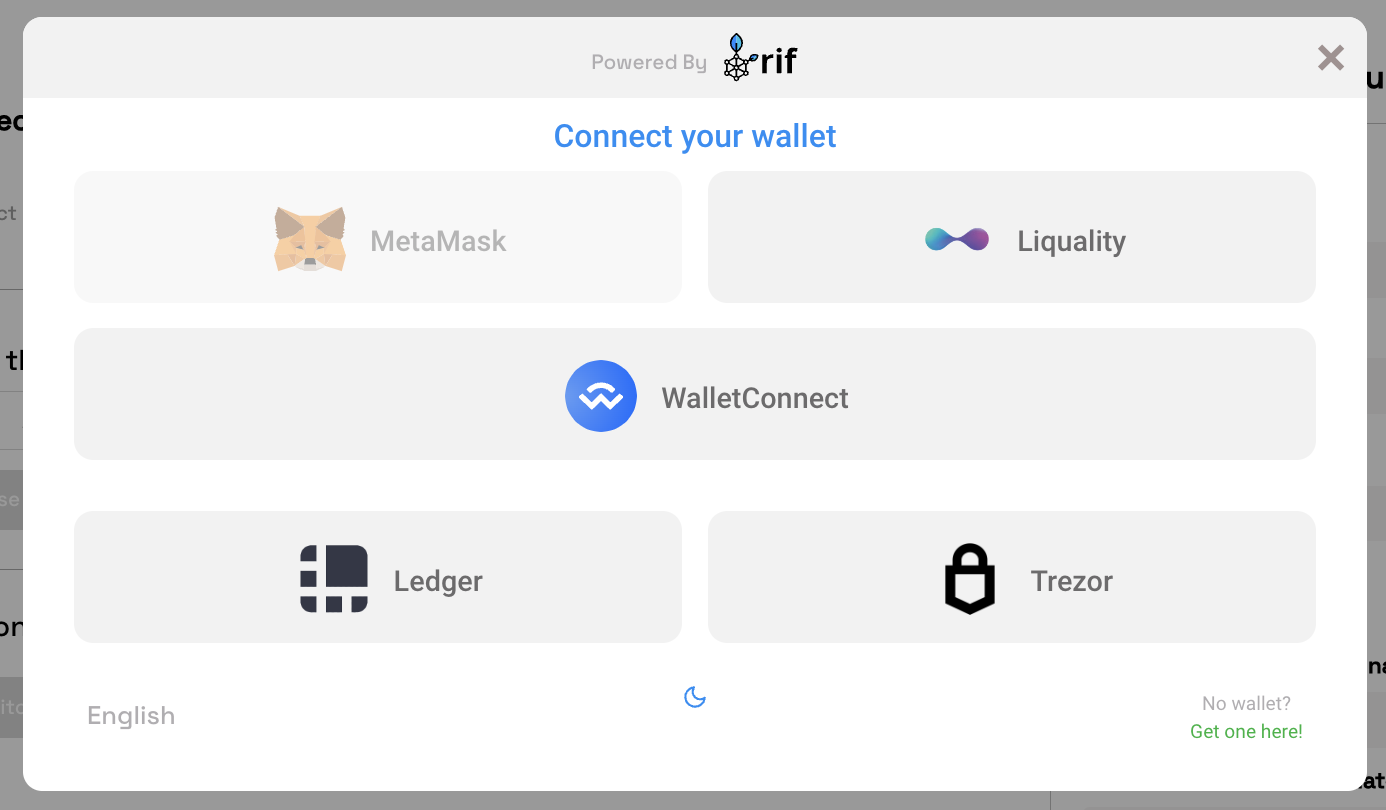
Click on 'Connect wallet' and then select 'MetaMask'.
If your wallet is locked, see images below for steps on how to unlock it.
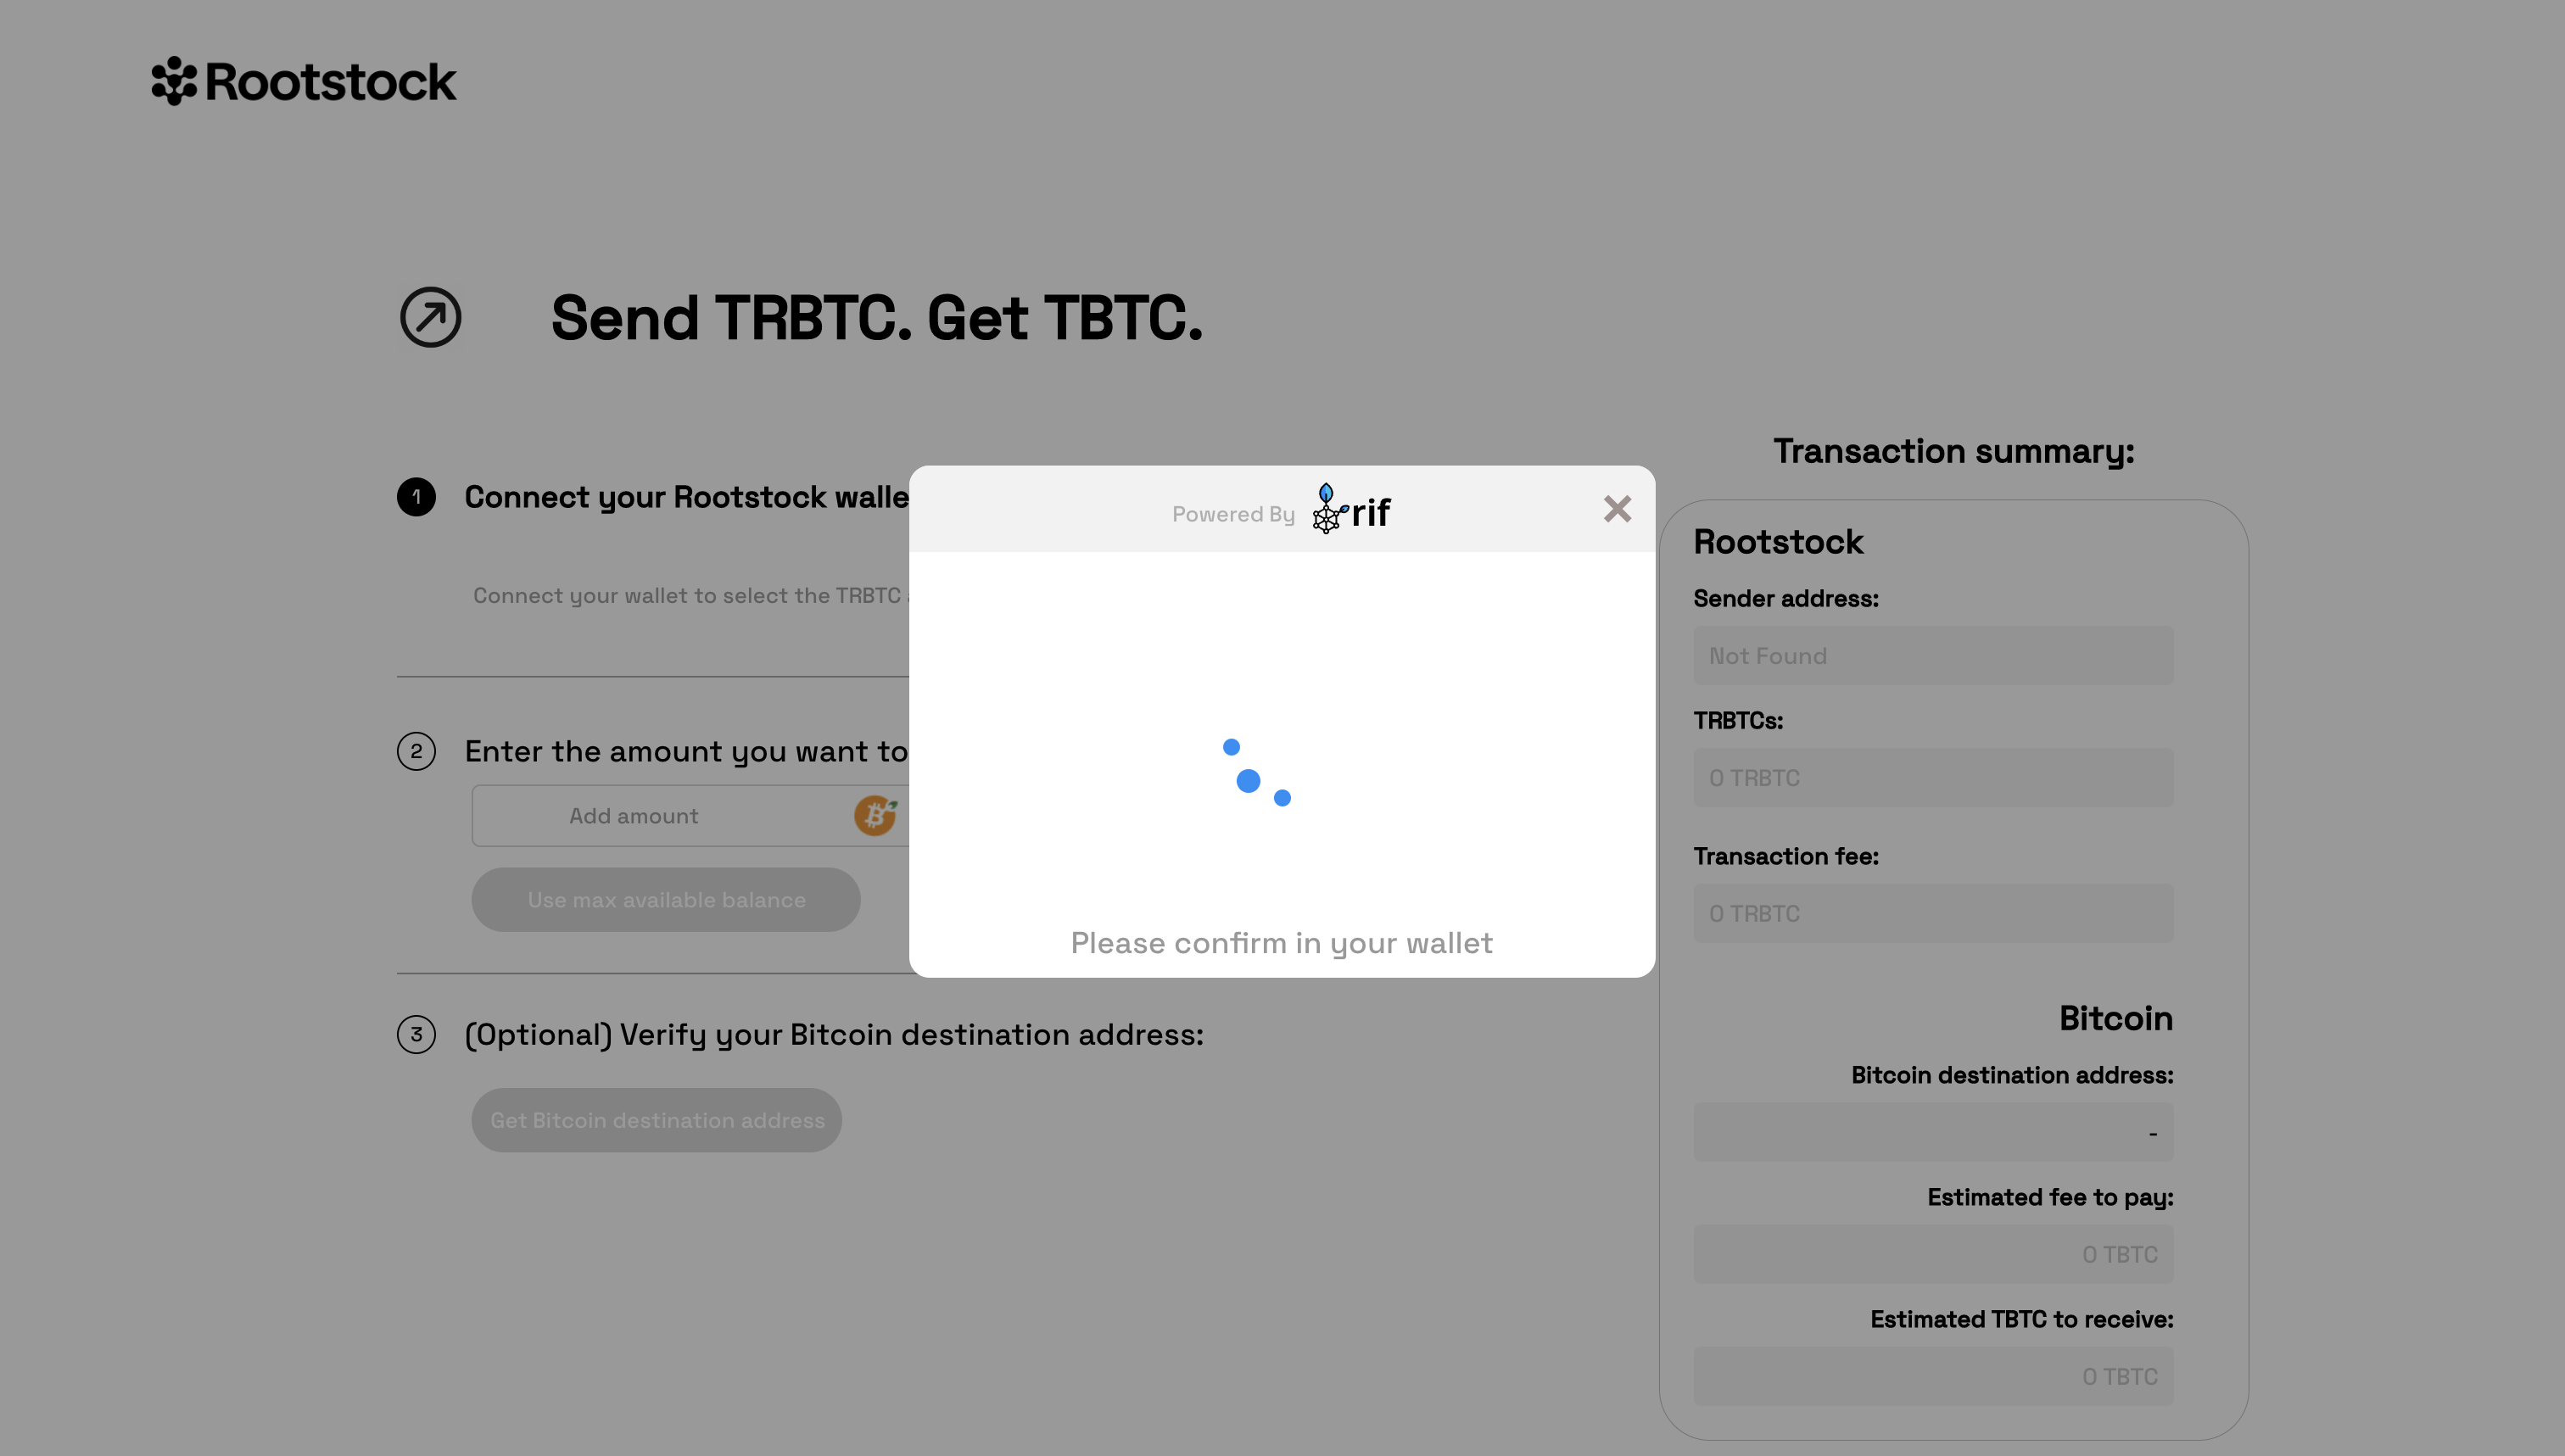
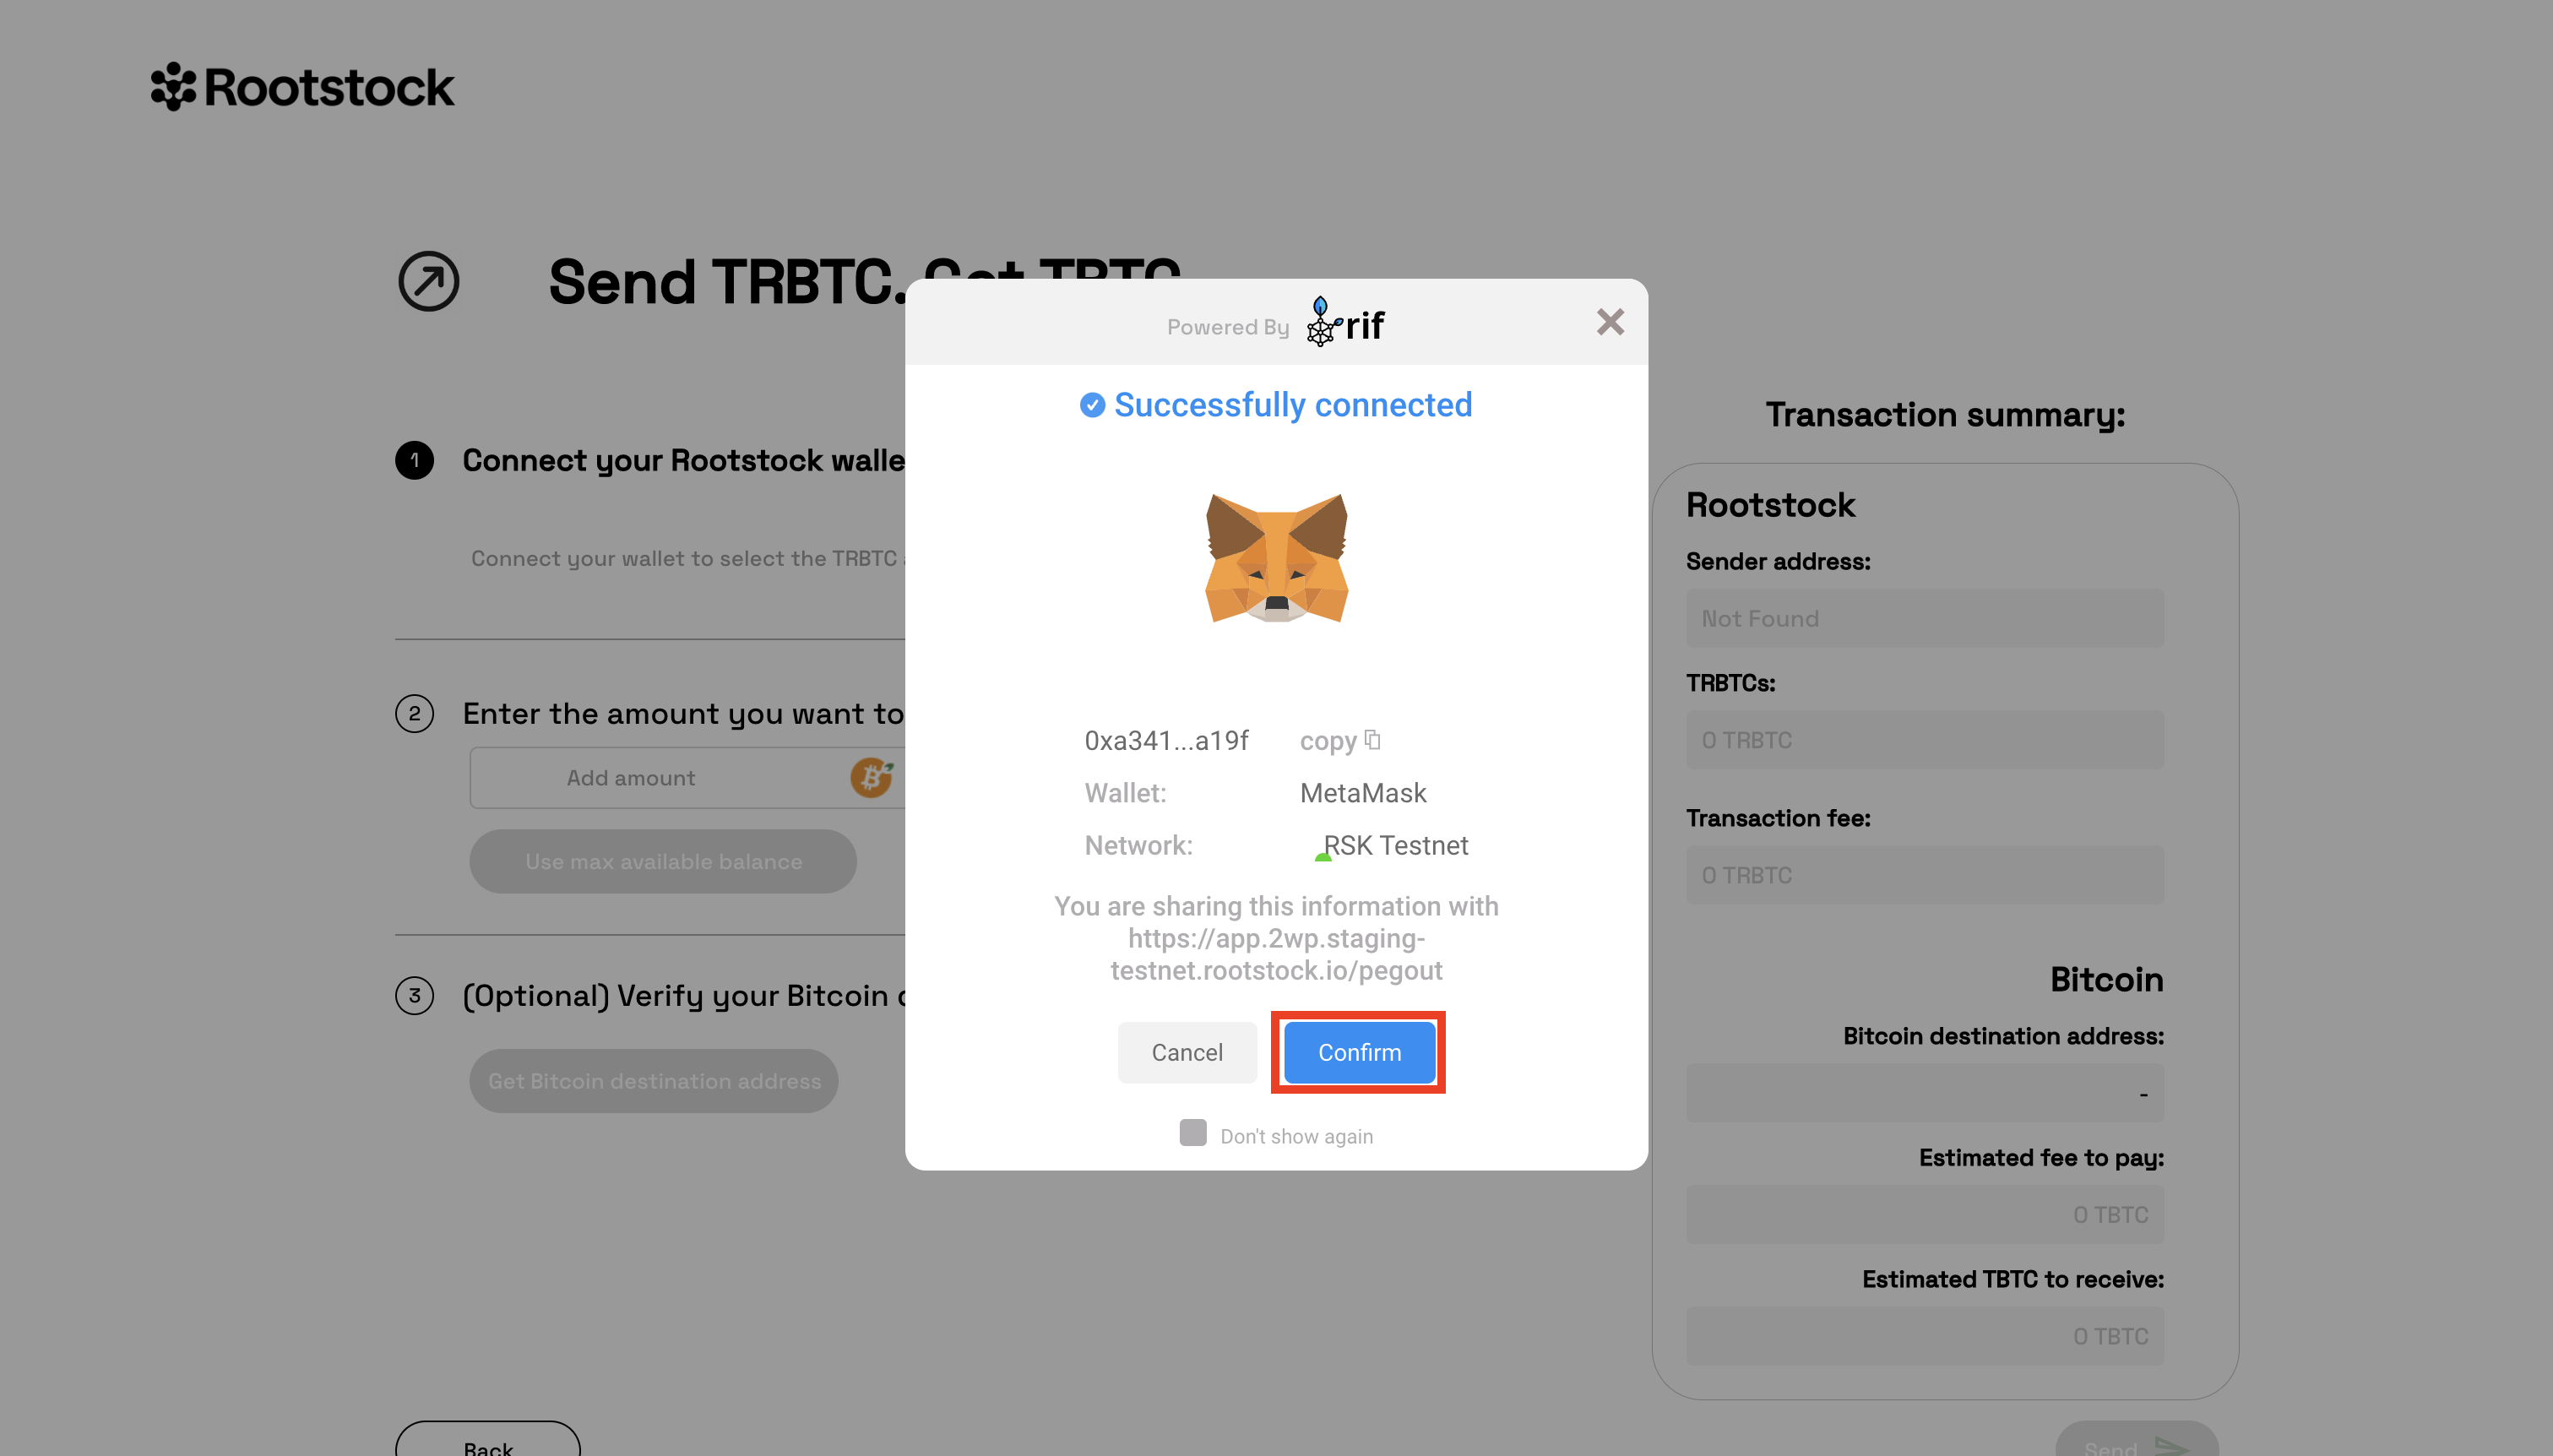
And then click 'Confirm' to complete the first step.
And then click 'Confirm' to complete the first step.
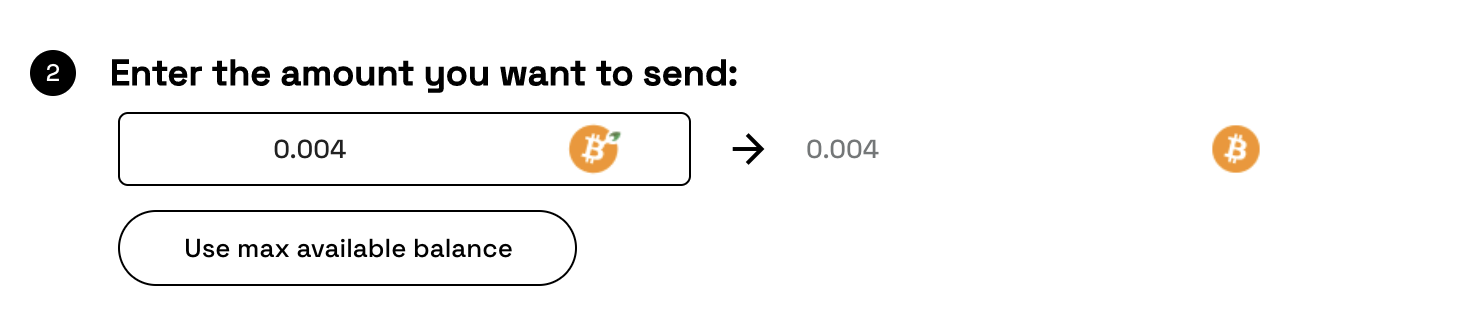
Step 4: Enter an amount
Enter the amount you want to send. You can either enter it manually,
or click 'Use max available balance' if you want to send all the RBTC you have.
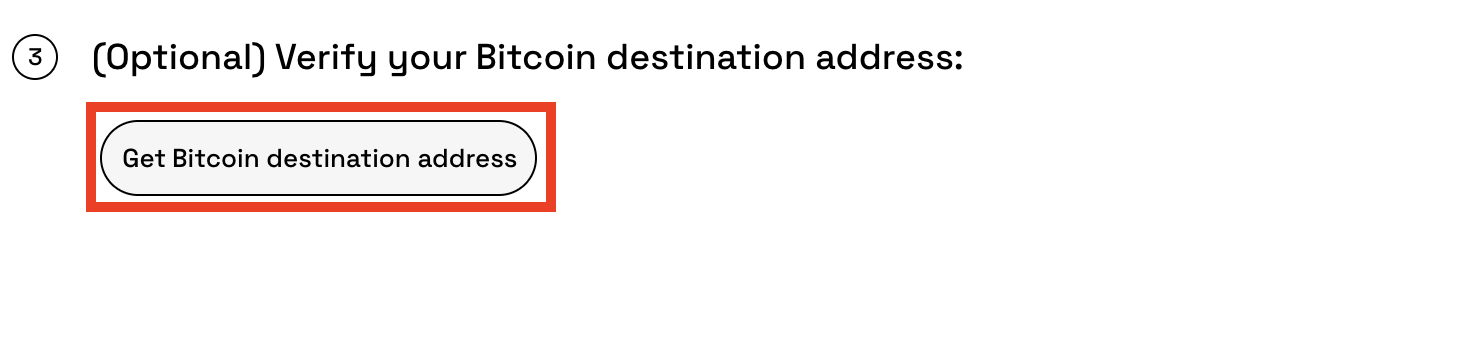
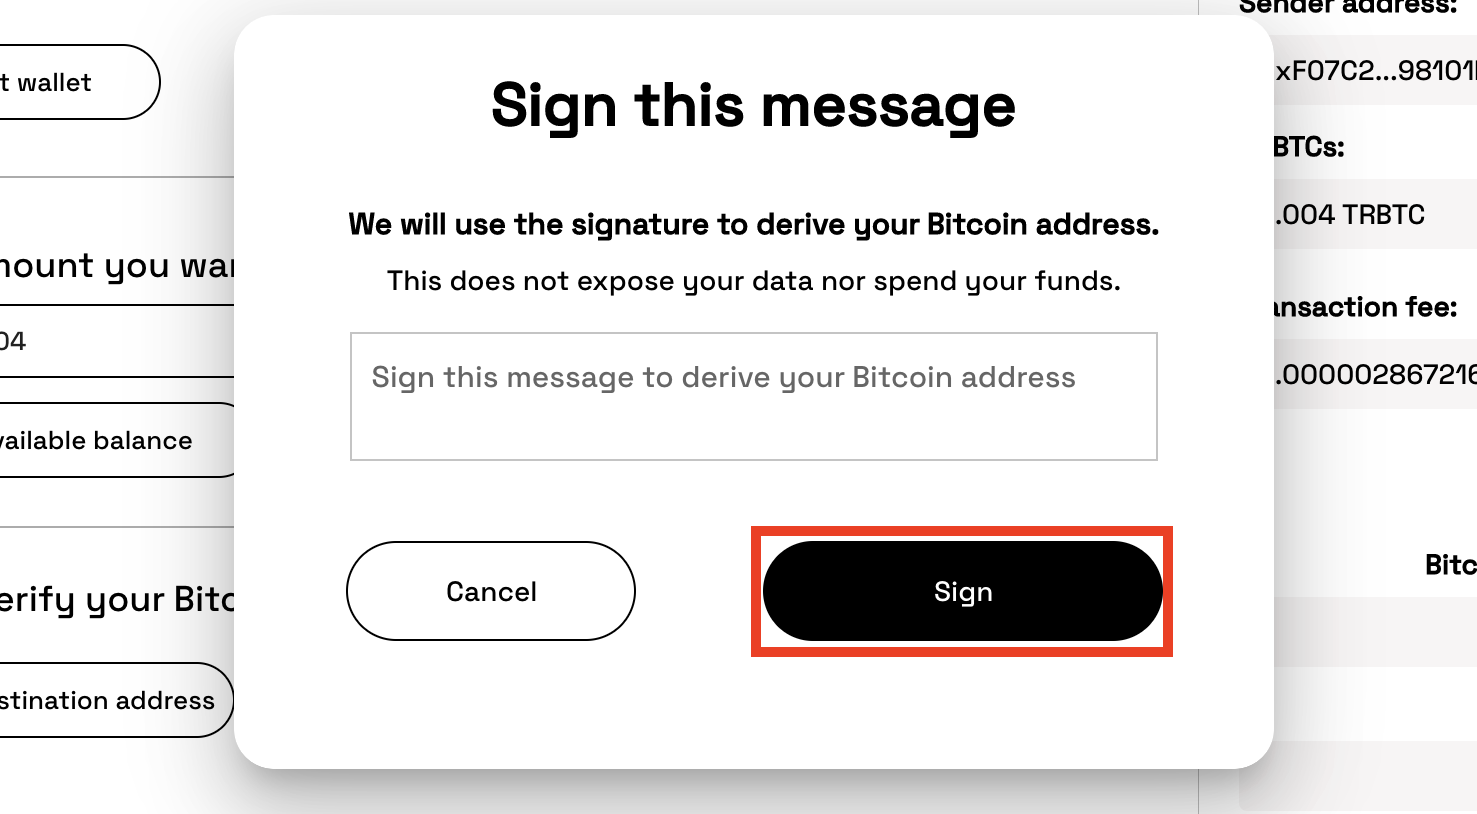
Step 5: Verify your Bitcoin destination address
Step 5: Verify your Bitcoin destination address
Click 'Get Bitcoin destination address'. Click 'Sign' first in 2-Way Peg App and then in MetaMask.
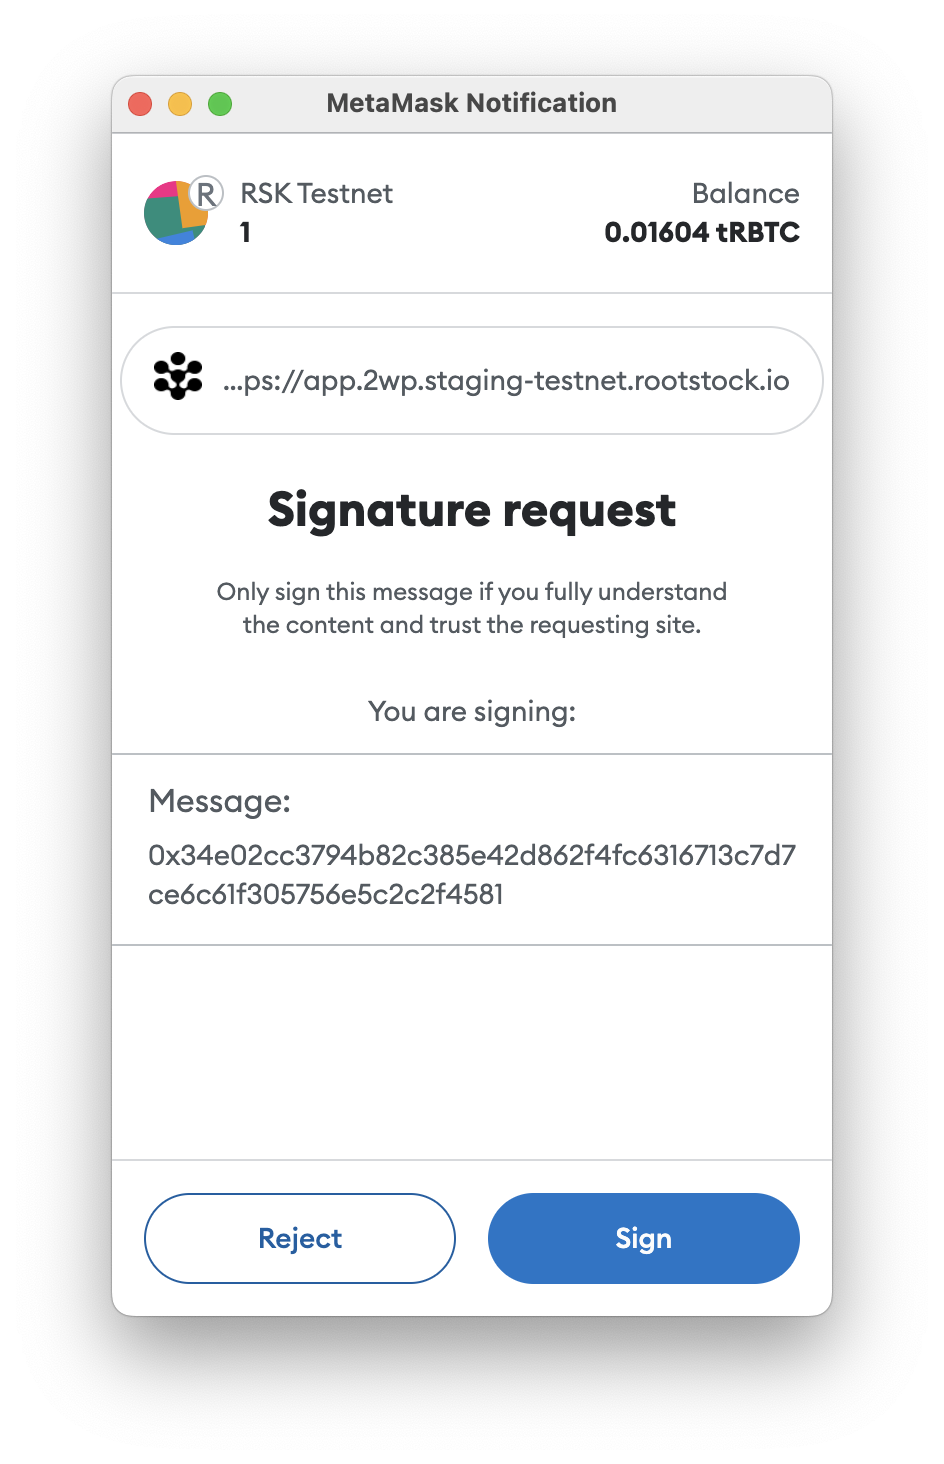
After signing, you will be able to know the derived Bitcoin address where you will receive funds.
After signing, you will be able to know the derived Bitcoin address where you will receive funds.
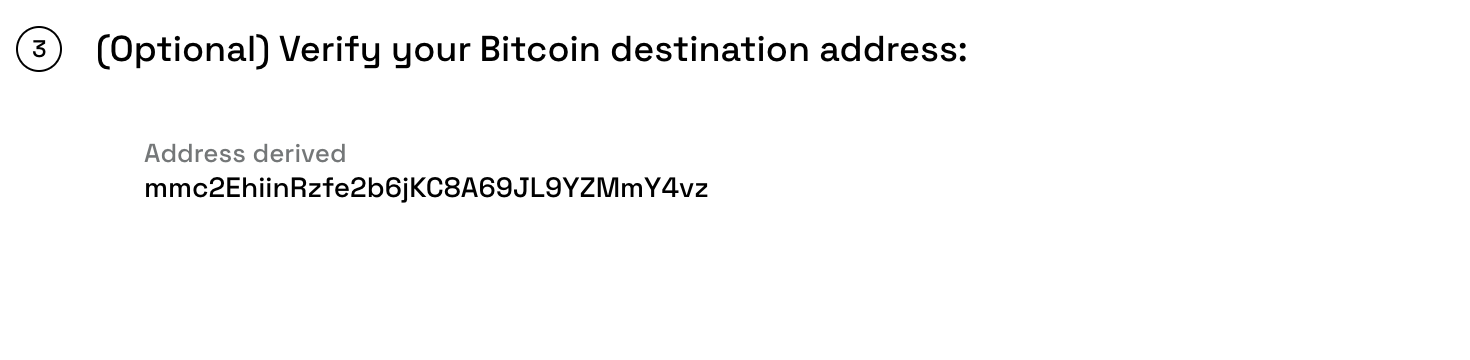
For more details on derived addresses. See the advanced operations section.
Step 6: Send transaction
Confirm the information, click 'Send' in 2-Way Peg App and then click 'Confirm' in MetaMask.
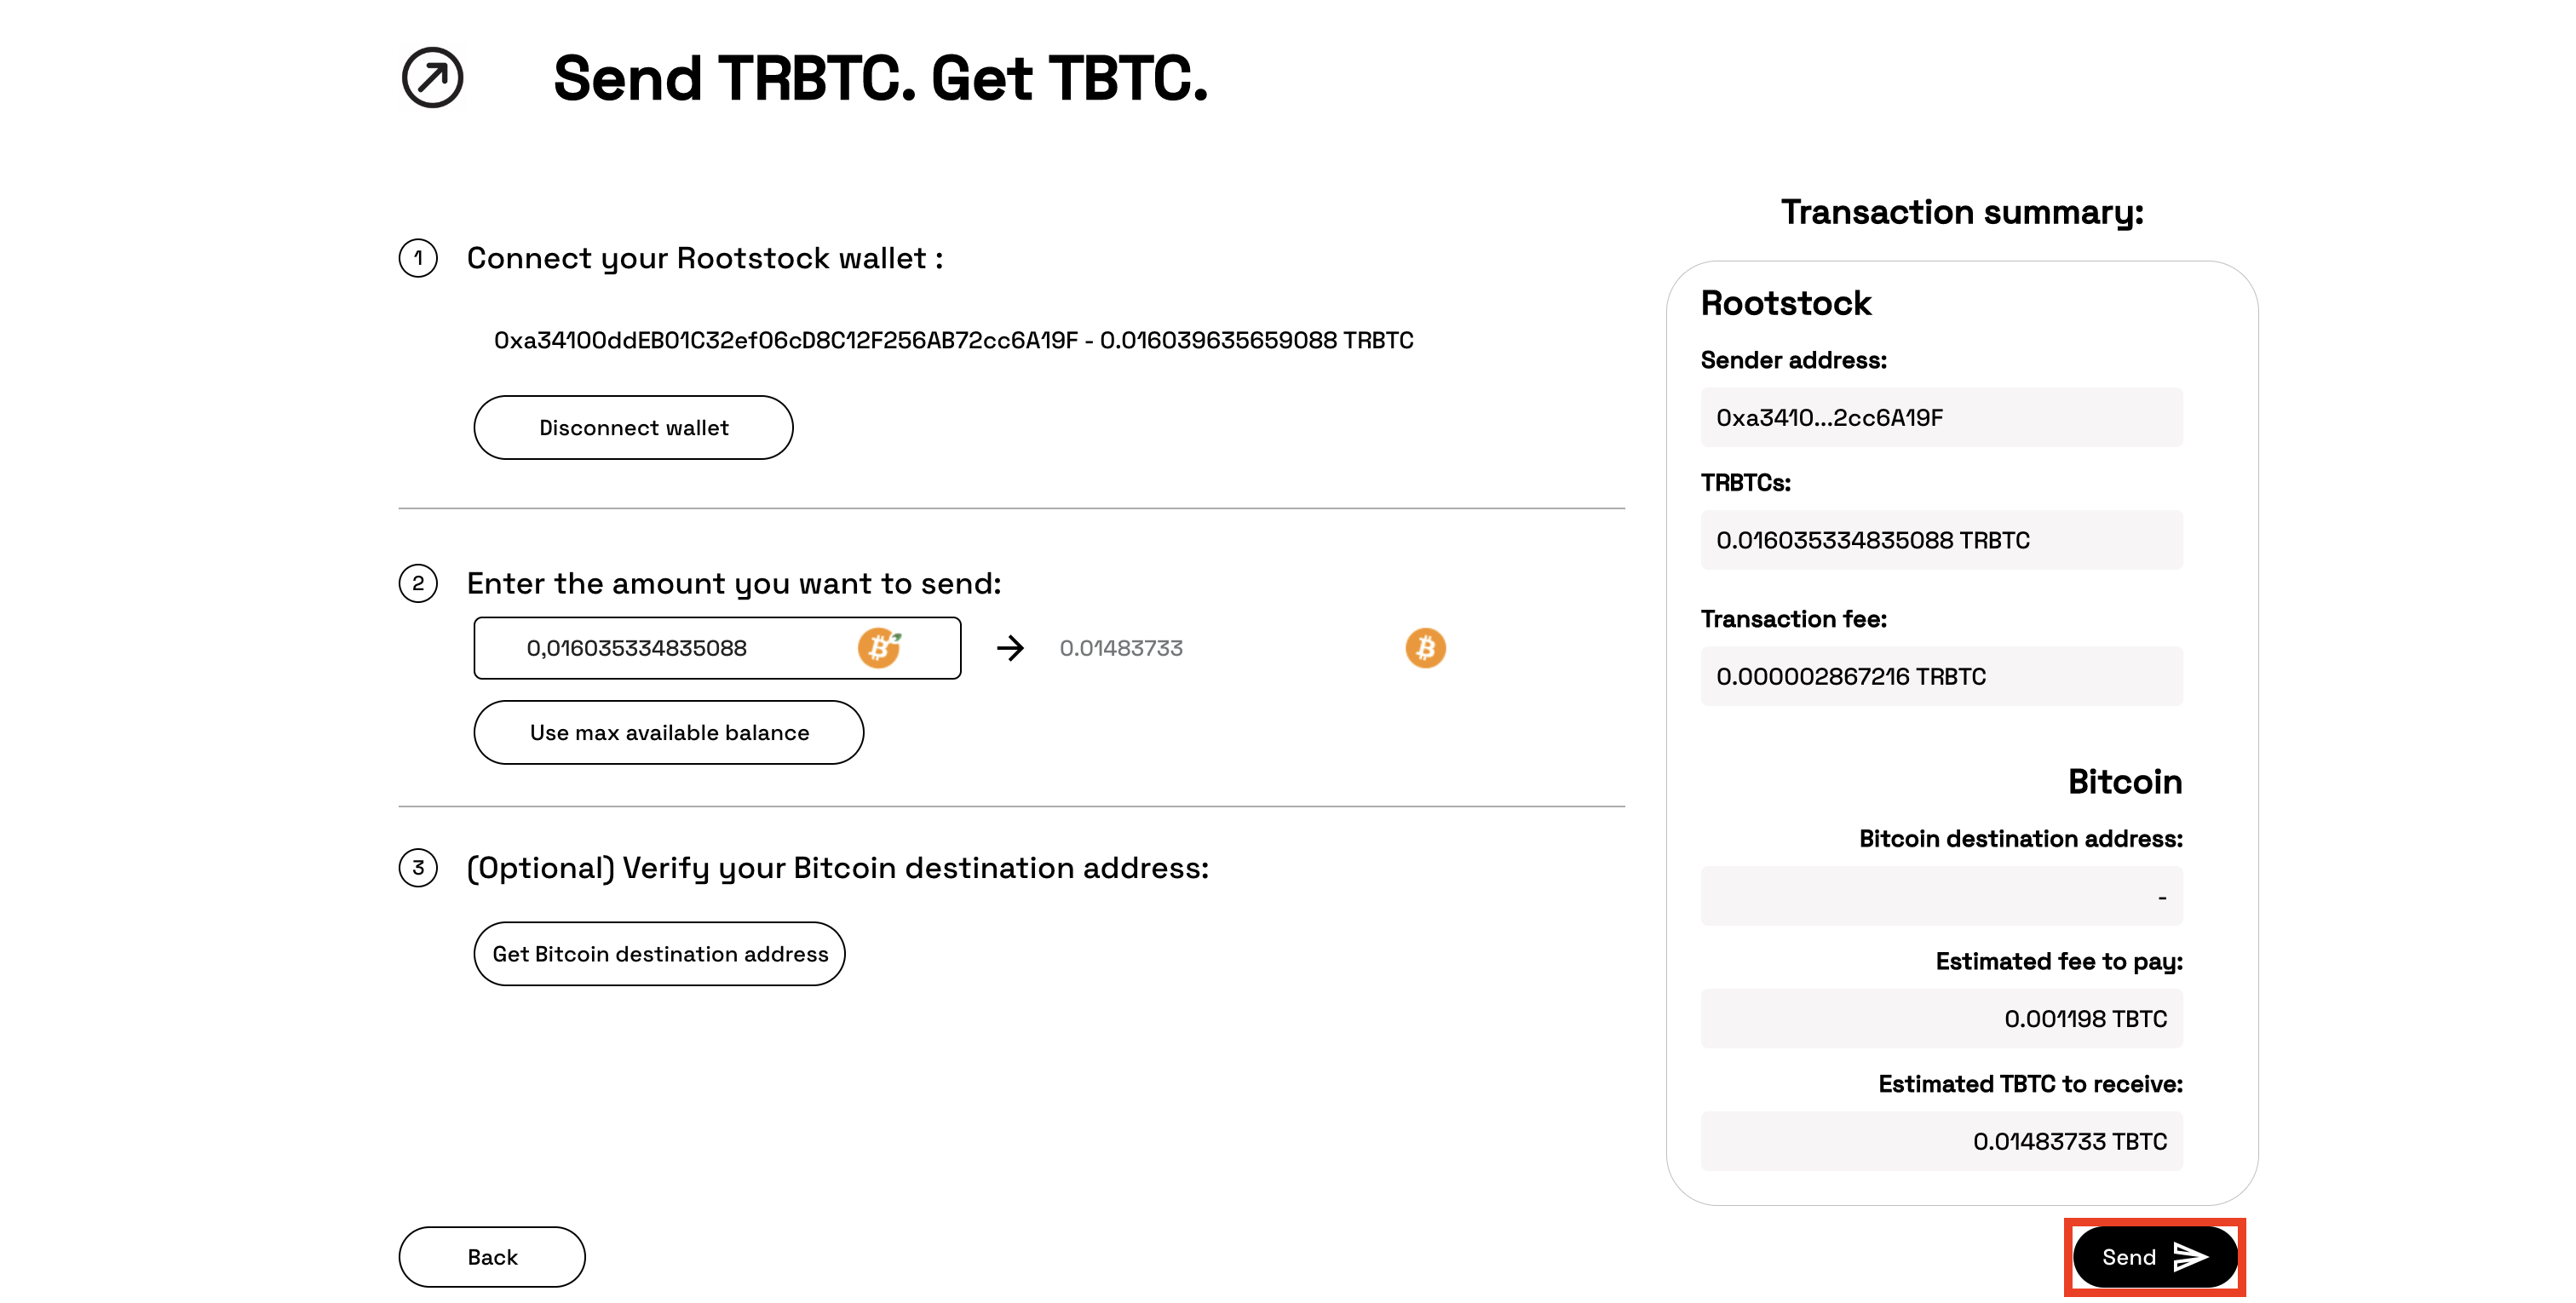
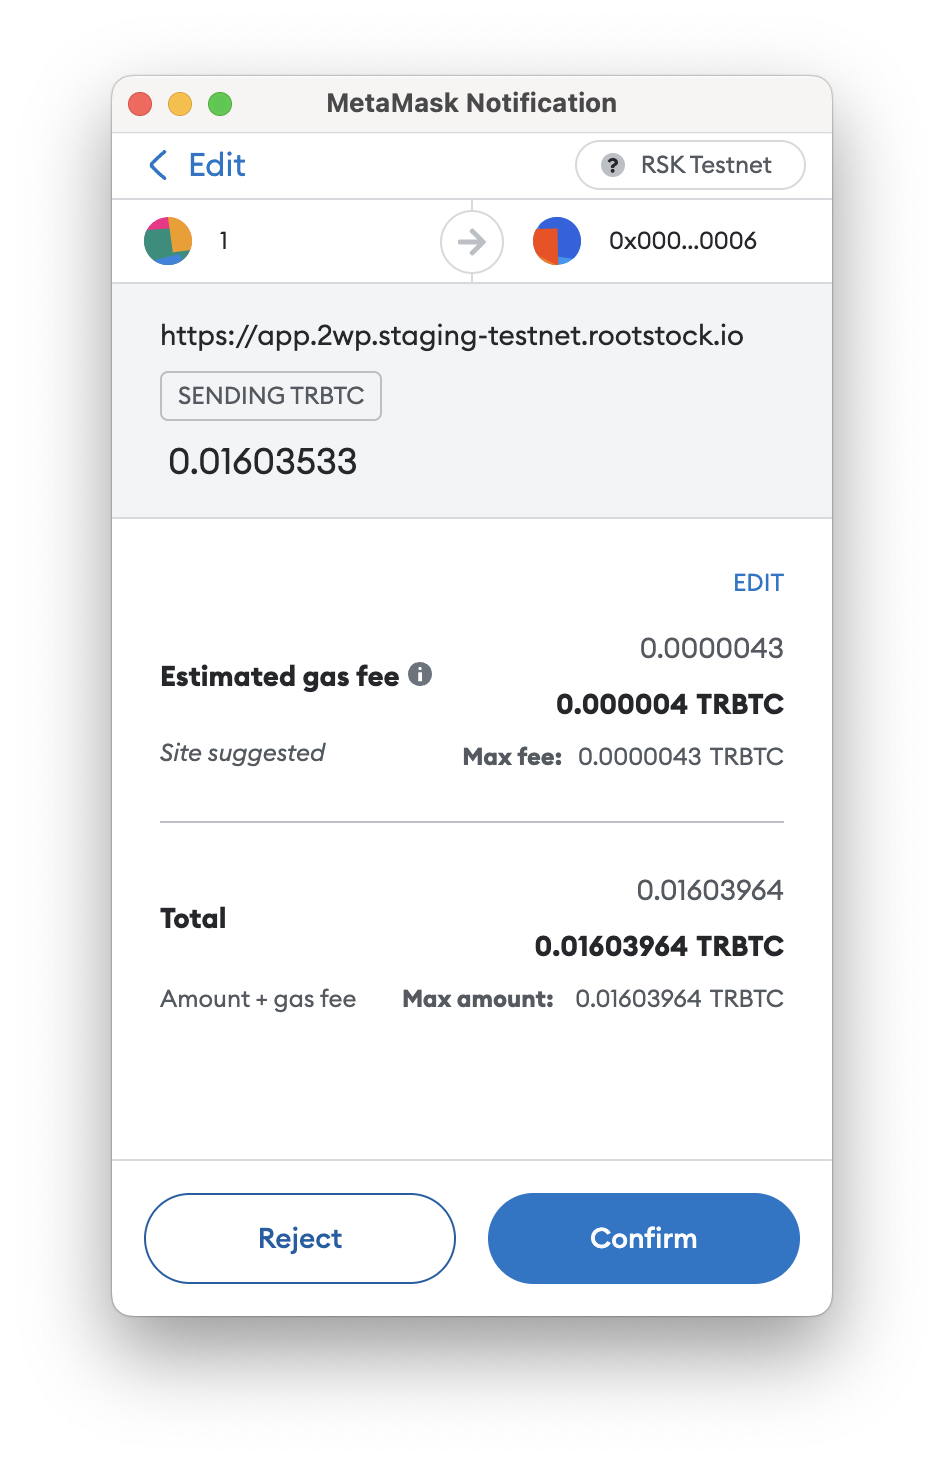
See final screen as shown in the image below;
See final screen as shown in the image below;
Performing a peg-out transaction using Liquality
The Liquality Wallet is a browser extension for accessing Bitcoin, Rootstock, and Ethereum applications.
Step 1: Choose the RBTC - BTC conversion type
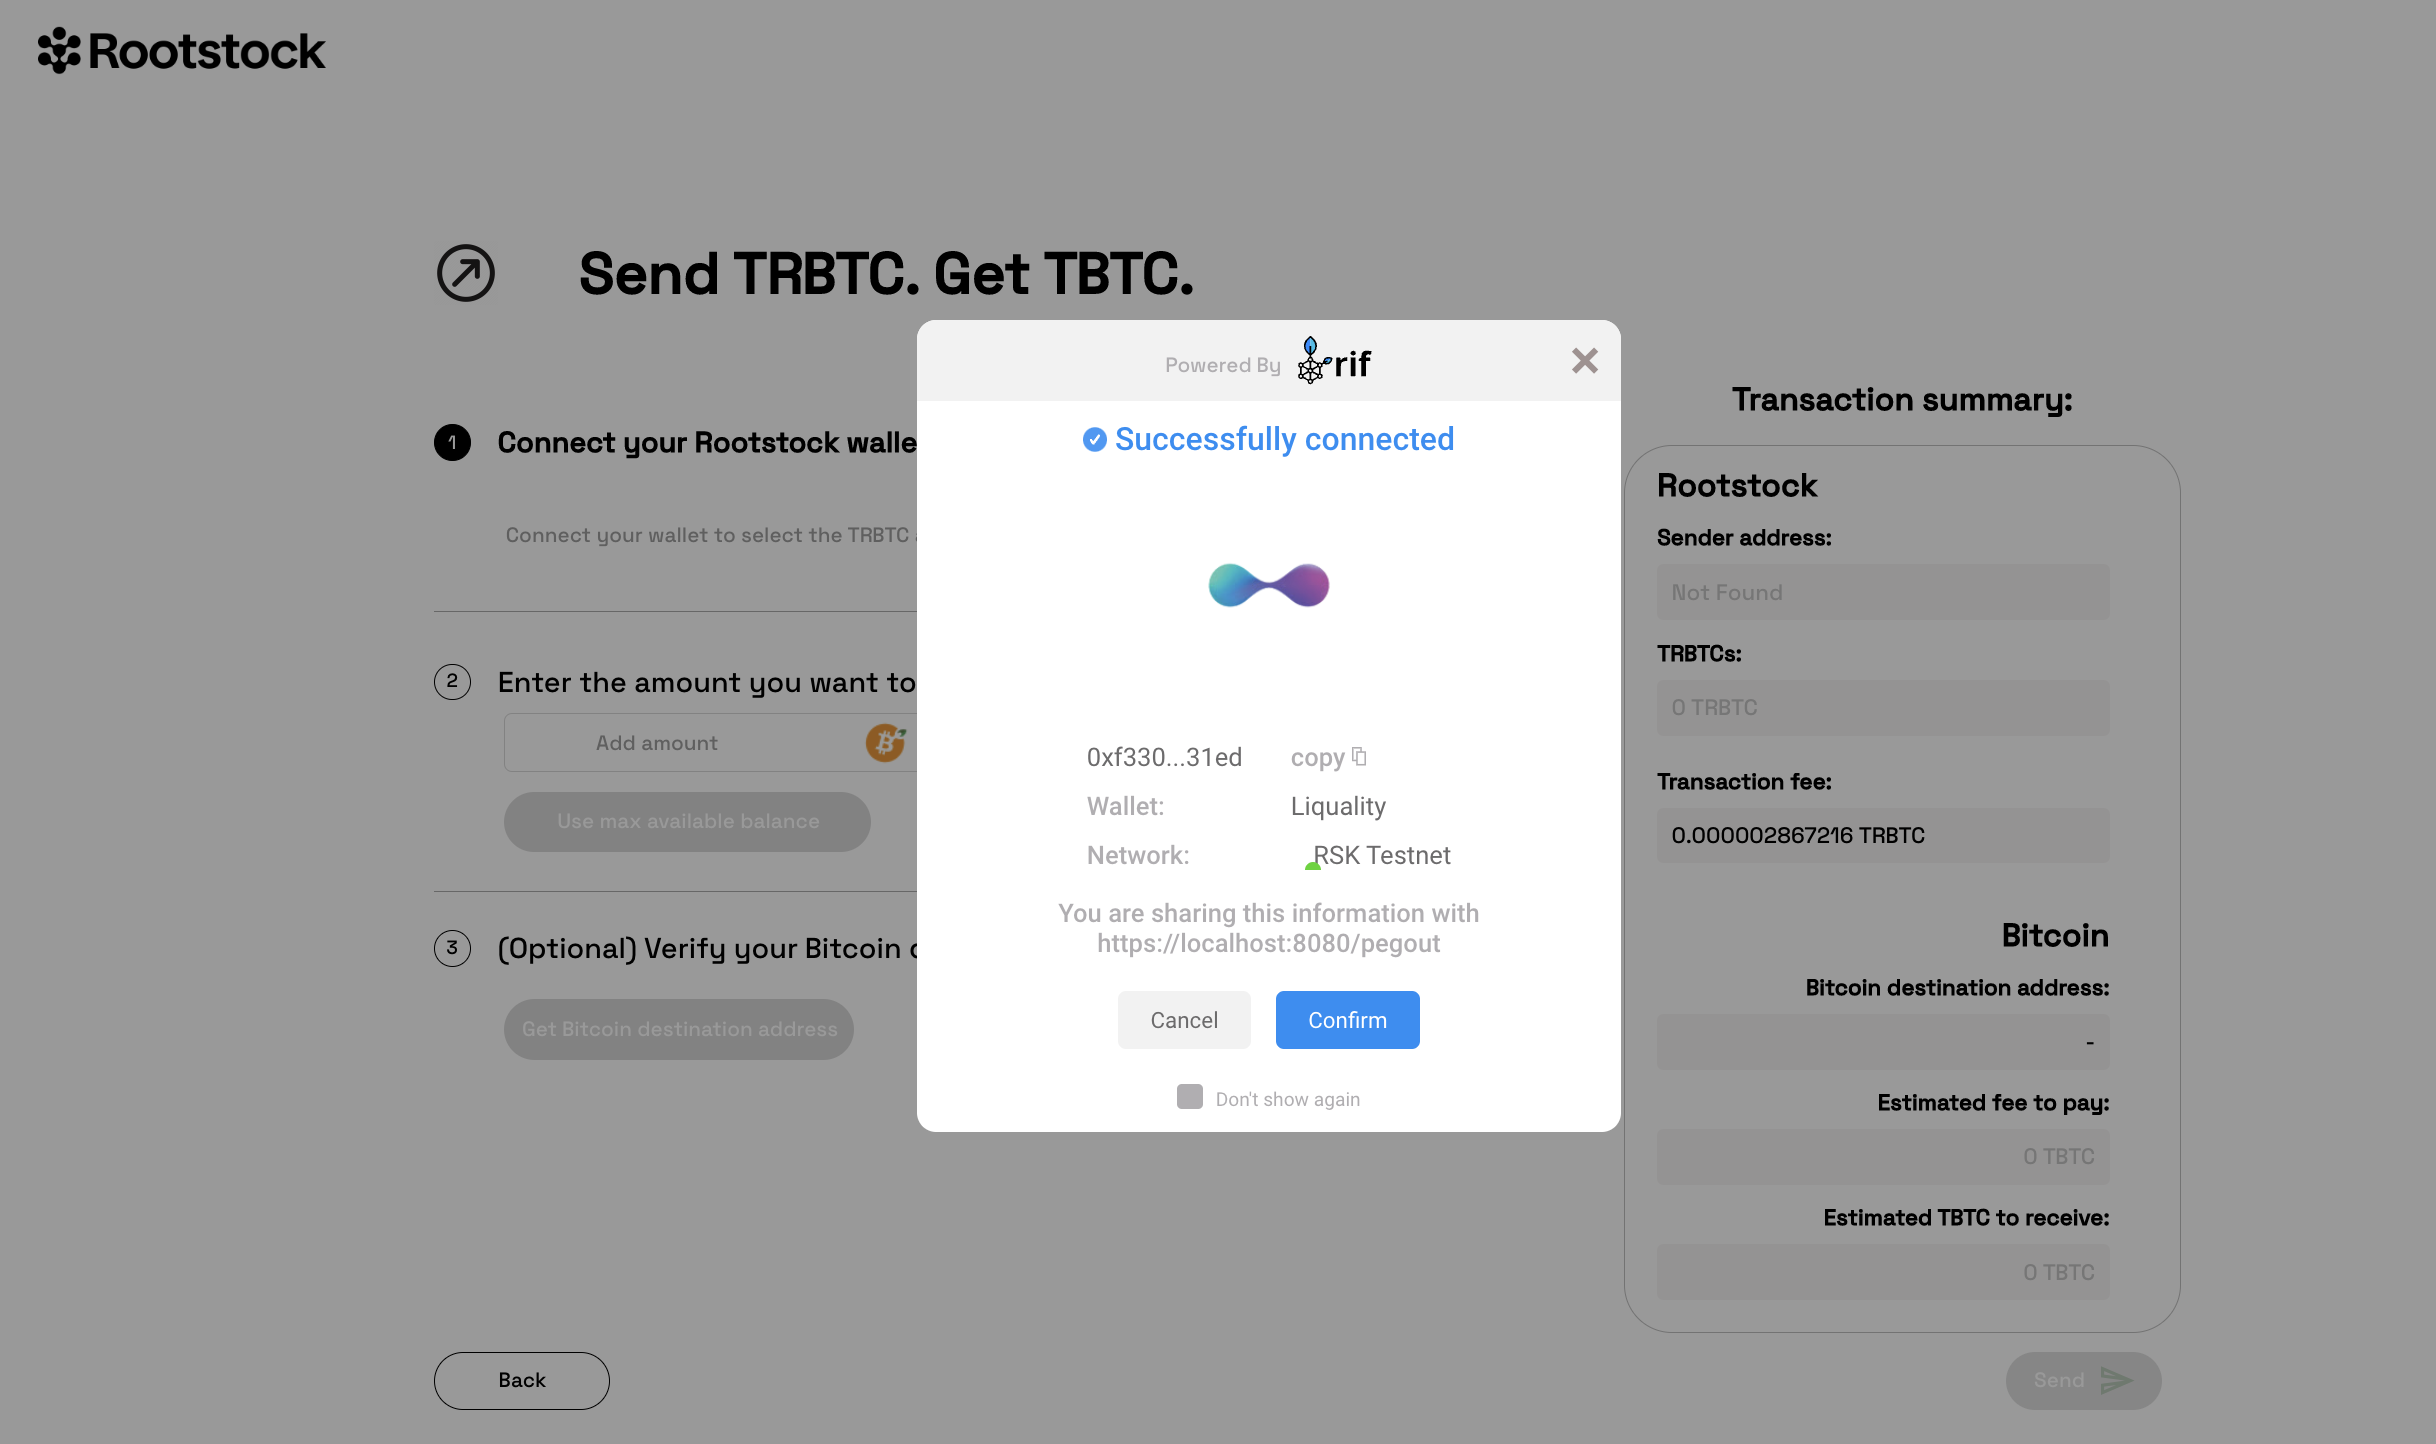
Step 2: Connect your Liquality wallet
See how to unlock your wallet, if locked.
See how to unlock your wallet, if locked.
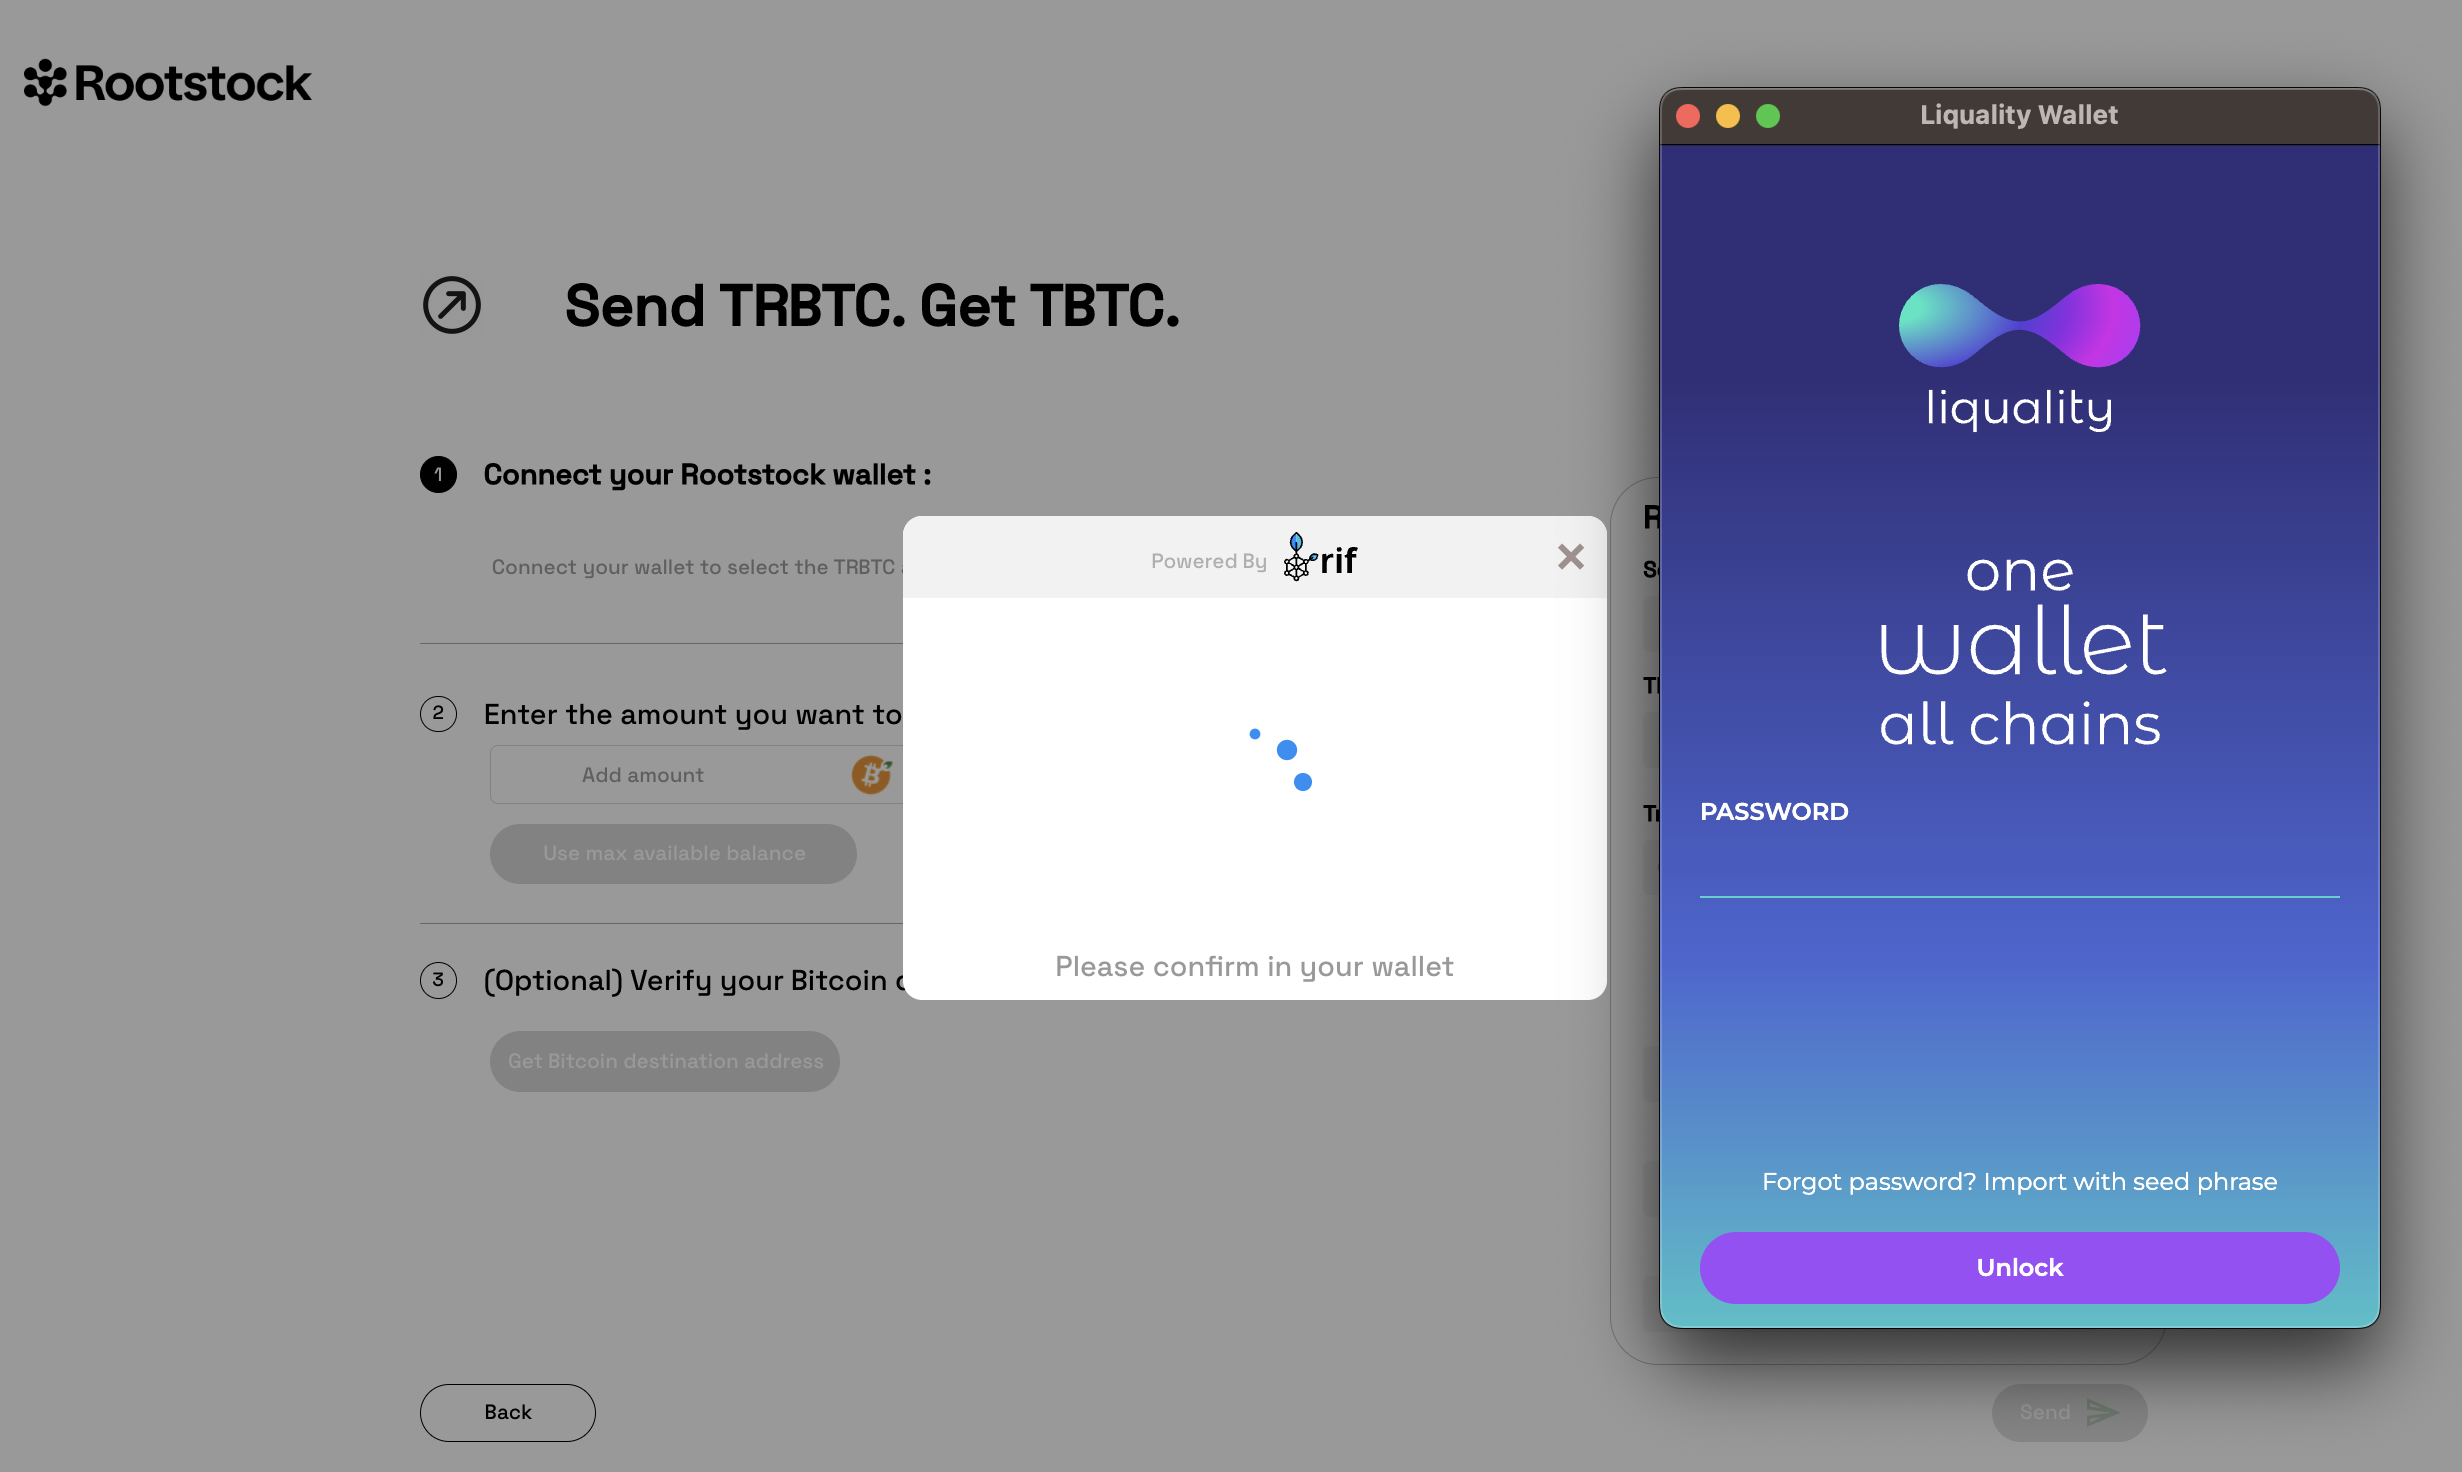
Then, click 'Confirm' to complete the first step.
Then, click 'Confirm' to complete the first step.
Step 3: Enter the amount you want to send
Step 3: Enter the amount you want to send
You can either enter it manually or click 'Use max available balance' if you want to convert all the rbtc you have.
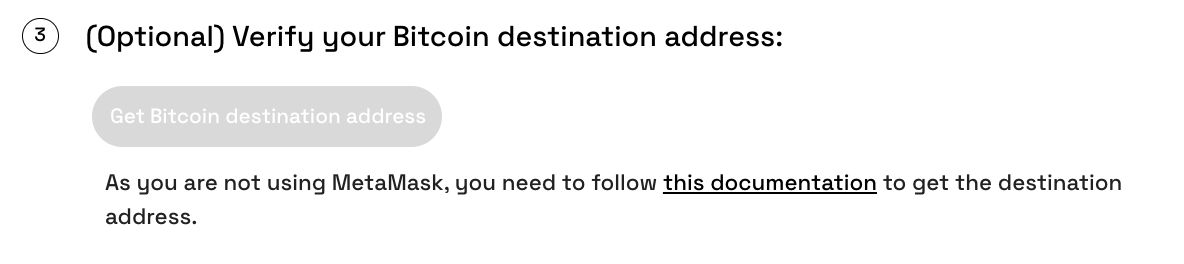
Step 4: Verify your Bitcoin destination address
We don't support the Bitcoin destination address' derivation from Liquality yet, so you have to follow the documentation linked here:
Step 5: Send transaction
Step 5: Send transaction
Review the information, and click 'Send' in 2-way peg app and then click 'Confirm' in Liquality.
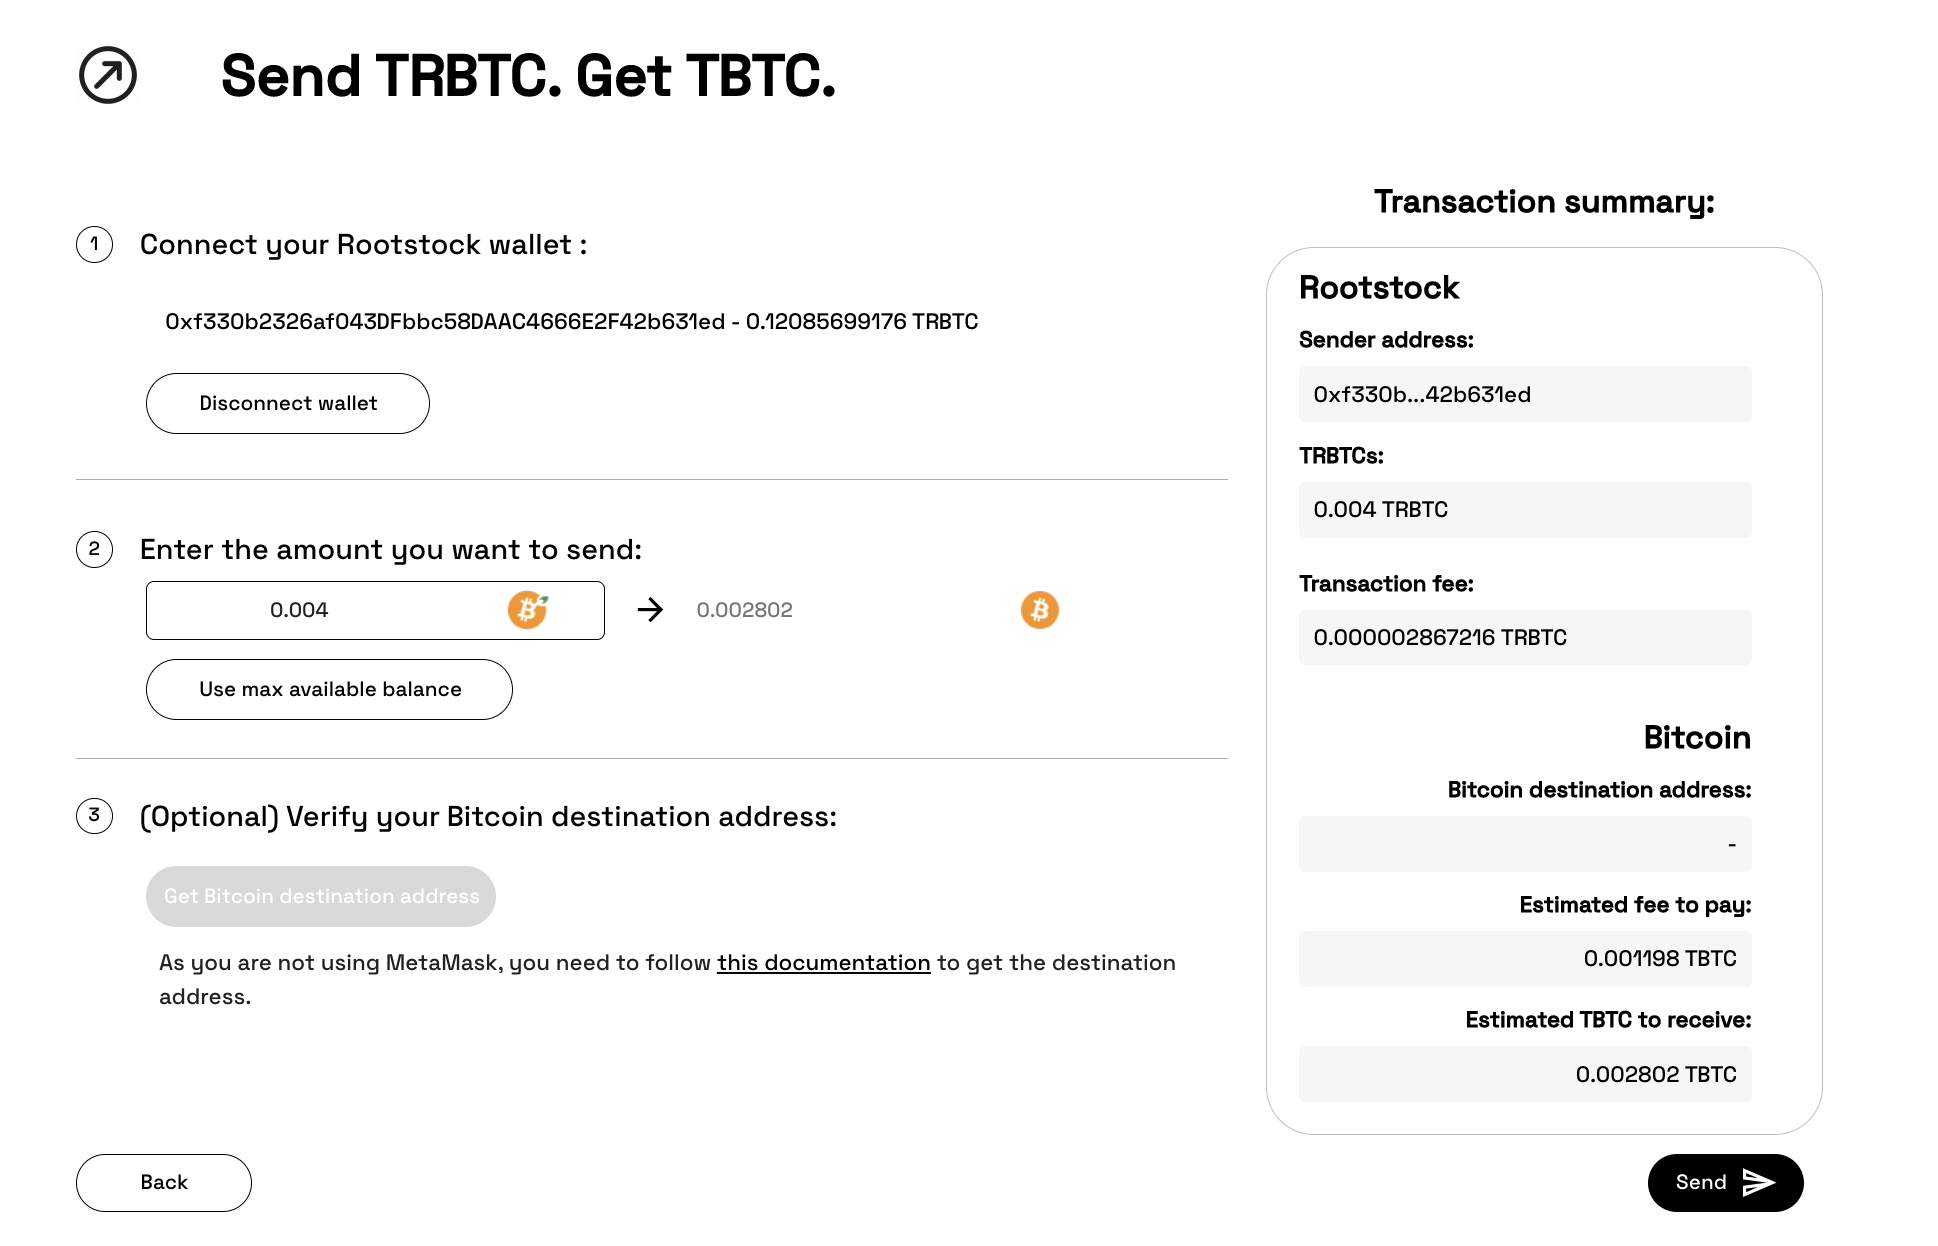
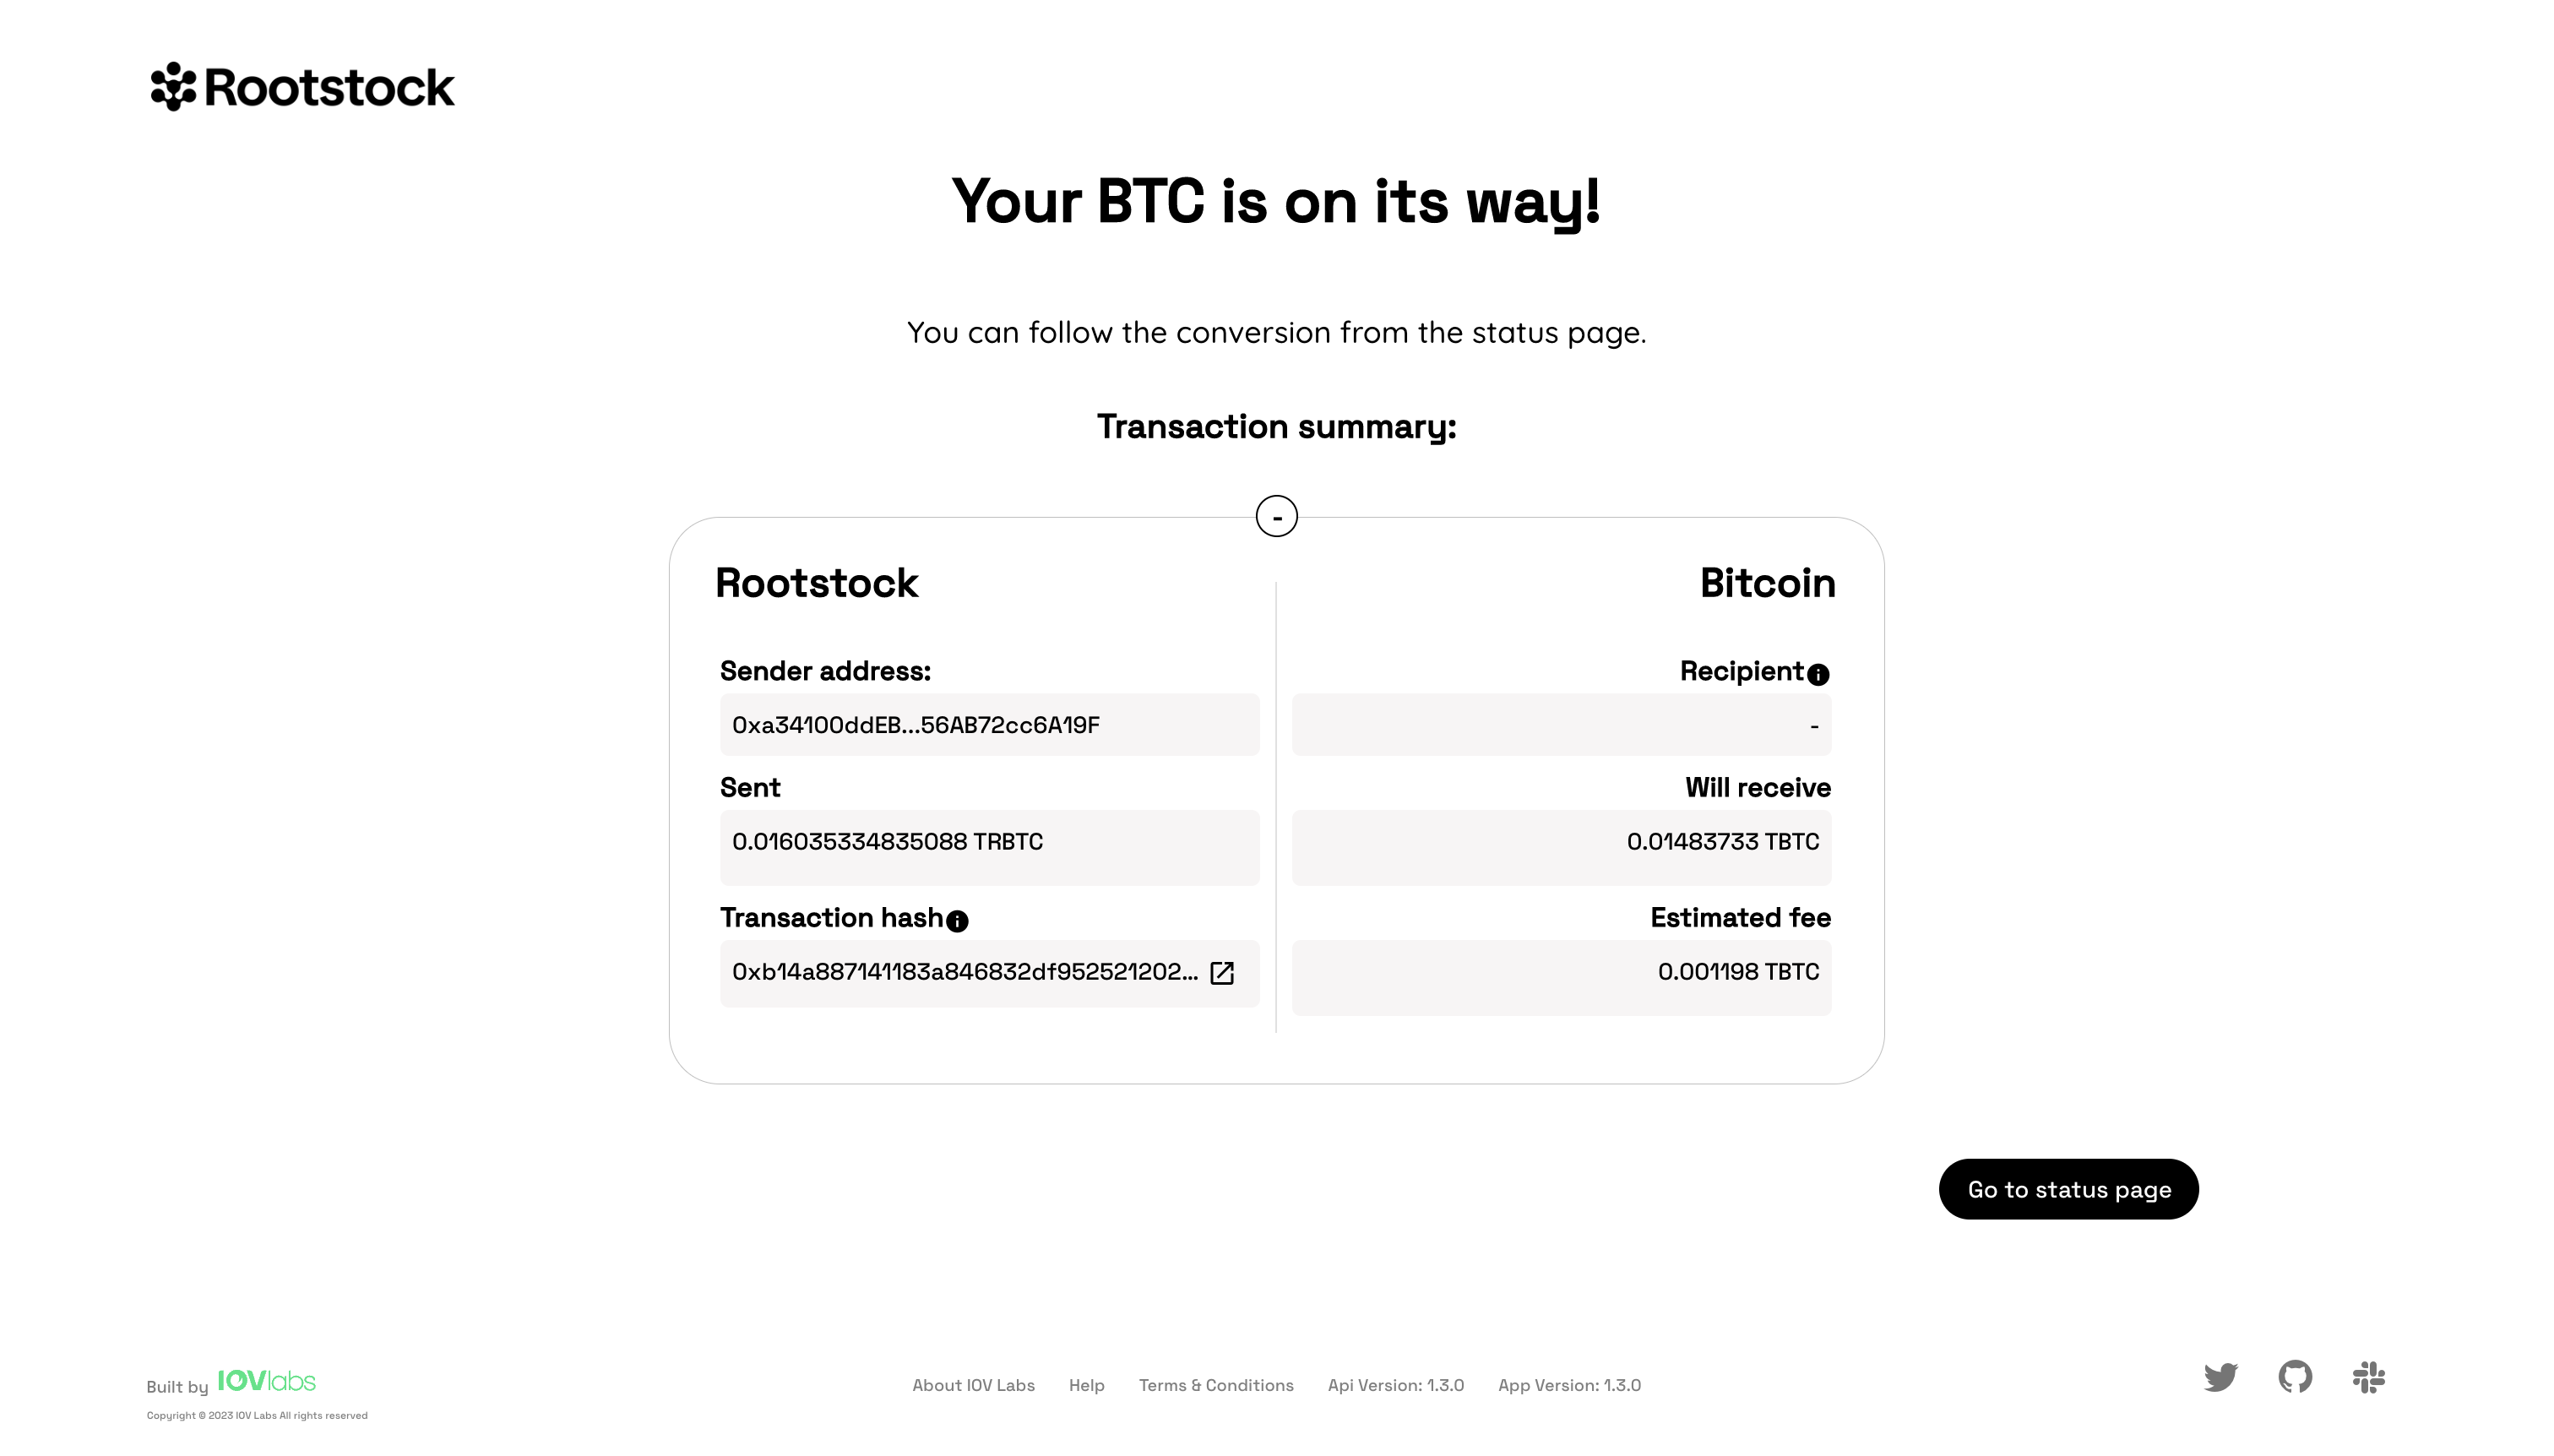
The final screen will be like the one below.
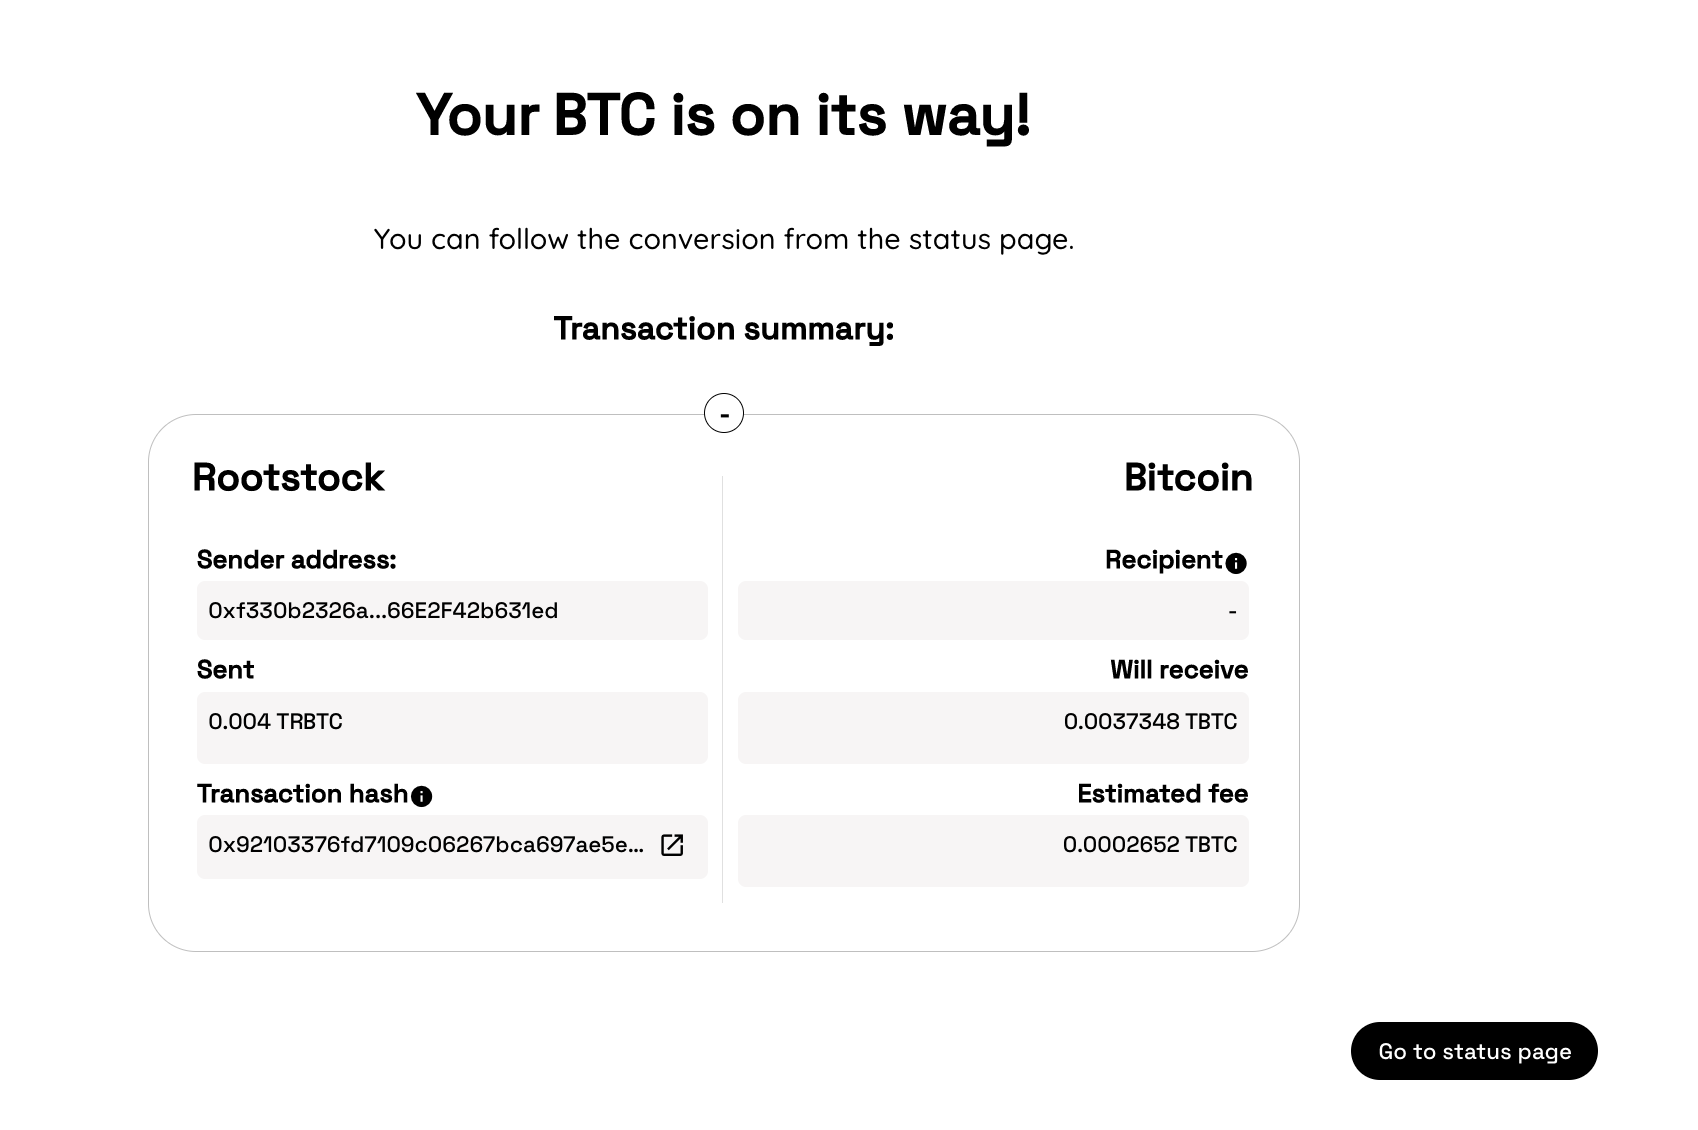
To see the status of a transaction, click on the Go to status page button, you will see a page as shown below, with your pegout tx and your Bitcoin recipient address information as well.
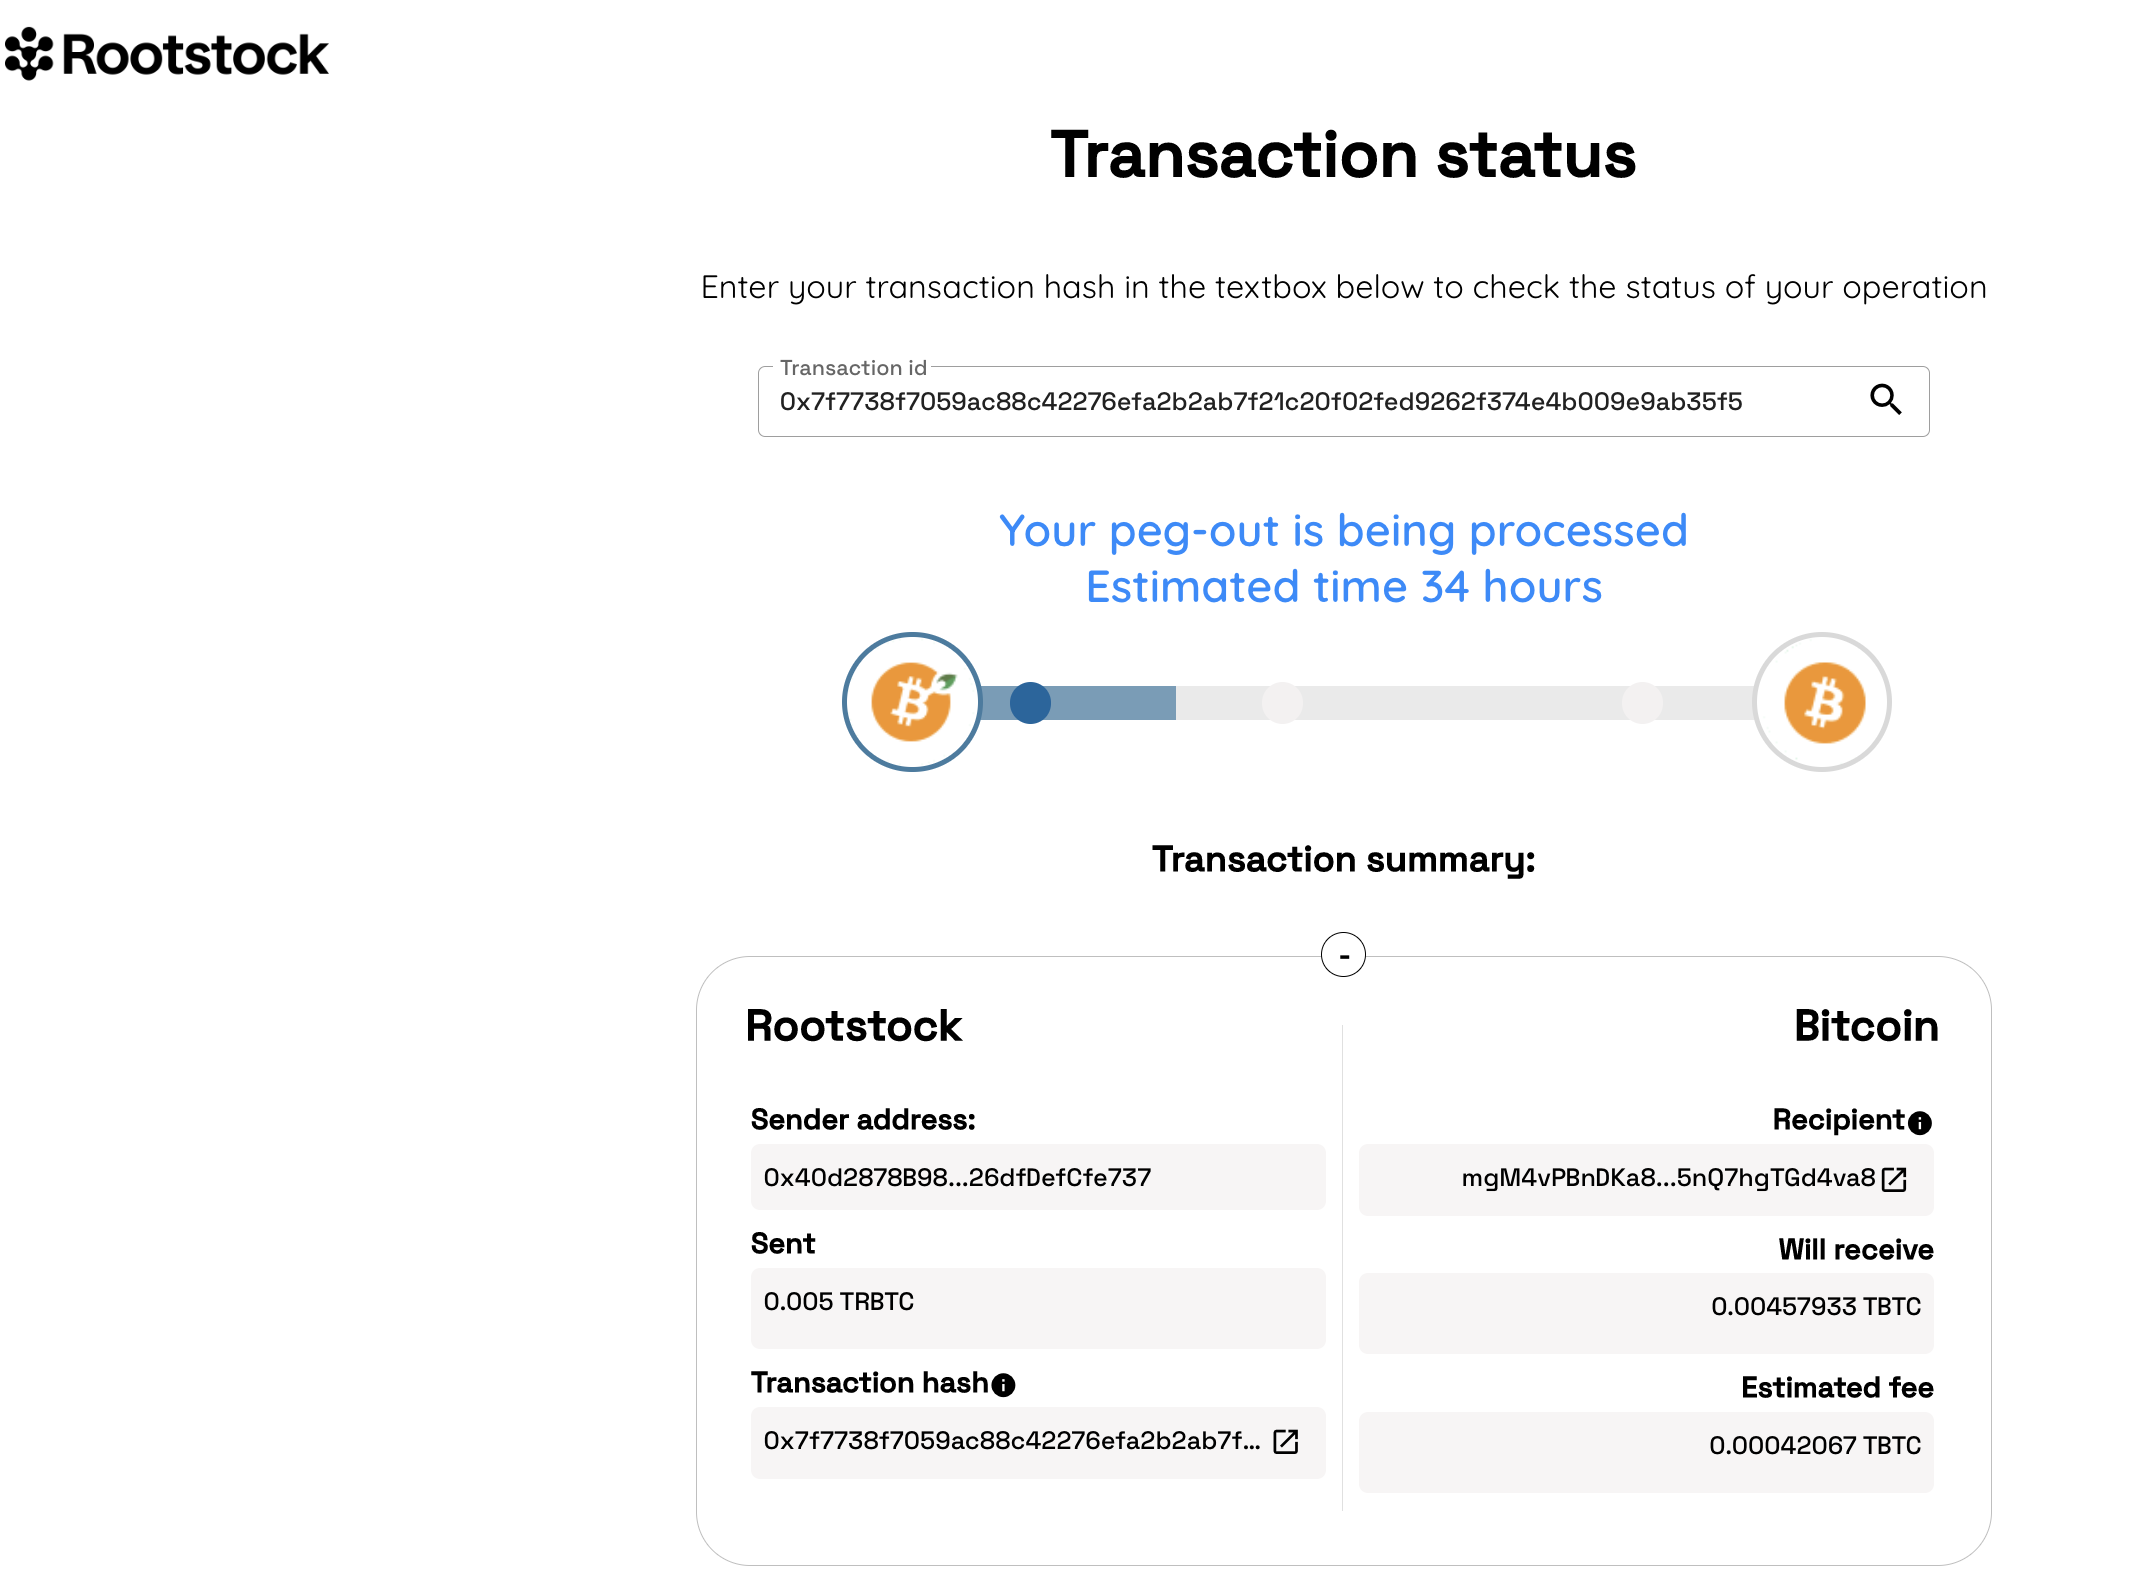
This address should match the one you can access through Electrum. See How to view a derived address and How to check a transaction status.
Performing a peg-out transaction using Ledger and Liquality
The Liquality Wallet is a browser extension for accessing Bitcoin, Rootstock, and Ethereum applications.
We will perform a peg-out transaction using the Ledger Hardware Wallet and Liquality.
Get started
To perform a peg-out transaction using the Ledger device with Liquality, follow the steps below:
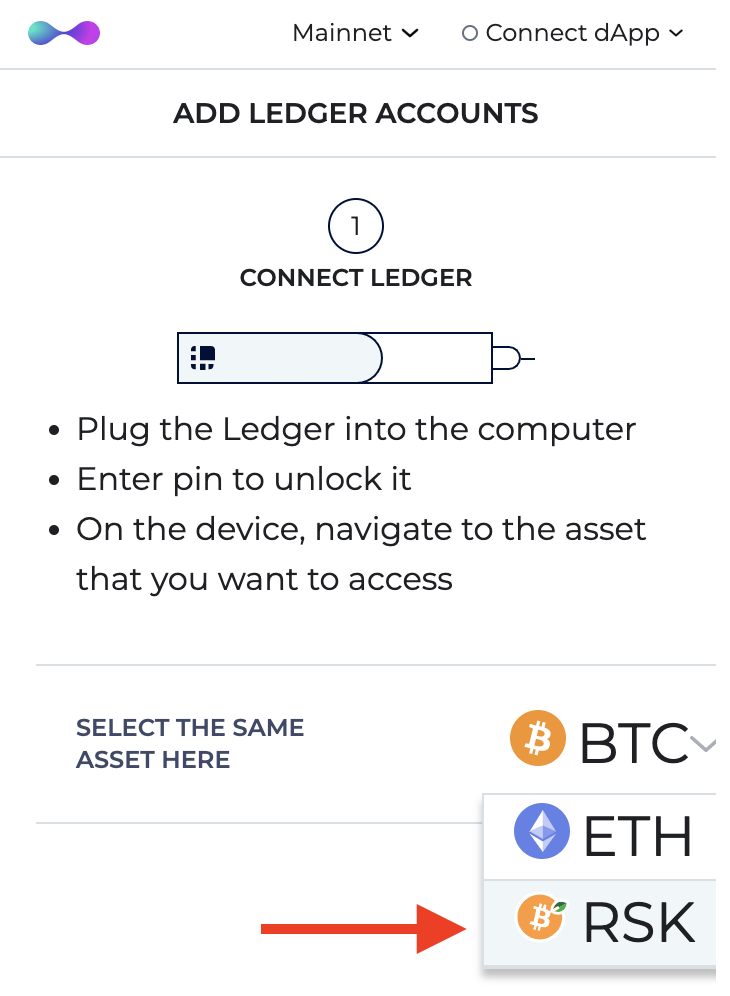
Step 1: Plug the Ledger device into the computer
Step 2: Enter your pin to unlock it. See step 2 in pegout transaction using Liquality for how to unlock your device.
Step 3: On the device, navigate to the TSK or RSK Test app on your Ledger device.
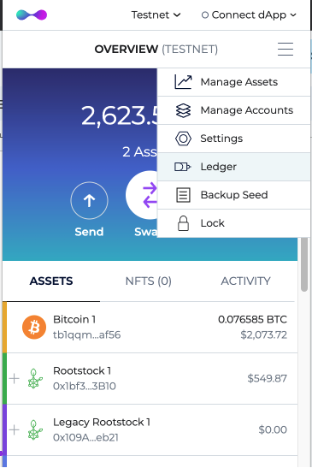
Step 4: Open Liquality and select Ledger option
Step 5: Choose the "RSK asset" and click on the "Connect" button
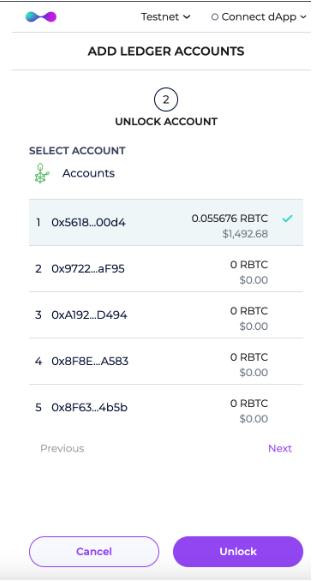
Step 6: Choose the account that you want to use with Liquality
Step 7: Click the "Close this Tab" button
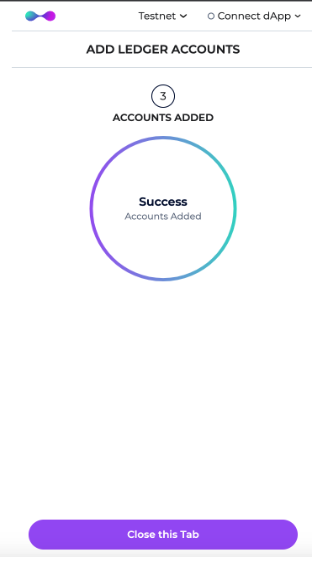
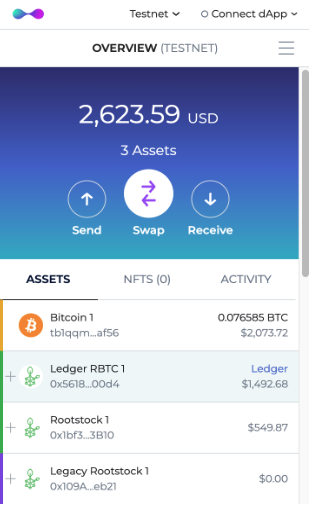
Now you can see "Ledger" label in Liquality accounts
Performing a peg-out transaction using rLogin(Trezor and Ledger)
> - Note that we will be using the 2 way peg app on 2 way peg app - Testnet for learning purposes.
- For transactions using real tokens, use the 2 way peg app - Mainnet application.
- We're using Ledger Nano and Trezor One hardware wallets on this tutorial.
- For how to perform a peg-in transaction using hardware wallets. See Getting started using hardware wallets.
- To use Ledger hardware wallet to create a peg-in see How to perform a peg-in transaction using Ledger
- To use Trezor hardware wallet to create a peg-in see How to perform a peg-in transaction using Ledger
Get started with Ledger
To perform a peg-out transaction using the Ledger device directly, follow the steps below:
Step 1: Plug the Ledger device into the computer
Step 2: Enter your pin to unlock it
Step 3: On the device, navigate to the TRSK or RSK Test app on your Ledger device
Step 4: Access peg-out screen:
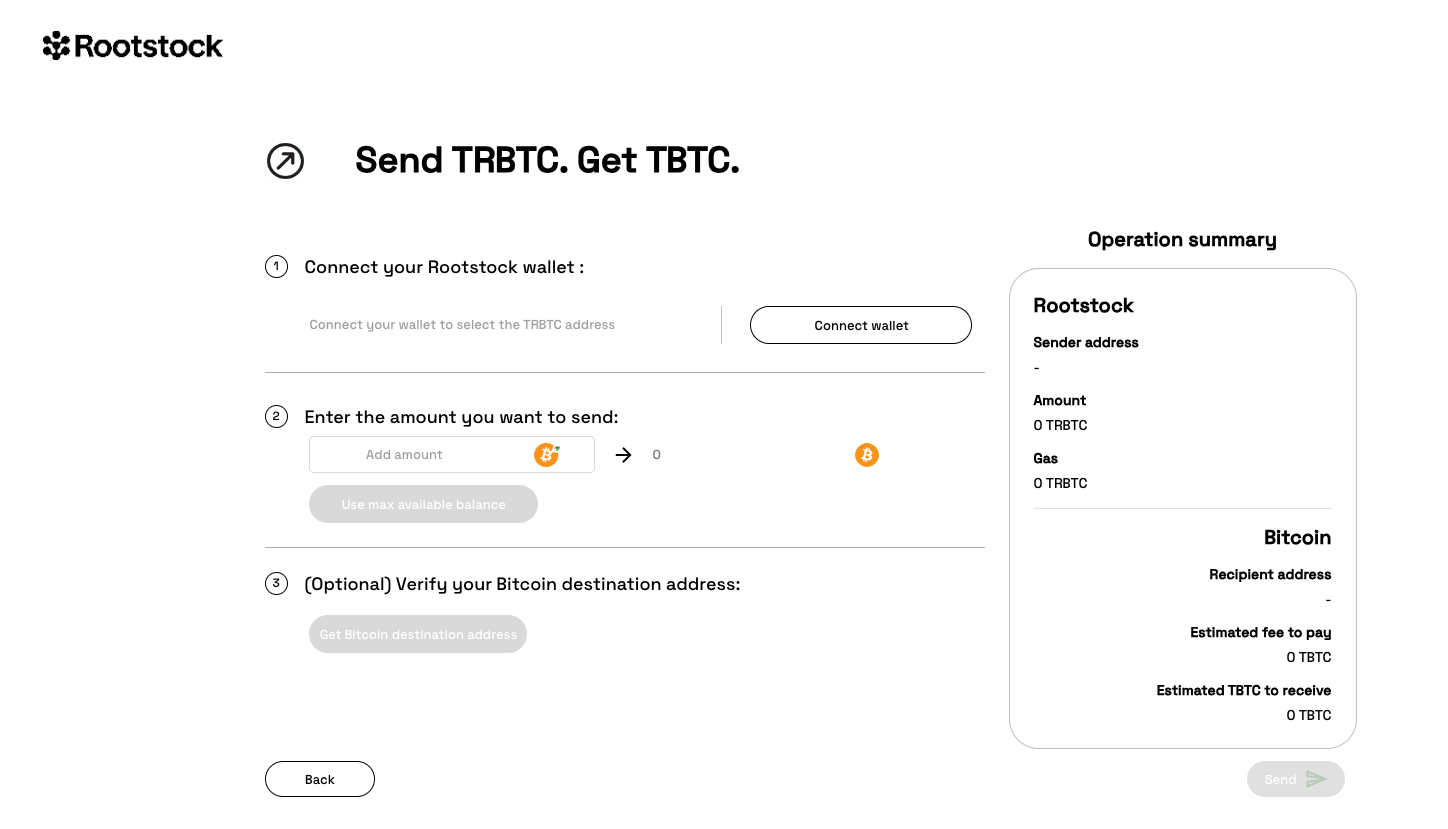
Step 5: Click on Connect wallet button

Step 6: Click on Ledger button

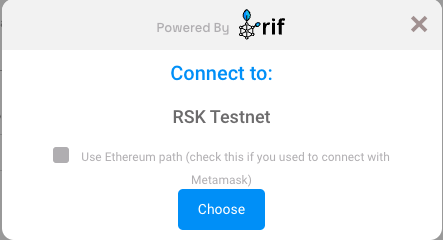
Step 8: The application will show what network you are connecting on. For this tutorial we are using Testnet
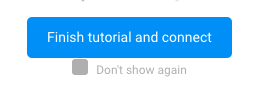
Step 9: The application will show a simple tutorial:
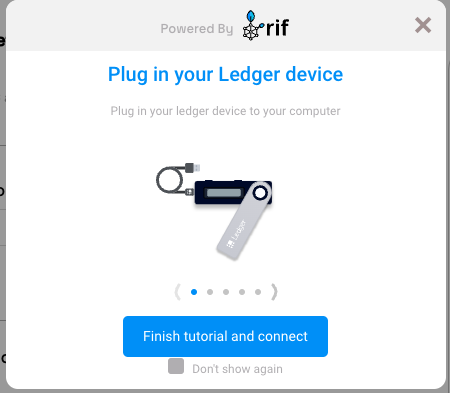
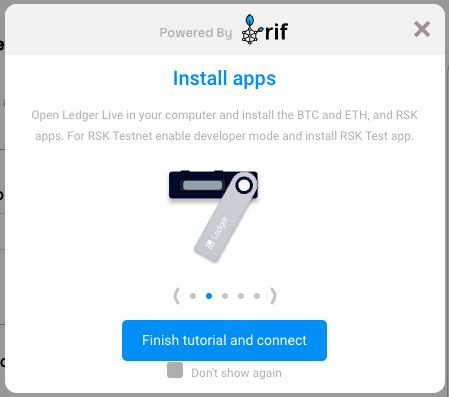

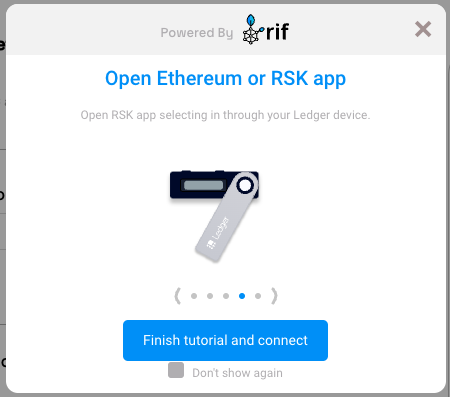
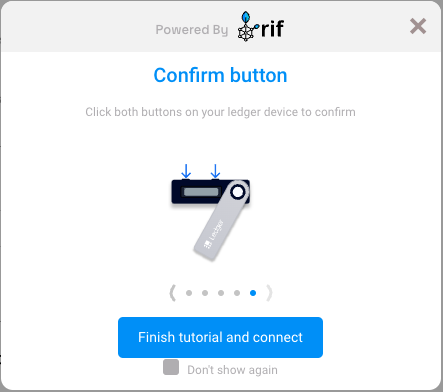
Step 10: Click on the Finish tutorial and connect button:
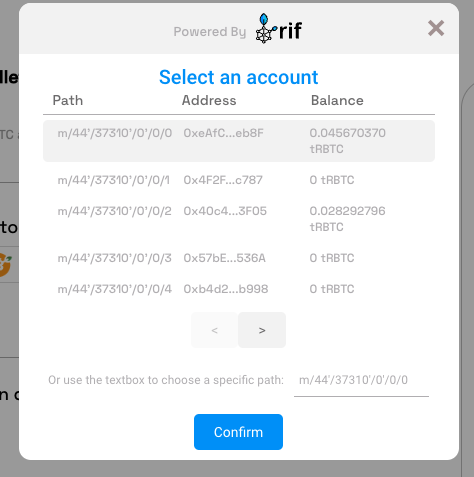
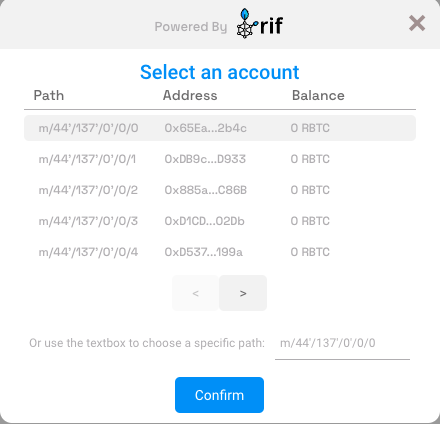
Step 11: Select an account
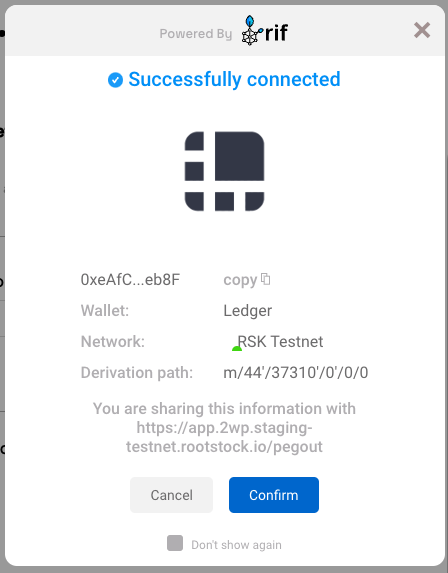
Step 12: Ledger Connected
Step 13: Continue filling in the other fields as amount and click on the Send button
Step 14: After finish the pegout transaction creation, click here to see how to see the steps to access to Bitcoin derived address in hardware wallet using Electrum
Get started with Trezor
To perform a peg-out transaction using the Ledger device directly, follow the steps below:
Step 1: Plug the Ledger device into the computer
Step 2: Access peg-out screen:
Step 3: Click on Connect wallet button
Step 4: Click on Trezor button

Step 5: The application will show what network you are connecting on. For this tutorial we are using Testnet
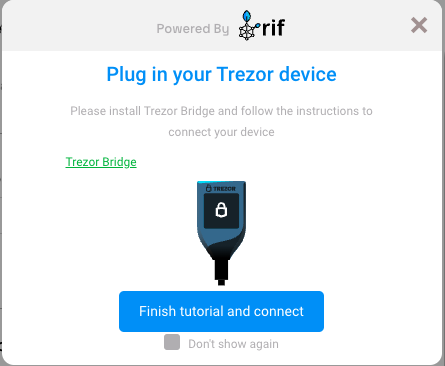
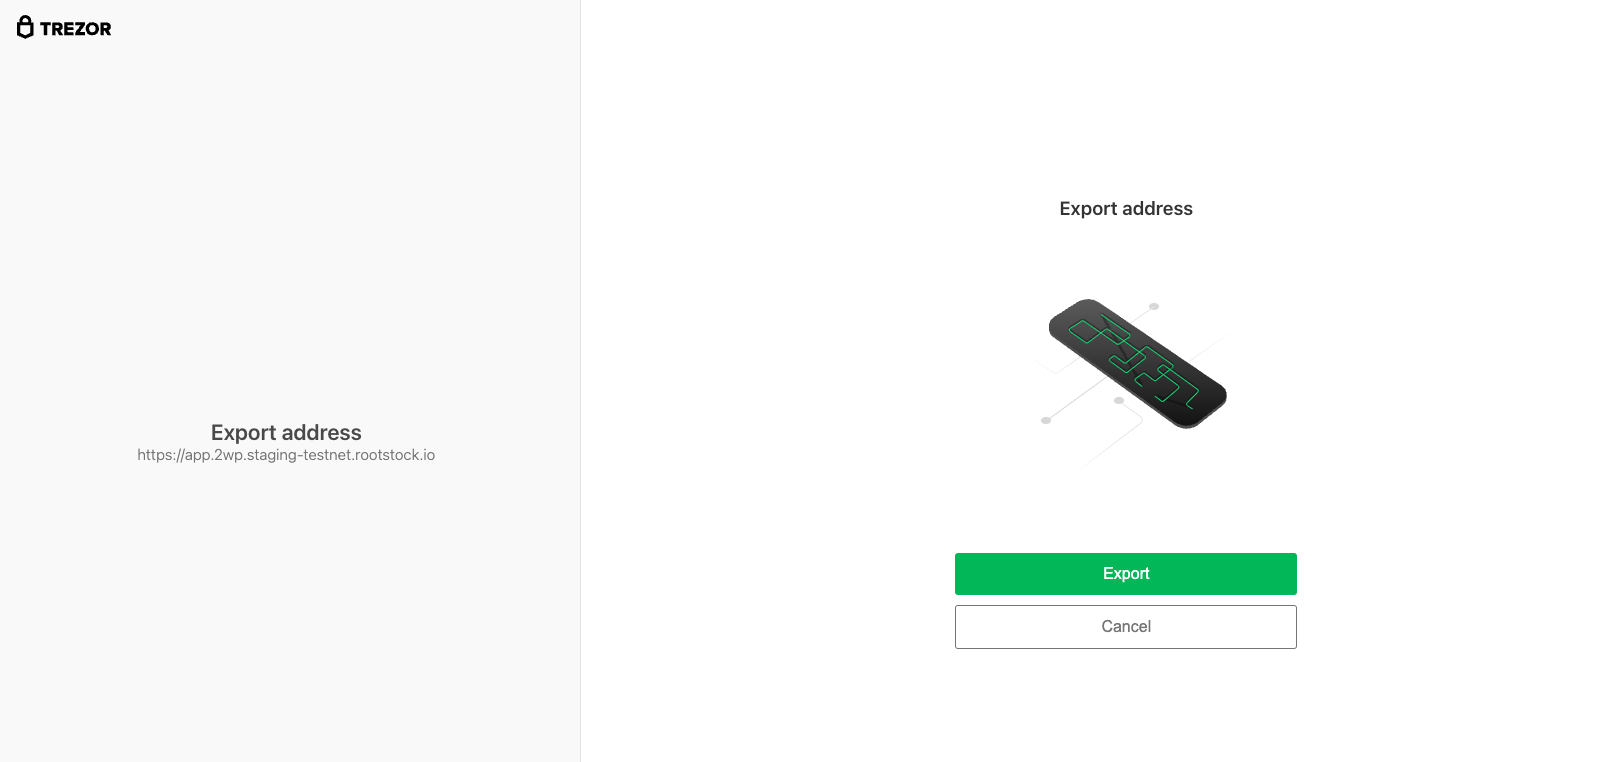
Step 6: Plugin your Trezor device:
 Step 7: The trezor window will open to insert the pin and export the addresses
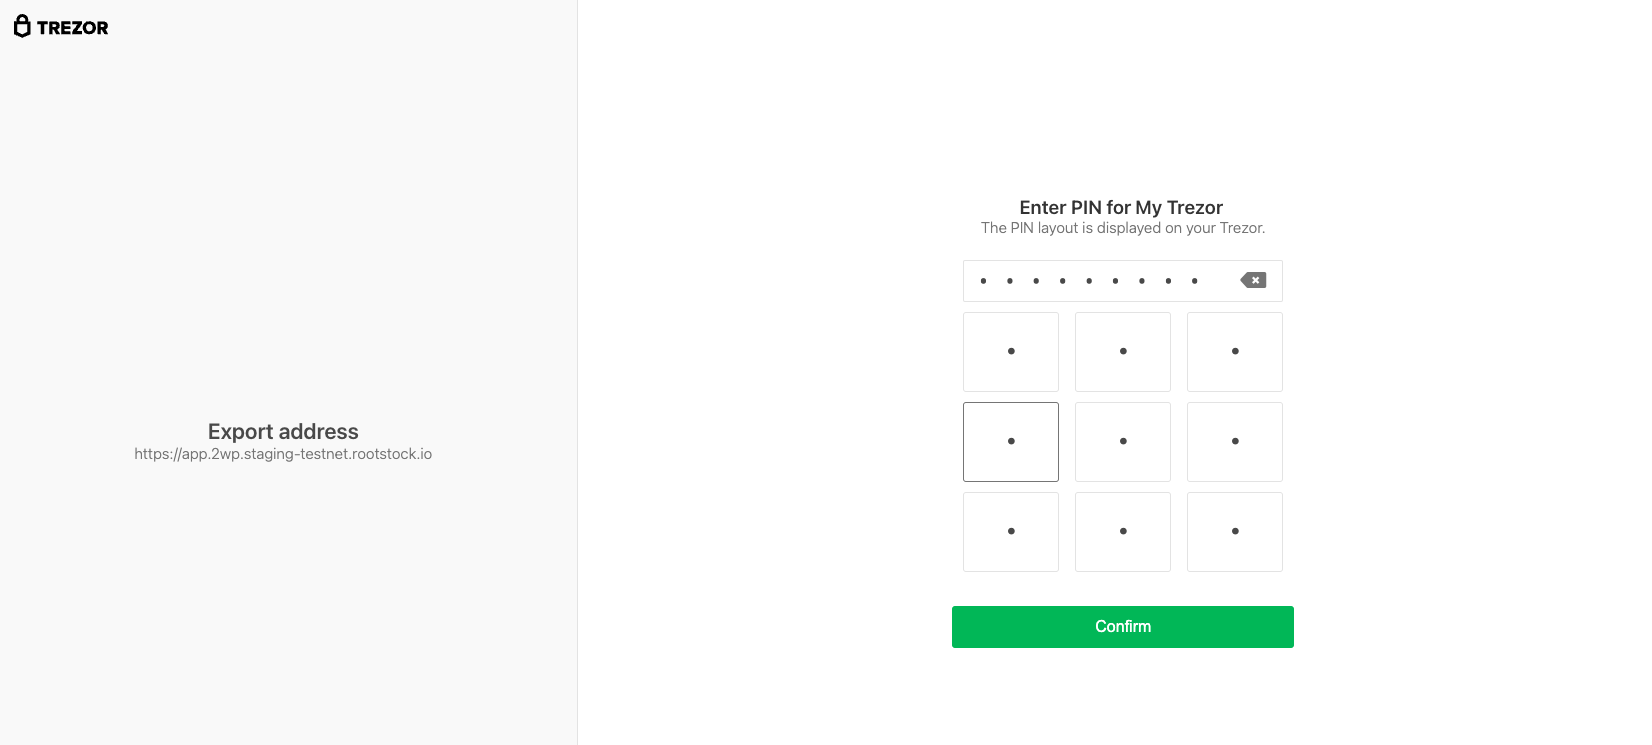
 Step 8: Insert the pin and click on confirm button
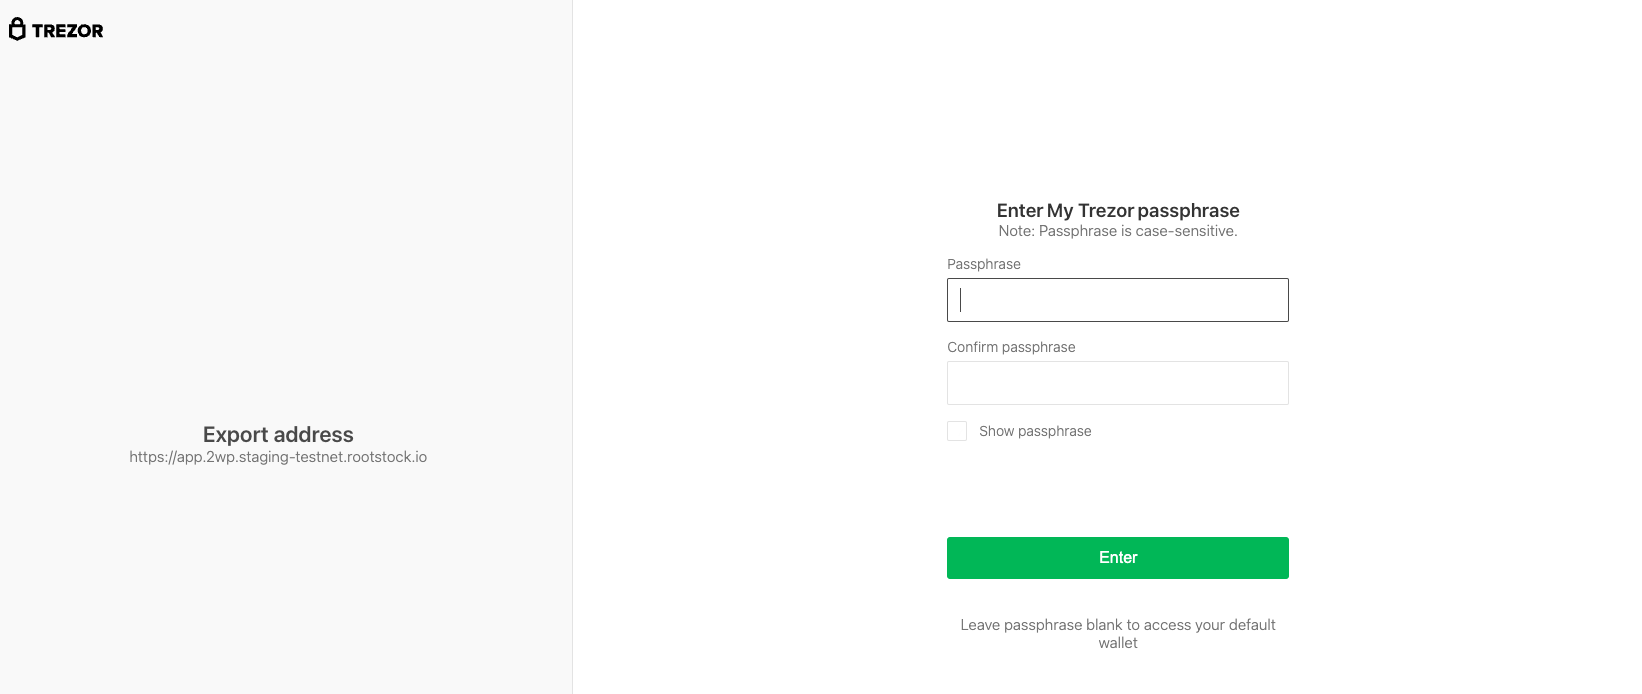
 Step 9: Insert the passphrase
 Step 10: Follow instructions on your device
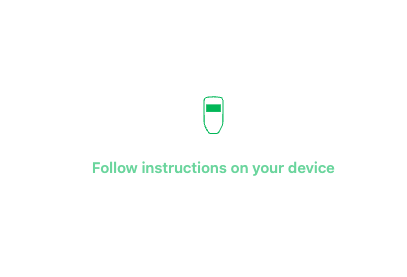
> - Note the trezor app screen will be opened some times, because the system will ask for addresses, each ask will open again the trezor screen, and the user will need to inform the trezor-pin.
Step 11: Select account
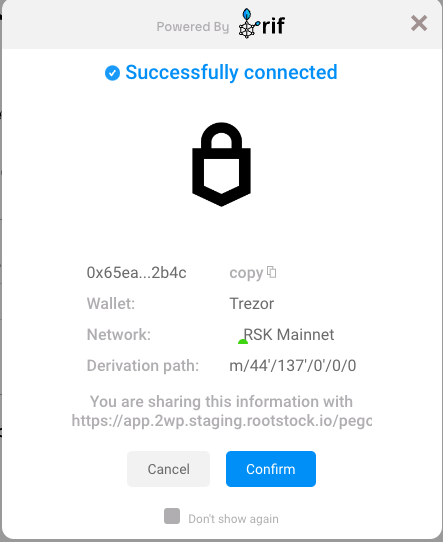
Step 12: Success
Step 13: Continue filling in the other fields as amount and click on the Send button
Step 14: After finish the pegout transaction creation, click here to see how to see the steps to access to Bitcoin derived address in hardware wallet using Electrum
Searching the status of a pegout
The processing of a pegout transaction is made up of several dependencies, and for each dependency a processing step is added, and at each step in the process, the pegout is shown in a form on the transaction status query screen.
After finish a pegout you can search for the current status in the status page
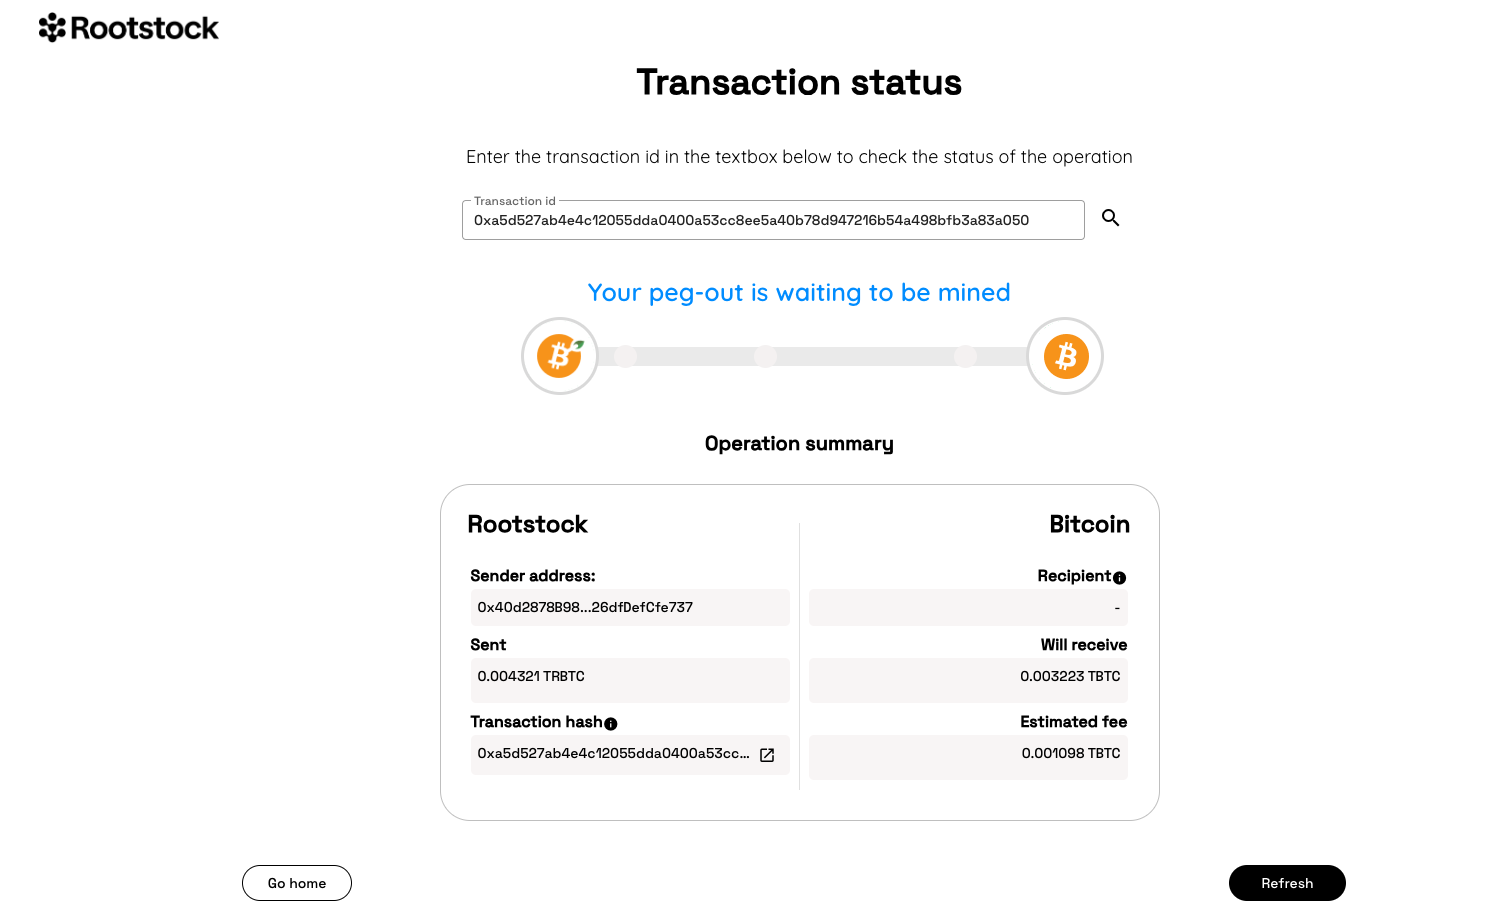
Not mined status:
Just after finish a pegout transaction, this transaction is not mined in the RSK network yet, this status will be showed in the transaction status page:
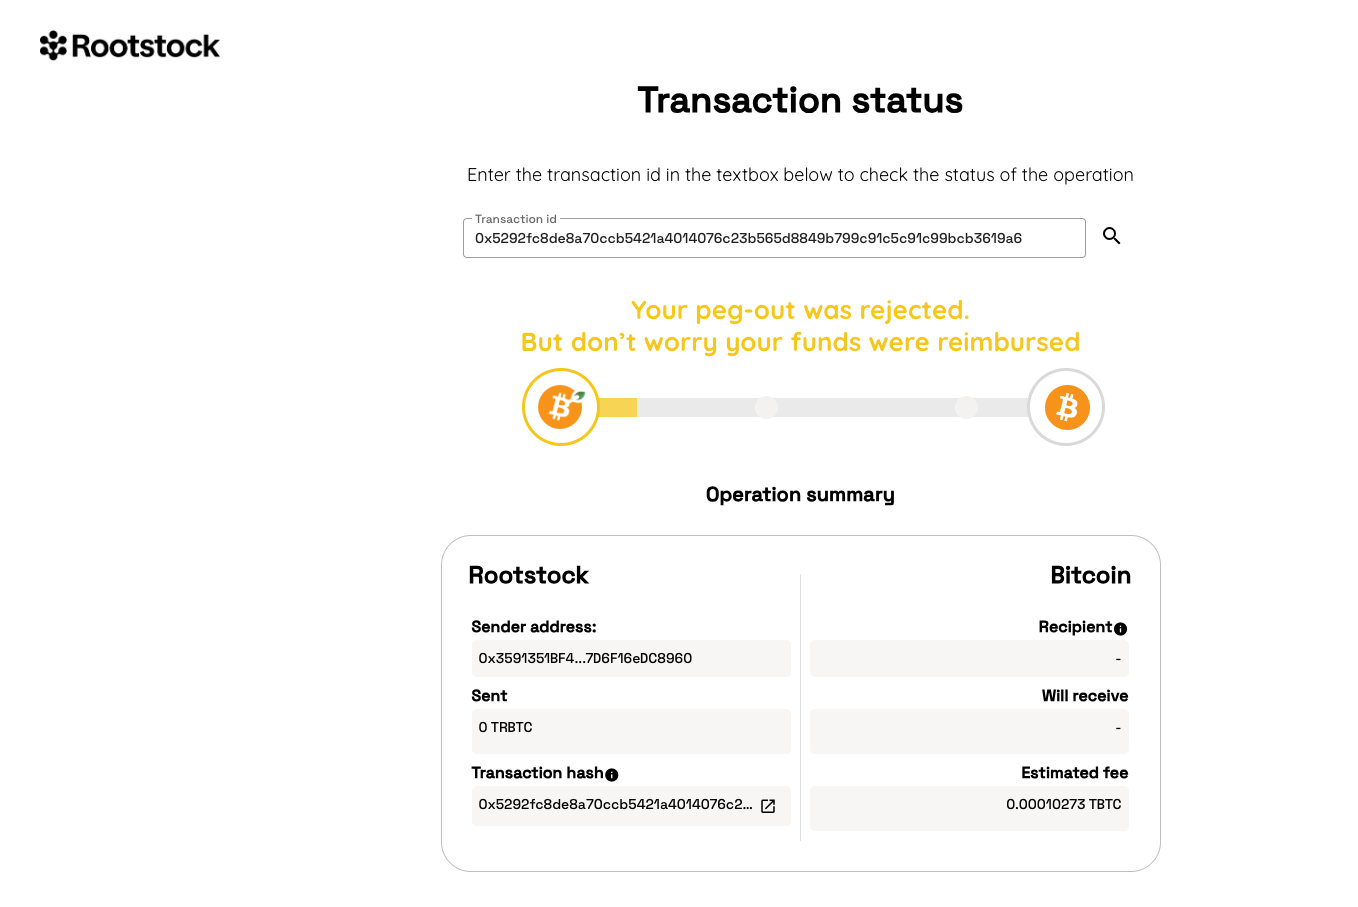
Rejected status:
A pegout transaction mined and not valid, will be showed in the transaction status page:
Received status:
A pegout transaction mined and valid, will be showed in the transaction status page:
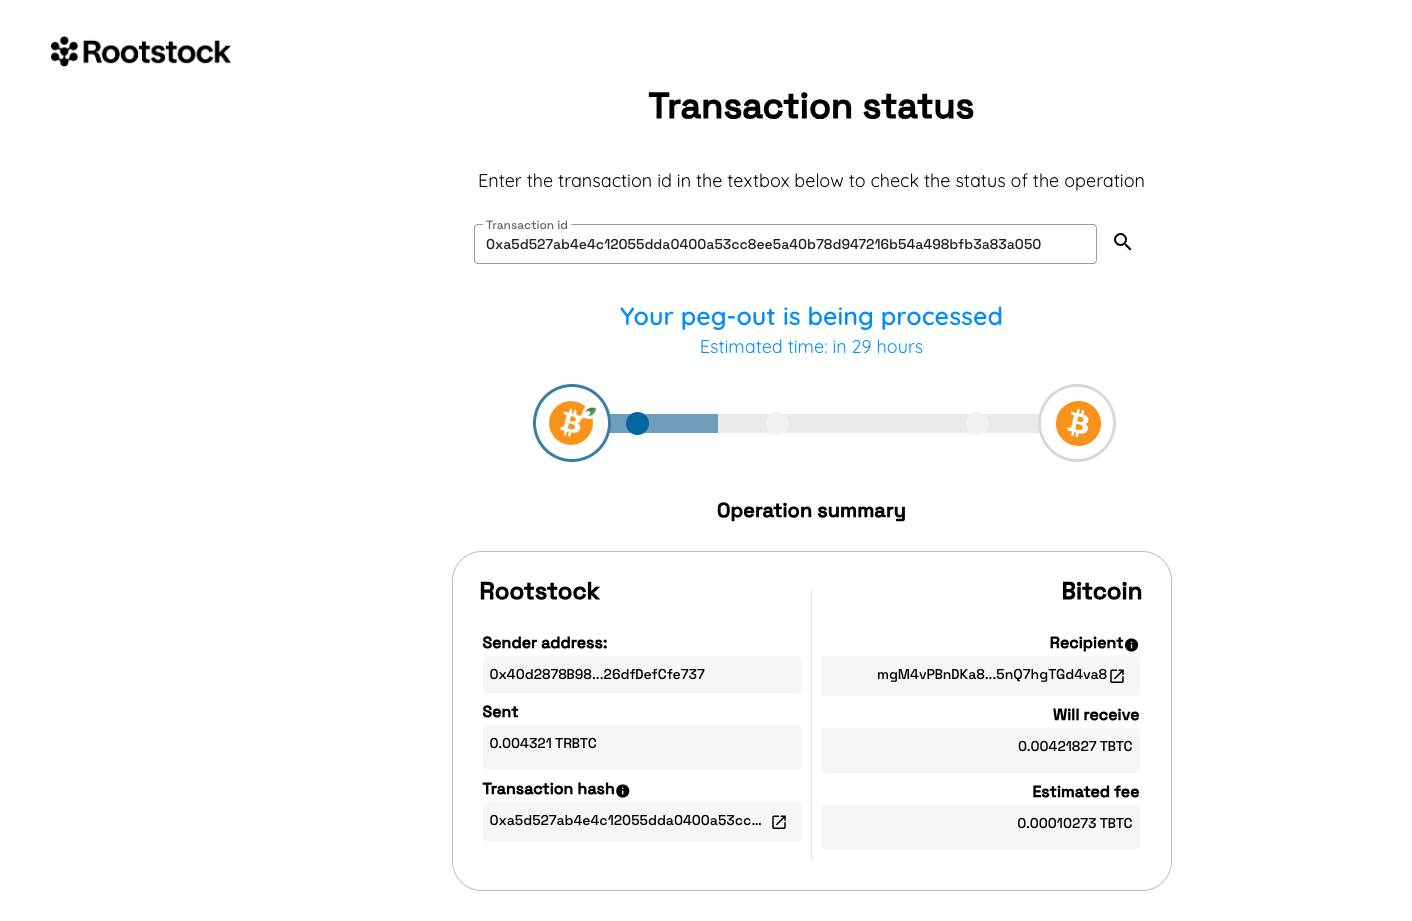
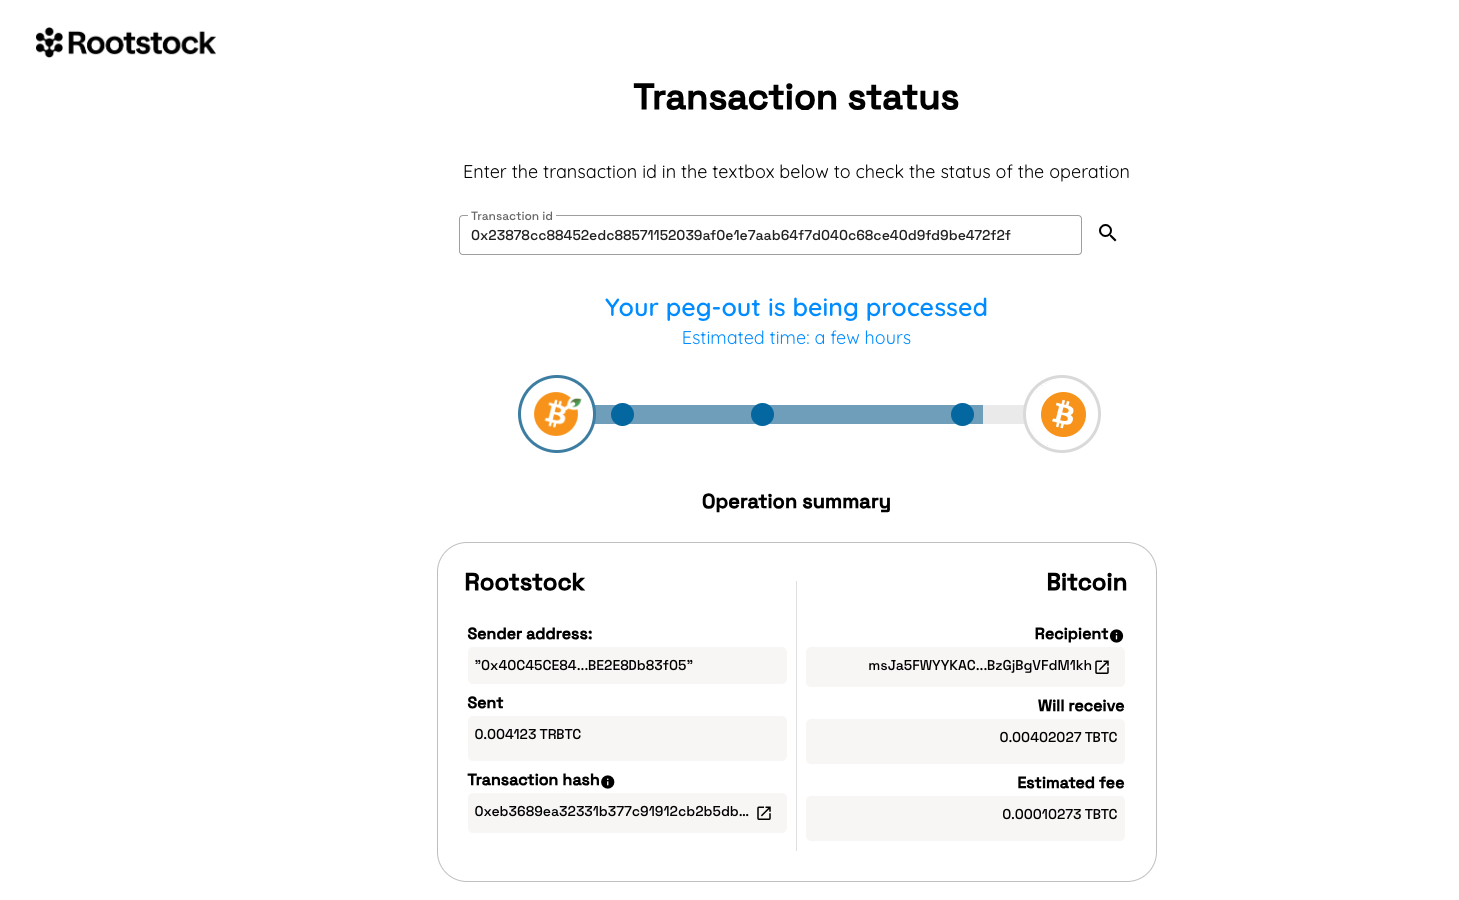
Waiting for confirmation status:
A pegout transaction mined and valid, and waiting for confirmation, will be showed in the transaction status page:
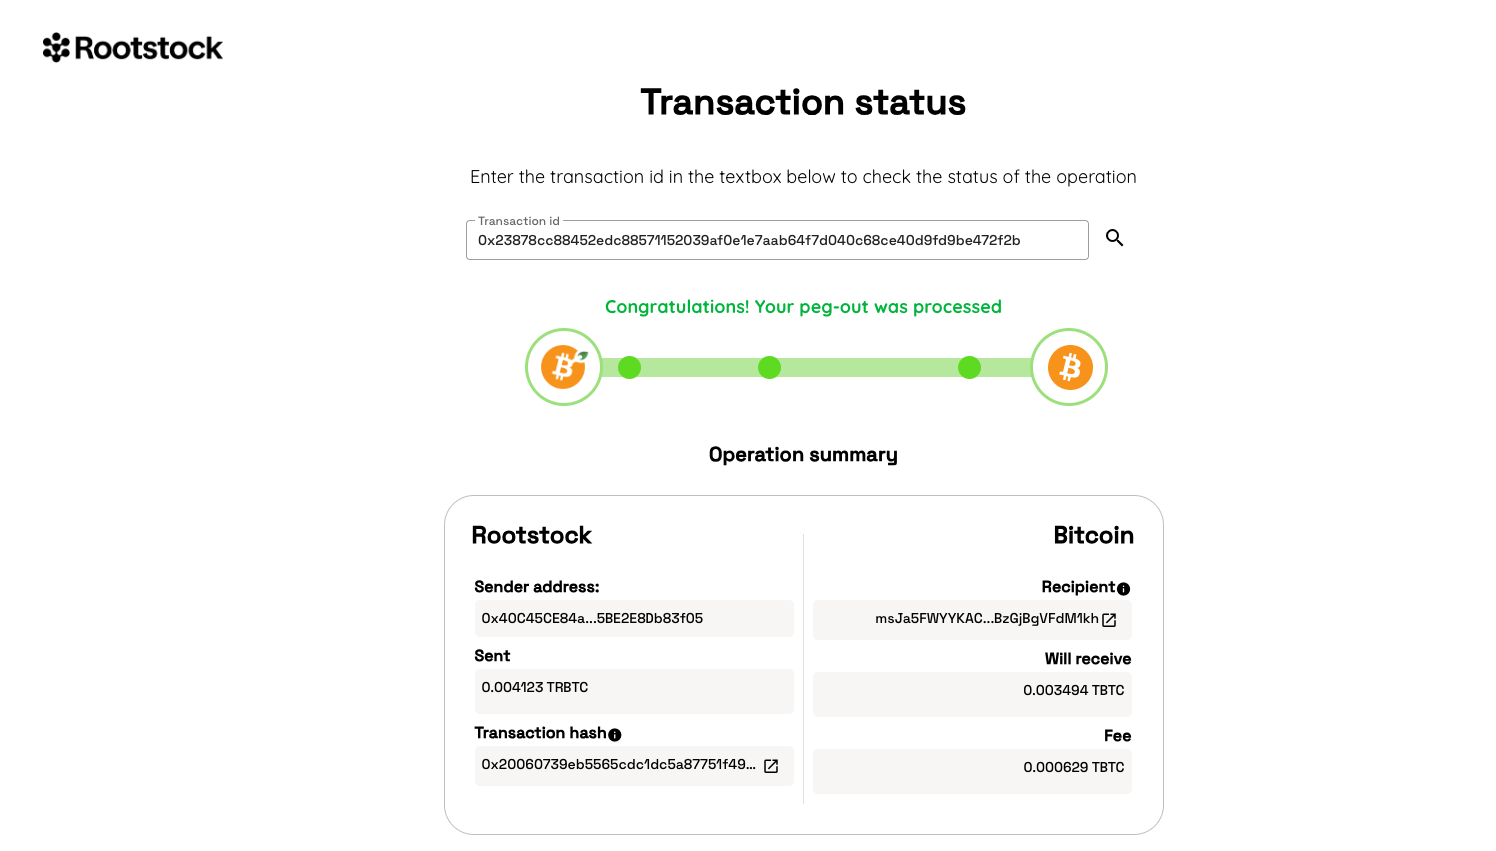
Released status:
A pegout transaction mined, valid, and with the btc transaction performed will be showed in the transaction status page:
Operation summary:
The operation summary contains the transaction details:
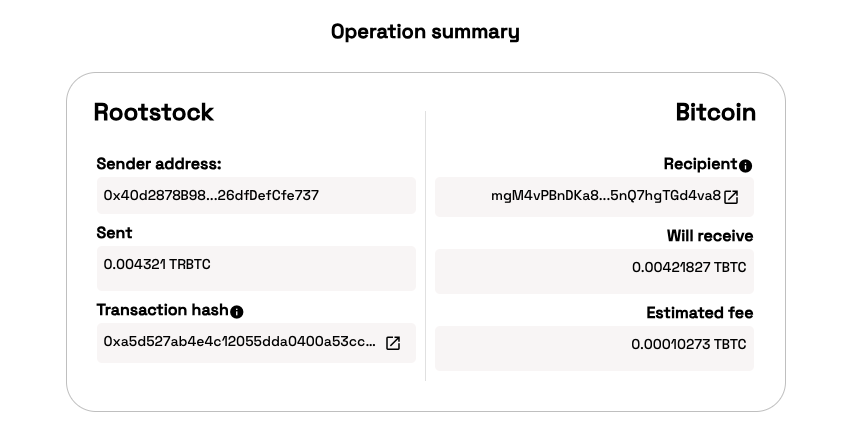
Rootstock side
Sender address: Contains the address from which the RBTC was sent.
Sent: The amount in RBTC sent.
Transaction hash: The hash of the transaction in the RSK network.
Bitcoin side
Recipient: The address where the BTC will be delivered.
Will Receive: The amount to be delivered in the BTC address discounted the network fee.
Estimated fee: The estimated network fee, if the BTC transaction is not finished yet, this label will be "Estimated", if the BTC transaction is sent to the BTC network the value presented will be the effective value and not the estimated.
Resources
- Performing a Peg-in transaction using Hardware wallets
- 2 way peg app frontend repo
- 2 way peg app backend repo
- How to get RBTC using RSK’s built in Powpeg
- Pegout Common errors
- RSK Testnet Faucet
- Get RBTC using Exchanges