Advanced Operations | 2 way peg app Documentation
This section contains detailed instructions on how to perform advanced operations on the 2 way peg app.
These operations include;
- How to review funds in Bitcoin after a pegout by viewing a derived address,
convert RBTC - BTC and import a key in Electrum, import in Electrum if you are using hardware wallets
- Selecting different accounts
- Viewing advanced details
- Adjusting network fees
- Viewing Advanced data
Prerequisites:
- Wallet private key
- Electrum
- Rootstock Utils
How to view a derived address
A derived address is the BTC address derived from the RBTC account. When using the 2 way peg app, it is important to know which address you will receive your BTCs. See Viewing advanced details.
We will learn how to view a derived address and use Liquality and Metamask to get a private key. We will also learn how to convert RBTC - BTC and Import a Key in Elecrum.
Getting a wallet private key
Using Liquality
To get your wallet private key, follow the steps below:
Note: To set up a Liquality or a Metamask wallet. Check here for a step by step process for how to add the Rootstock network to the Liquality browser wallet.
Step 1: Open the Liquality wallet on your browser, you can find these in the extensions tab in your browser.
Step 2: Check that you’re connected to the Rootstock network
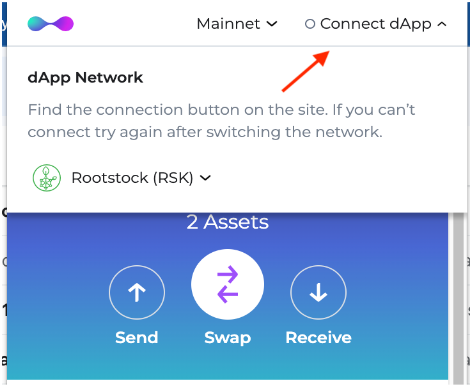
Step 3: Choose the asset you want to use for the transaction
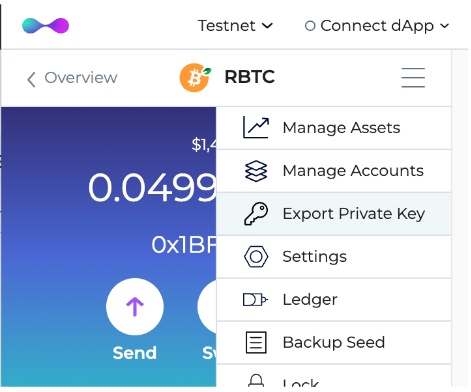
Step 4: Click on the menu by the right, and this will open up a list of options.
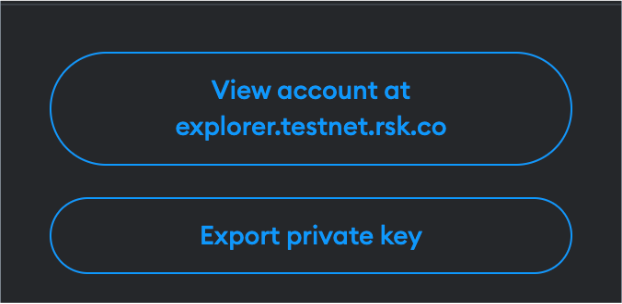
Step 5: Choose the option “Export private key” in the menu
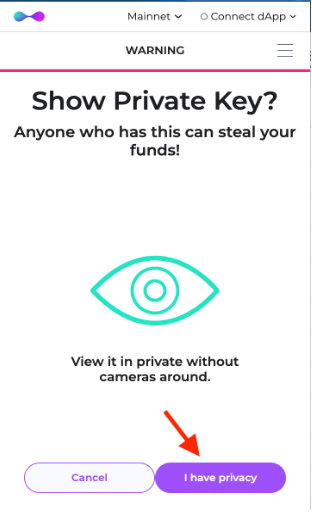
Step 6: Choose “I have privacy”
Step 7: Fill out wallet password and check “I understand the risk and have privacy”
Step 8: Copy the private key and click on “Done”
Using Metamask
Step 1: Open the Metamask wallet on your browser, you can find this in the extensions tab in your browser.
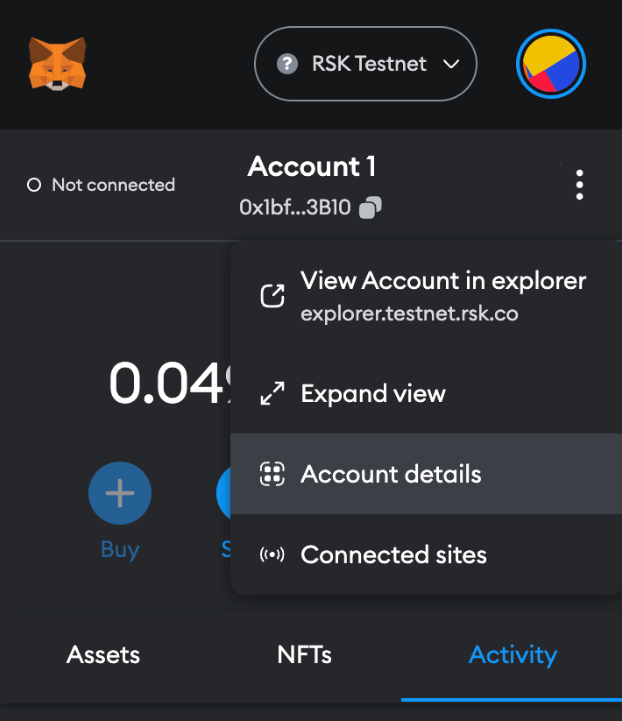
Step 2: Click on the menu icon by the right
Step 3: Choose “Account details”
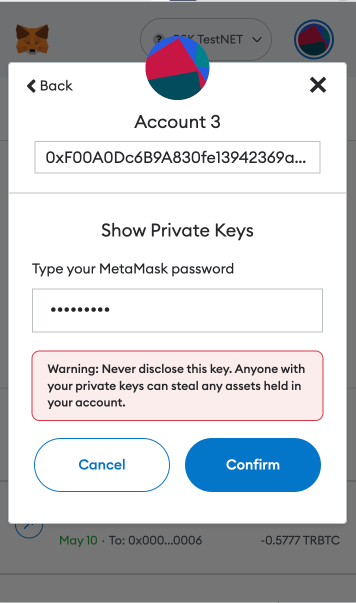
Step 4: Then click on the “Export private key” button
Step 5: Fill out wallet password and click on “Confirm”
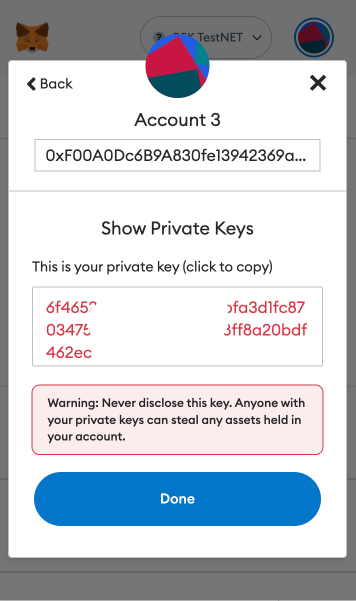
Step 6: Copy the private key and click on “Done”
Converting RBTC to BTC
Before converting the funds, we need to convert the private key into a Wallet Import Format (WIF). A WIF private key is just another way of representing your original private key. If you have a WIF private key, you can always convert it back in to its original format.
For more info on WIF, see the Bitcoin Wiki
Using Rootstock Utils (Recommended)
Rootstock Utils is used to convert keys from BTC to Rootstock.
Step 1: Clone the Rootstock utils project.
Step 2: Follow the steps explained in the README.
Step 3: Install webpack using the code below;
```javascript
npm install webpack@4.46.0 -g
npm i webpack-cli@3.3.12 -g
npm install
webpack
```
[Optional] you will need npm to install webpack:
npm install -–save-dev webpack
Step 4: Run webpack
webpack
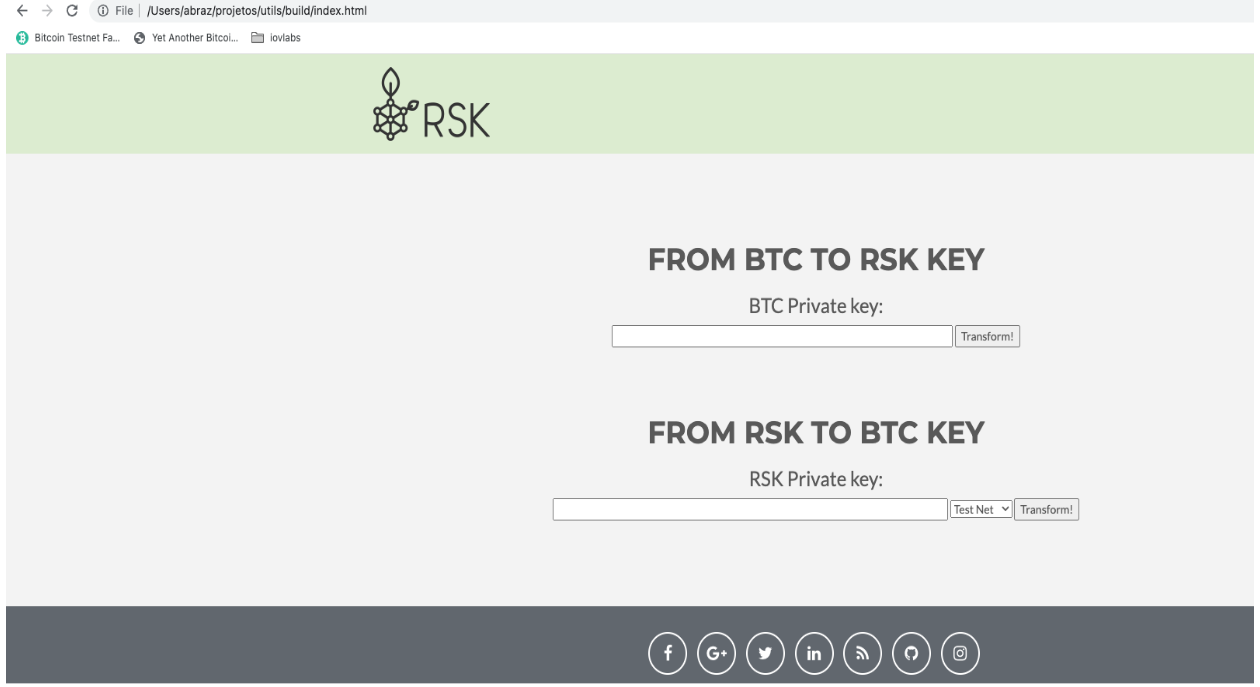
Step 5: Open the file in your browser
./build/index.html
Step 6: Open the generated application and add your private key and convert to WIF, as shown in the image below:
Using LearnMeABitcoin
- IMPORTANT: We discourage users from using websites on the internet, note that if your private key is exposed, your funds will also be exposed, therefore it's recommended that you use the offline option, like Rootstock utils.
Follow the steps below to get started;
Step 1: Visit the url: https://learnmeabitcoin.com/technical/wif
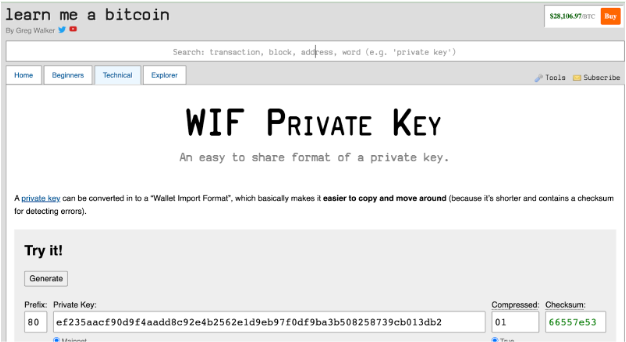
You will find the Ruby code and a tool to convert the private key into a WIF.
Step 2: Paste the private key gotten in Getting a wallet private key in the “Private Key” field
Step 3: Choose the network: Mainnet or Testnet
Step 4: Choose compressed option true
Step 5: Copy WIF value
- IMPORTANT: Using the Ruby code is highly recommended
- This code requires the
checksum.rbandbase58_encode.rbfunctions as shown in the code below.
require_relative 'checksum'
require_relative 'base58_encode'

##### Convert Private Key to WIF

privatekey = "4fd050a8e4fd767f759d75492b9894bc97875e8201873e38443e3f5eae9c8db2f"
extended = "80" + privatekey + "01"
extendedchecksum = extended + checksum(extended)
wif = base58_encode(extendedchecksum)

puts wif
Import key in Electrum
Electrum is used to verify a derived address, this address will then be used to receive and verify the converted funds (RBTC - BTC) when the pegout process is finished.
Step 1: Download Electrum for your OS from the website.
Follow the steps below to create a new wallet in Electrum and import the private key:
NOTE: If you need to run Electrum in Testnet, execute the following commands:
cd /Applications/Electrum.app/Contents/MacOS
./run_electrum --testnet
Step 2: Start with the “Create New Wallet” option
Step 3: Fill out a new wallet name and click on the “Next” button
Step 4: Choose “Import Bitcoin addresses or private keys” option and click on “Next” button
Step 5: Fill out the WIF value of the private key and click on “Next” button
Step 6: Create a new wallet password and click on the “Next” button
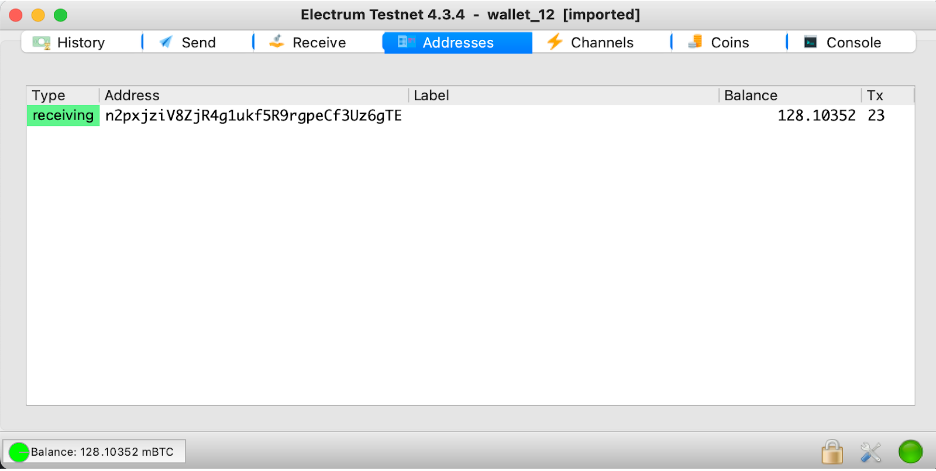
In this screen, you will see the address to receive the BTC funds.
Import key in Electrum using Hardware Wallets
Electrum is used to verify a derived address, this address will then be used to receive and verify the converted funds (RBTC - BTC) when the pegout process is finished.
Step 1: Download Electrum for your OS from the website.
Follow the steps below to create a new wallet in Electrum and connect to the hardware wallets:
NOTE: If you need to run Electrum in Testnet, execute the following commands:
cd /Applications/Electrum.app/Contents/MacOS
./run_electrum --testnet
Step 2: Start with the “Create New Wallet” option
Step 3: Fill out the name in “Wallet” field and click on “Next” button
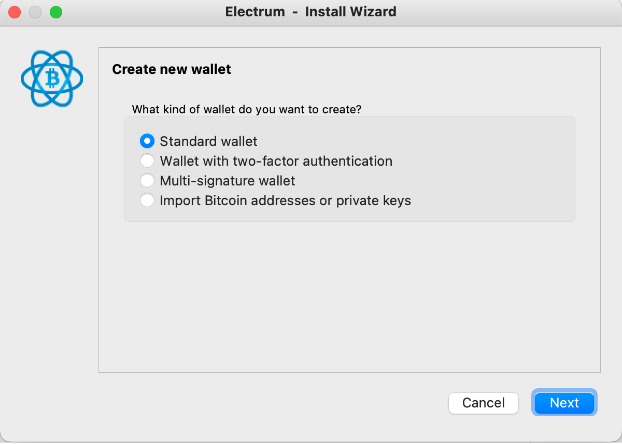
Step 4: Select “Standard wallet” option and click on “Next” button
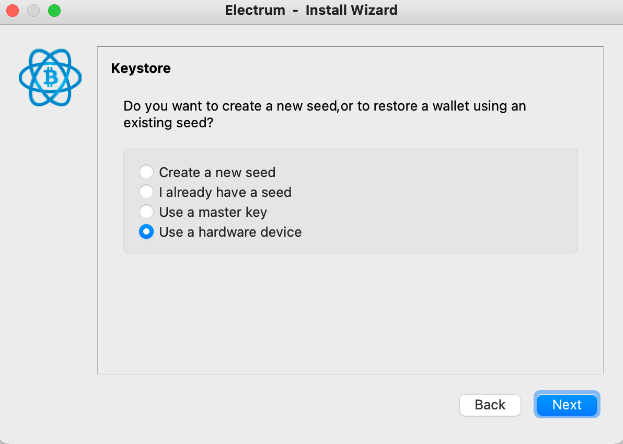
Step 4: Select “Use a hardware device” option and click on “Next” button
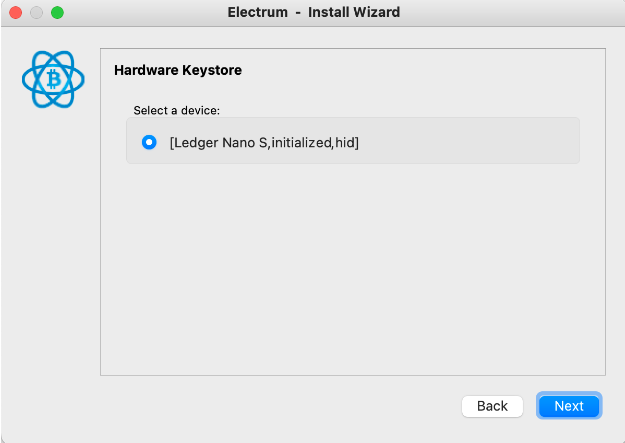
Step 5: Select the hardware wallet and click on “Next” button
NOTE: The follow screen is an example of usage the Trezor Hardware Wallet

NOTE: The follow screen is an example of usage the Ledger Hardware Wallet
Step 6: Select “legacy (p2pkh)” option, fill out a custom derivation path field and click on “Next” button
Custom derivation path:
Mainnet: m/44'/137'/0'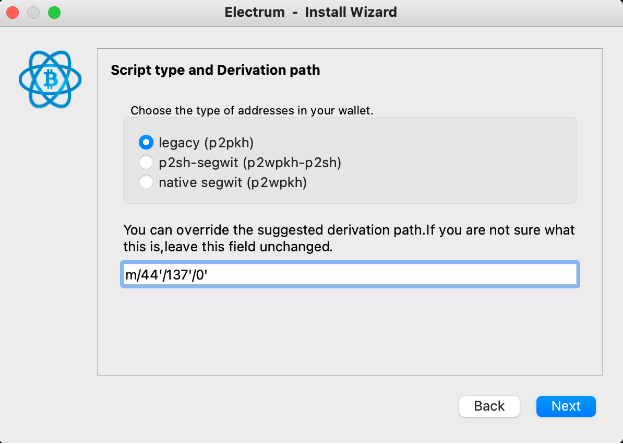
NOTE: Testnet: m/44'/37310'/0'

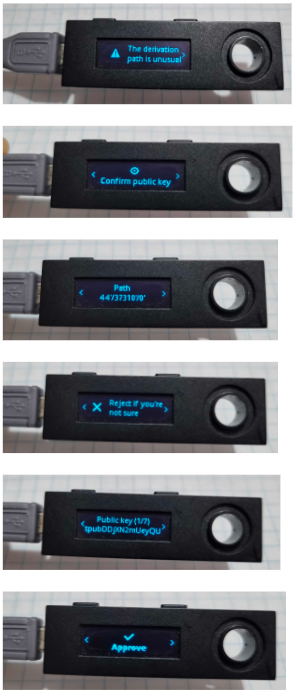
IMPORTANT: For Ledger it is necessary to approve the custom derivation path in the device
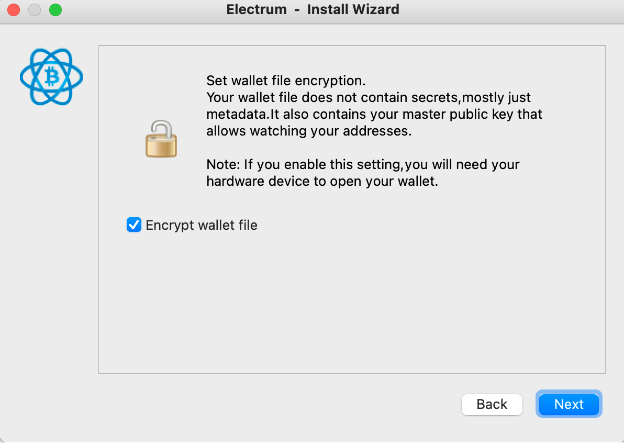
Step 7: Check “Encrypt wallet file” option and click on “Next” button
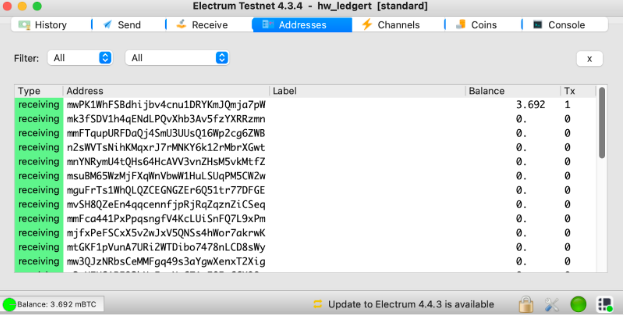
Step 8: Finally in Electrum go to “Addresses” tab and you can see your funds
Account selection
Pegin:
There are three types of accounts on the 2 way peg app. See supported addresses section for examples of these types of addresses.
To select an account to send BTC from, click on Select the account as shown in the image below. This loads the balance for all the addresses in your hardware wallet.
Note: Your hardware wallet must be connected to view this section of the 2 way peg app.
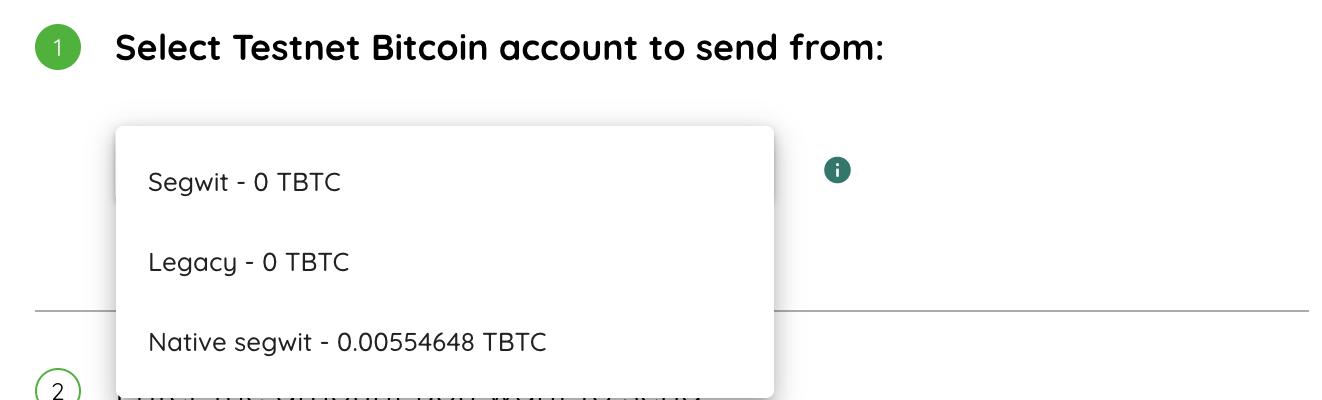
Choose the address you want to send TBTC from. See the getting funds section for how to get BTC or TBTC.
How to view advanced details
To view advanced details, click on the plus icon as shown in the image below;
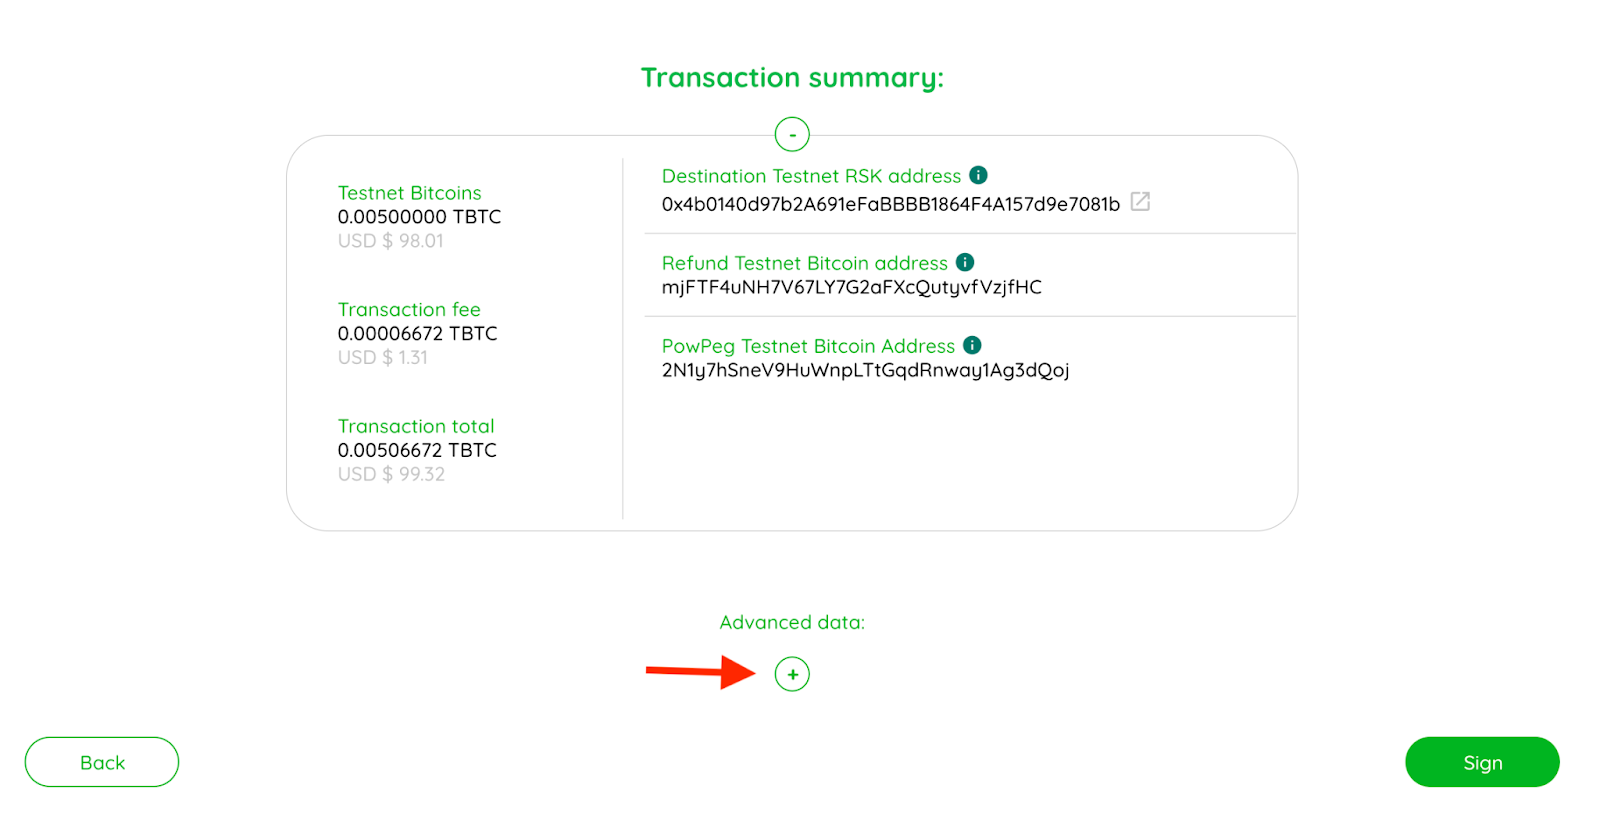
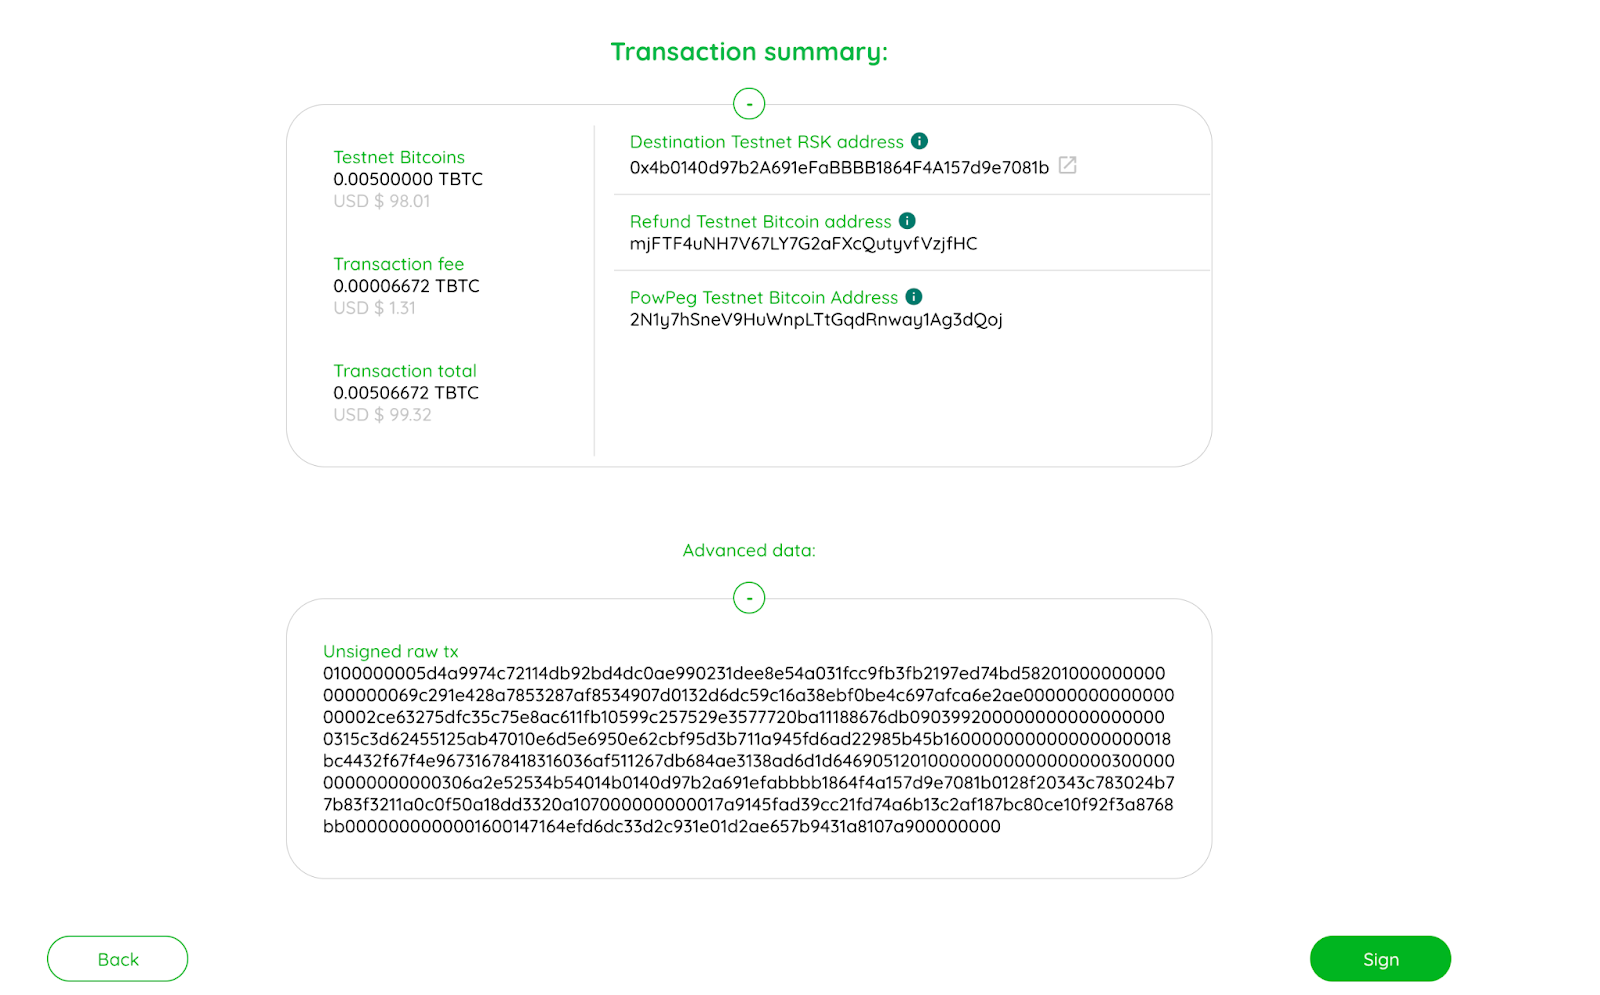
Here you can find a long string of numbers called an unsigned raw tx.
Advanced data
Unsigned raw tx
A Bitcoin raw transaction is a chunk of bytes that contains the info about a Bitcoin transaction. That raw transaction will become part of the blockchain when a miner adds it to a block. The pegin transaction has at least one input and two outputs, all information is encoded and displayed for the users’ verification.
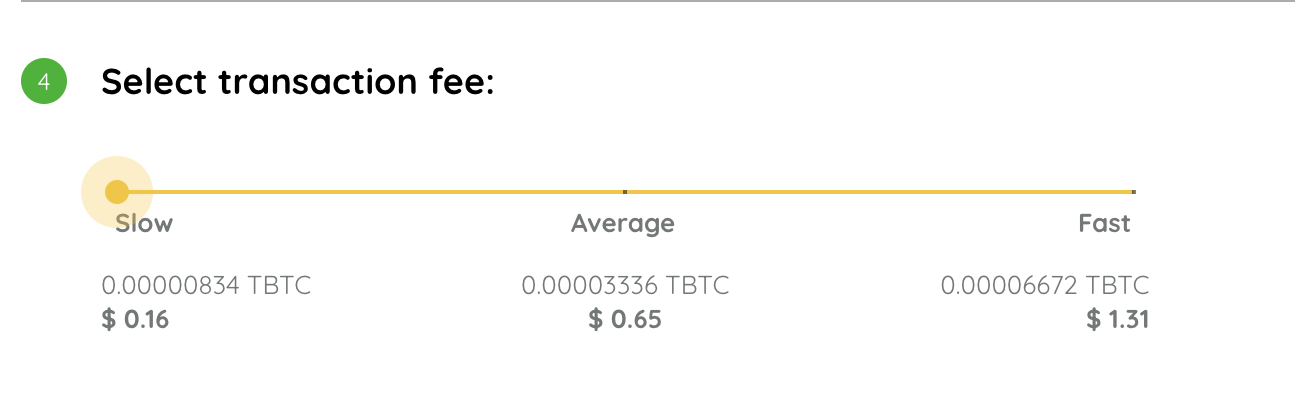
Adjusting network fees
There are three options to choose from when deciding on which fee rate to use when sending a transaction.
Slow
A slow transaction is less expensive and will take longer to confirm.
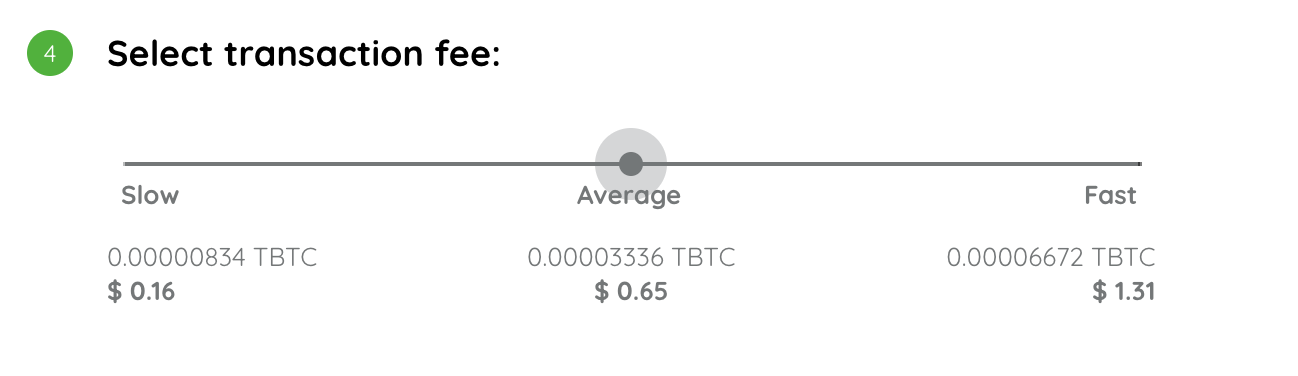
Average
This is also known as normal, here, the transaction is priced at an average rate and will take an average time to confirm.
Fast
A fast transaction is the most expensive but the transaction confirms at the quickest time possible.
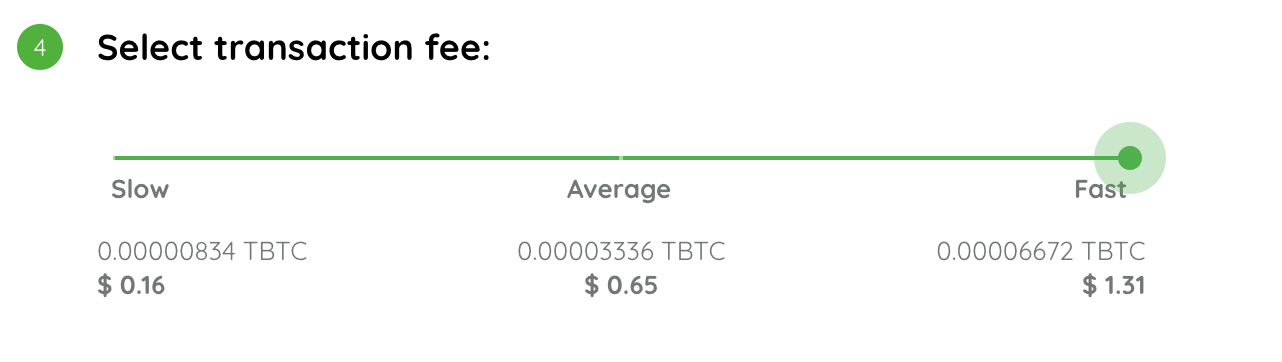
The type of fee to be selected depends on several variables, like network speed, time, and amount the user is willing to spend on a single transaction.
Next
Be sure to check out our next article in this guide, on Design & Architecture of the 2 way peg app
Resources
- 2 way peg app frontend repo
- 2 way peg app backend repo
- How to get RBTC using RSK’s built in Powpeg
- RSK Testnet Faucet
- Get RBTC using Exchanges